
Get started with Web Conversations
Getting Started with Web Conversations
Welcome! This guide walks you through the process of creating and integrating a Web Conversations instance into your website using the http://CM.com platform. By the end, you'll be able to launch a new web chat instance from scratch and embed it into your own webpage.
1. Accessing the Web Conversations App
To begin:
Log in to the CM.com platform.
Open the Web Conversations app via the 9-tile menu.
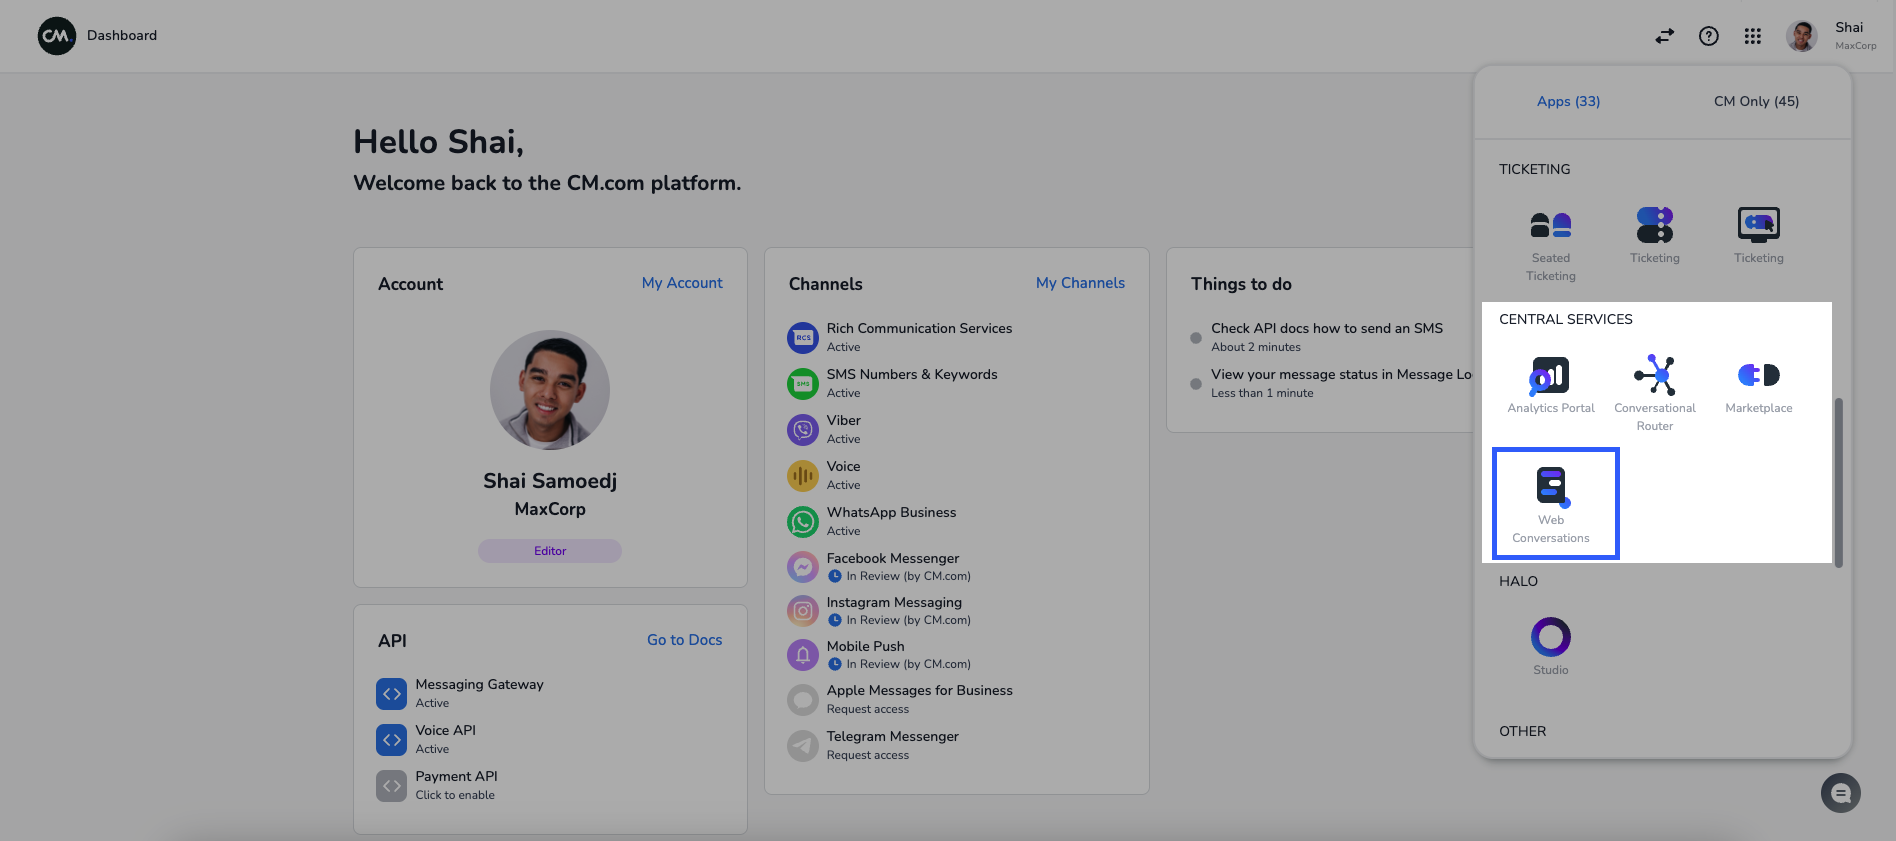
You’ll arrive at the Web Conversations homepage, where all your instances are listed.
From this homepage, you can:
Click an existing instance to edit it.
Create a new instance by clicking the blue plus (+) sign.
2. Creating a New Web Chat Instance
To create a new instance:
Click the blue plus (+) sign.
In the Title field, enter a clear and descriptive name.
Select a chat interface type:
Web Chat: A floating widget.
Web Chat Inline: An embedded version for inline integration.
For this guide, choose Web Chat and click Create.
3. Navigating the Web Conversations Editor
Once your instance is created, you'll be taken to the editor interface.
Editor Overview:
Left Panel: Configuration categories for adjusting appearance, behavior, and functionality.
Right Panel: Detailed configuration fields for the selected category.
Center Panel: Live preview of your chat widget.
Device Preview Options: Use the dropdown to switch between Desktop, Tablet, and Phone views.
Top Controls:
Change the instance name by hovering over the title.
Return to the homepage.
Save changes.
Access more actions via the three dots menu (…):
Export
Duplicate
Delete
4. Exporting and Integrating the Chat Widget
Integration is done using the Export function.
Exporting the JavaScript Snippet:
Click the three dots menu (…) and select Export.
A JavaScript snippet will be displayed.
Click Copy to Clipboard.
Adding the Script to Your Website:
Open the HTML file of your webpage.
Paste the copied JavaScript snippet into the code.
Save the file and refresh your browser.
The Web Chat widget should now appear on your page. If you're unfamiliar with editing code, contact your IT or web development team for assistance.
Note: The same integration process applies to more complex web pages.
Next Steps
Congratulations! You've successfully created and embedded your first Web Conversations instance. In the next guide, we'll cover how to:
Customize the chat widget’s appearance
Align it with your brand identity
Optimize it for the best user experience