Adding images to the tickets
When entering the ticketing dashboard you go to the left menu and click on <<tickets>>. Before being able to add images to tickets, it is important to create your tickets.
-
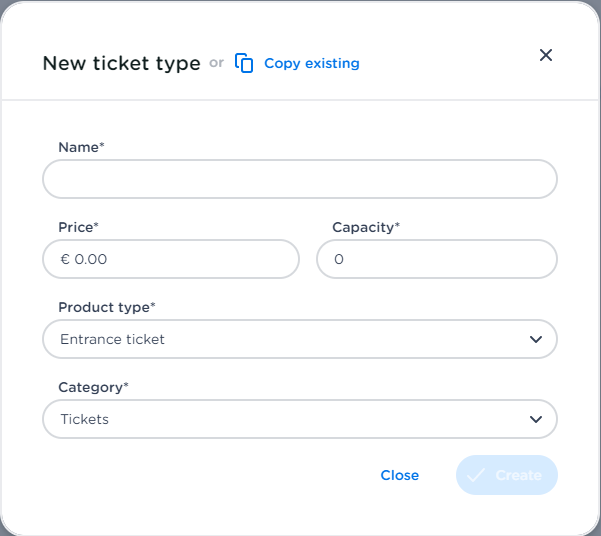
Go to the plus icon in the right upper corner and click on "New Ticket Type"
-
Add the needed Ticket Types
-
Click on the Ticket, e.g. "Regular Ticket"
-
Click on Save
-
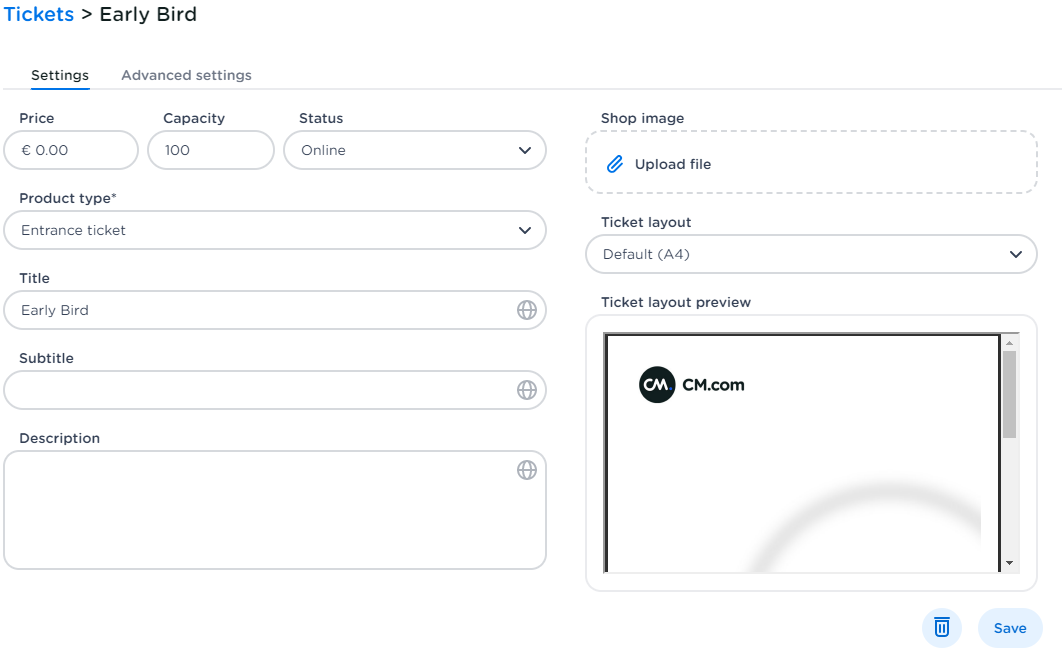
Click on the ticket you want to edit
-
Click on "Upload File" under Shop Image
-
Make sure your image is 320px x 200px (max. 1MB)
-
Click on Save
From now on you can choose your display type. That is how your ticket types will be organized within your ticket shop (card view or list view).
-
Go to the left menu and click on Shops
-
Click on Ticket Types
-
Click on the pencil in the upper right corner
-
Go to Display Type and choose List or Card
-
Click on Save
I want to add extra steps in the ticketflow, how do I do that?
Go to the left menu in your Ticketing app and click on tickets.
Note: it is important that you first create the tickets you want to add to steps.
-
Click on the pencil in the upper right corner in your Ticketshop
-
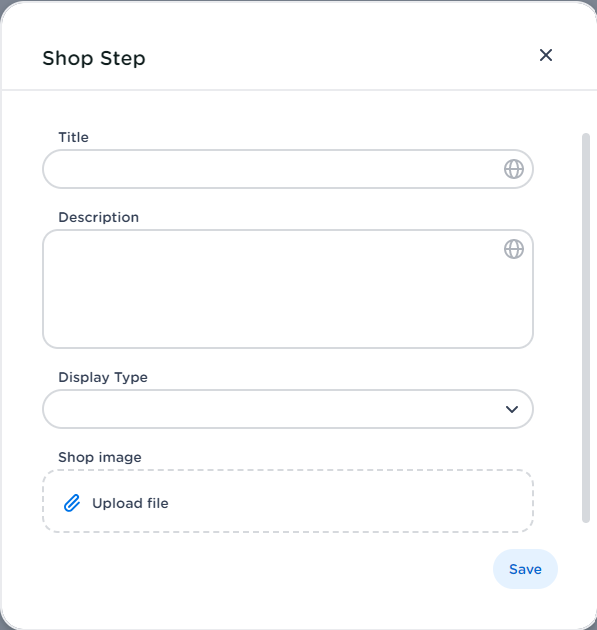
Click on + New shopstep
-
Add the steps you want to display in your Ticketshop (for example: entrance tickets, food & beverages, extra's, merchandise etc.)
-
Click on Save