In the settings of Agent Inbox it is possible to configure dynamic integration endpoints with headers and also get the authentication (API key and API secret) for the POST requests.
Navigation
To create a new dynamic integration
-
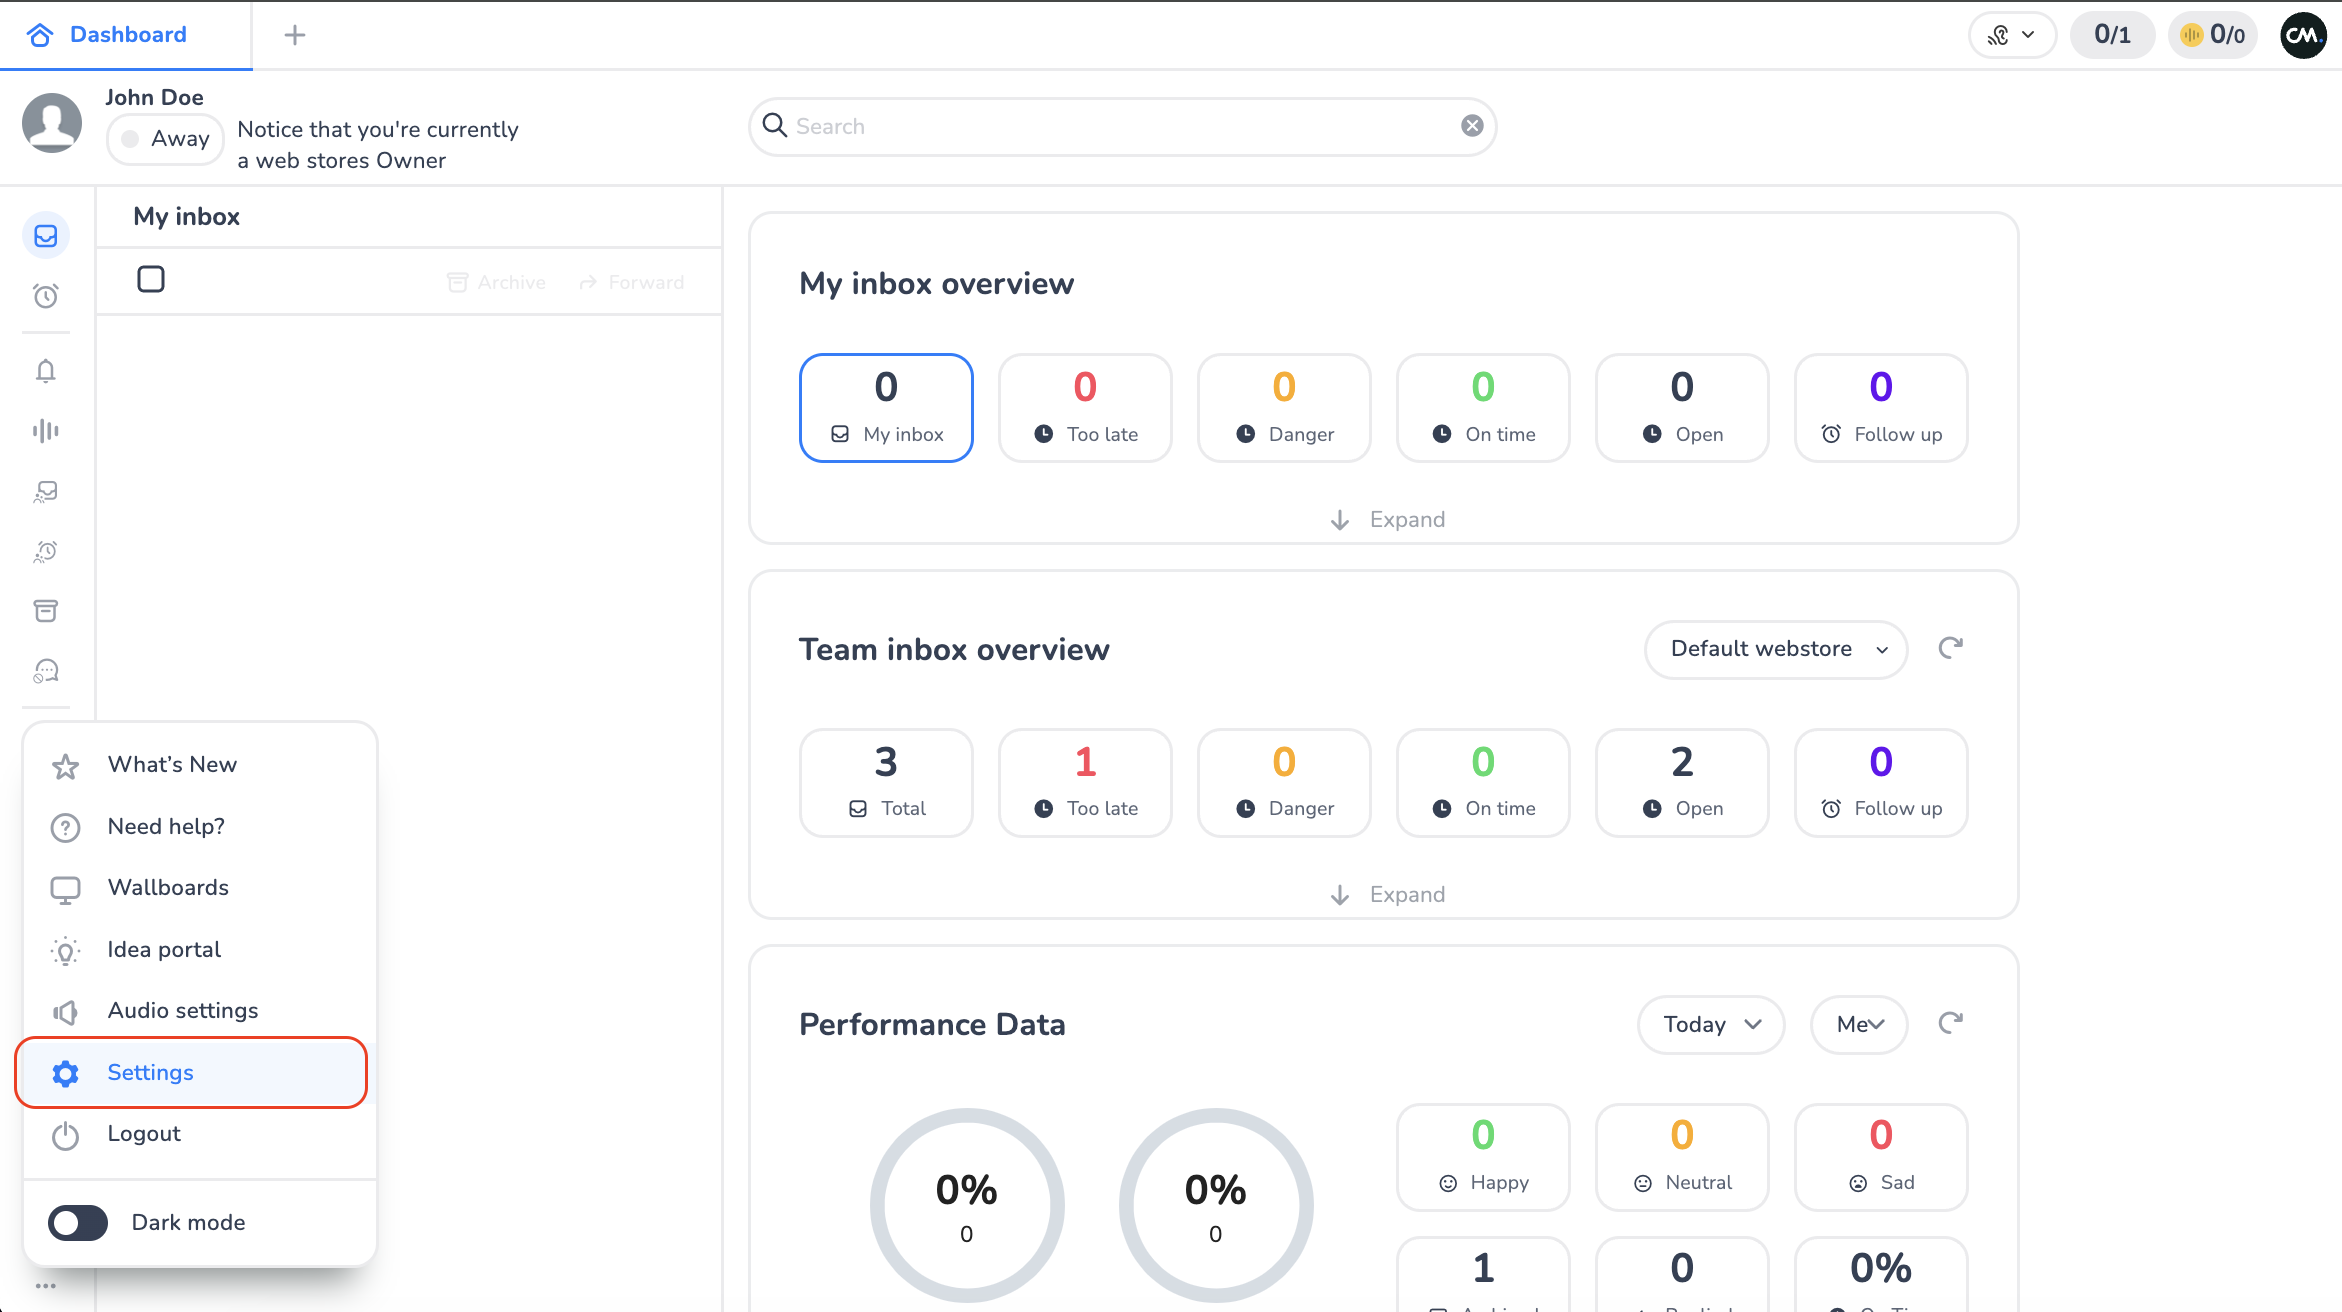
Go to the Settings, by clicking on the three dotted menu and selecting the 'settings' section.
-
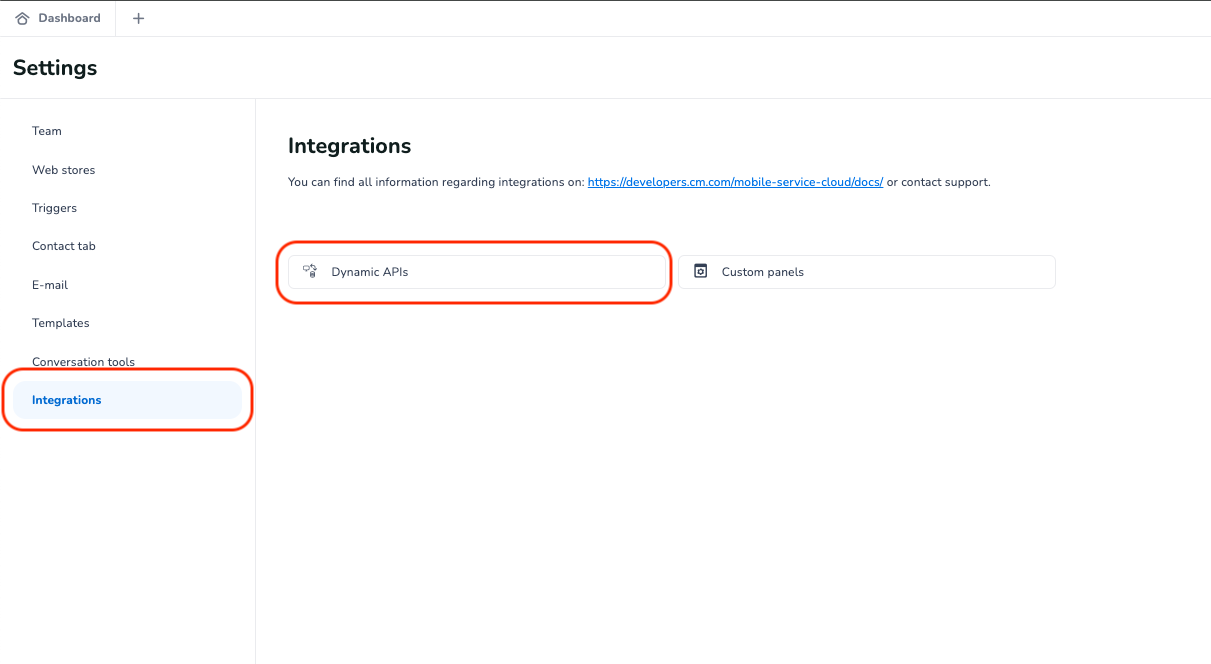
Now navigate to the "Integrations" section, and click on 'Dynamic API's'
-
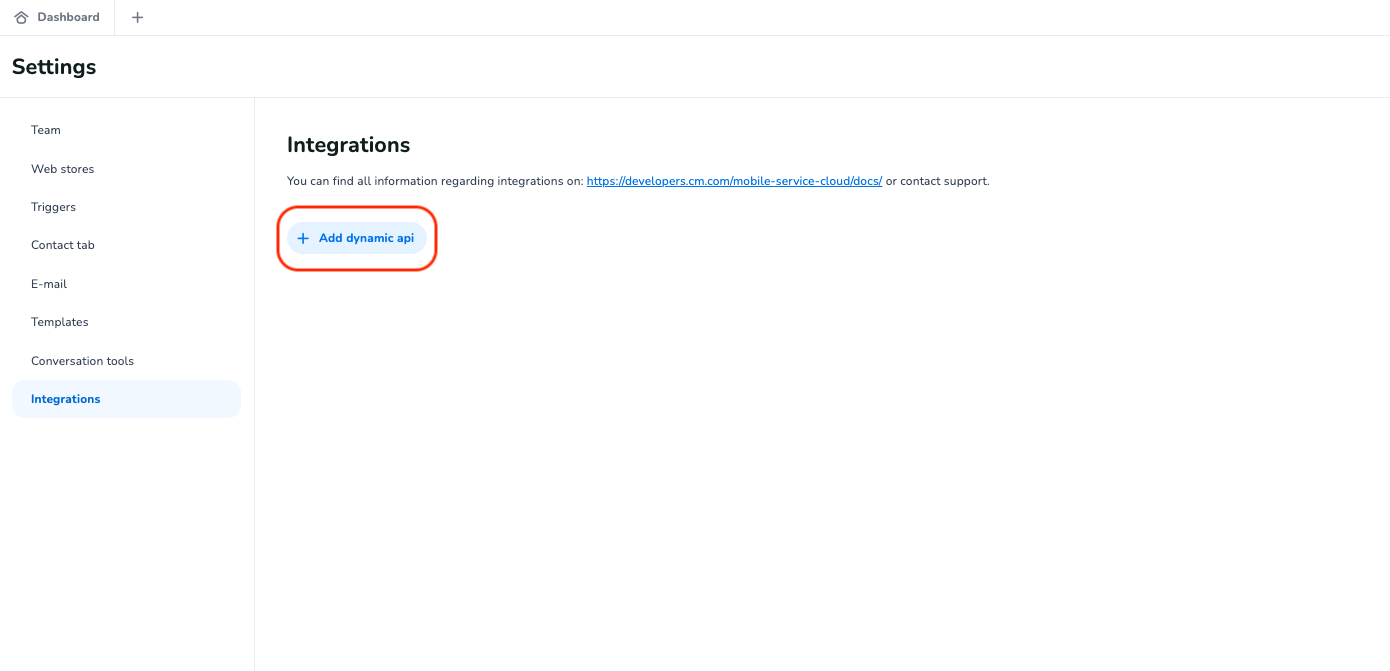
Dynamic API and hit the "Add"-button.
-
Now you can configure the integration according to your wishes.
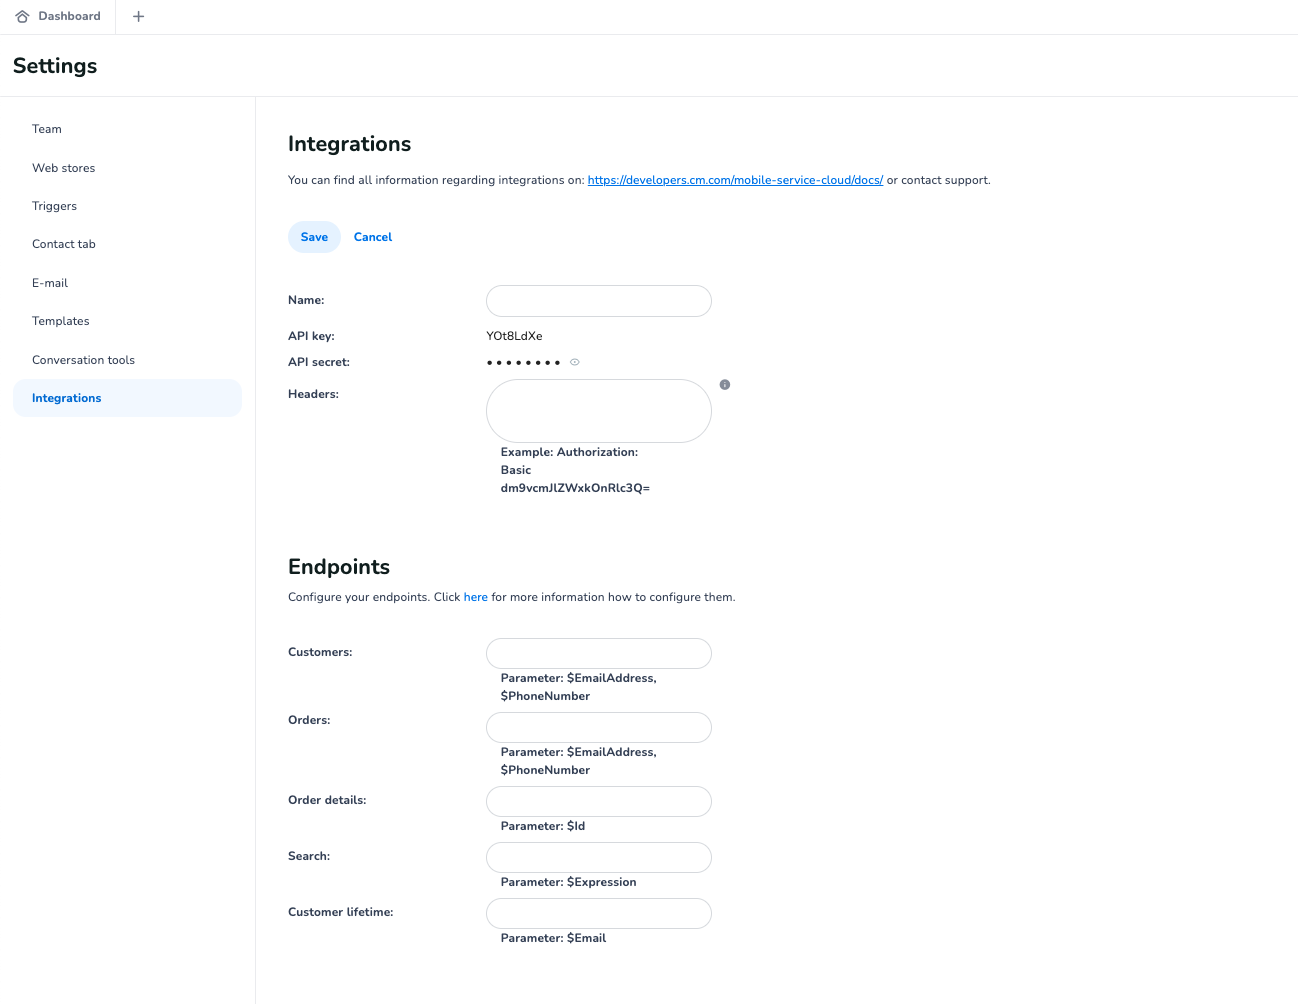
For full technical documentation on the configuration, please find: https://developers.cm.com/mobile-service-cloud/docs/dynamic-integration
Configuration
In order to use the dynamic integration within conversations, you need to configure it for a webstore. By configuring a dynamic integration for a webstore, it will initiate the GET requests required to fetch the latest customer information on the opening of a conversation within that webstore, ensuring you always have to most up-to date customer information available for your agents.
To configure the new integration
-
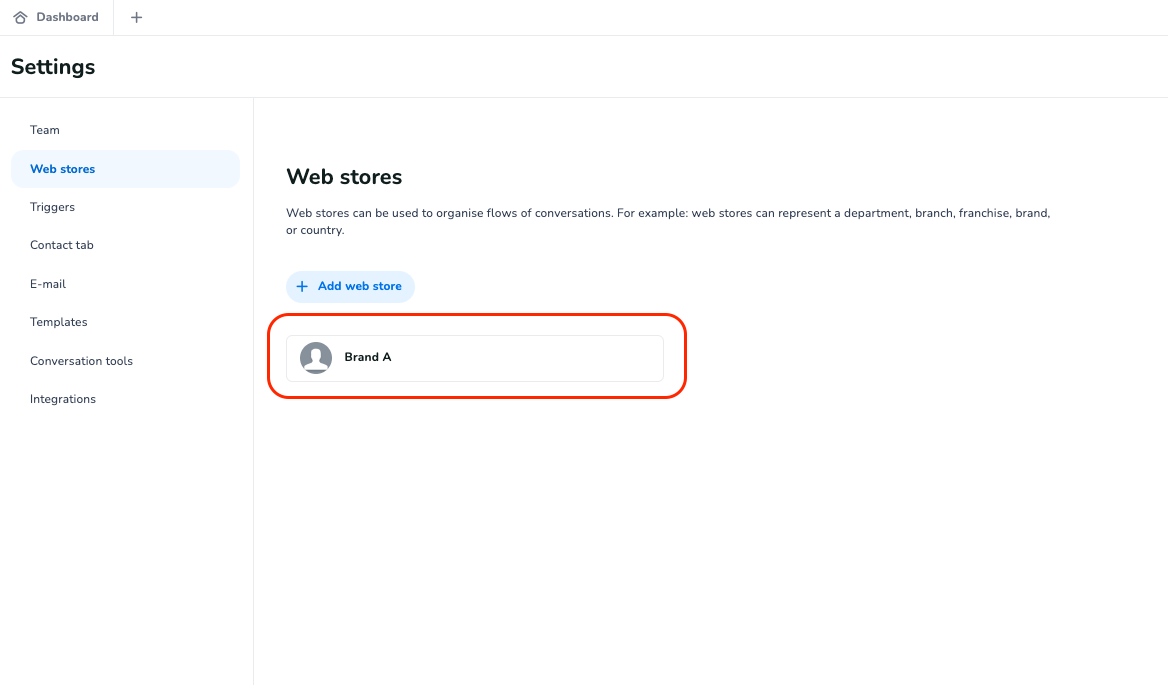
In the settings, navigate to the "webstore settings" page, and select the web store of choice (in the case Brand A)
-
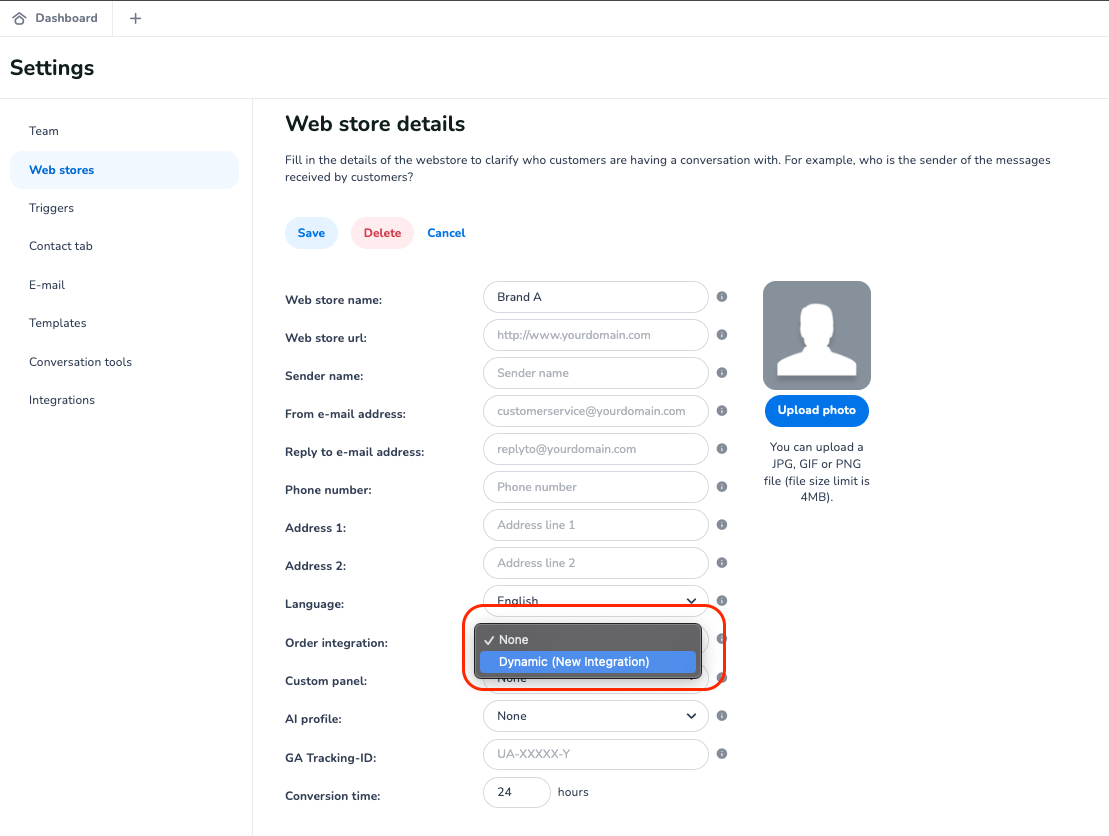
On the web store settings page, find the "Order integration" field, and select the 'Dynamic integration' you want to use for this webstore.
-
Now 'Save' the new configuration, by clicking on the 'Save' button in the top left corner. to finalise the configuration.
-
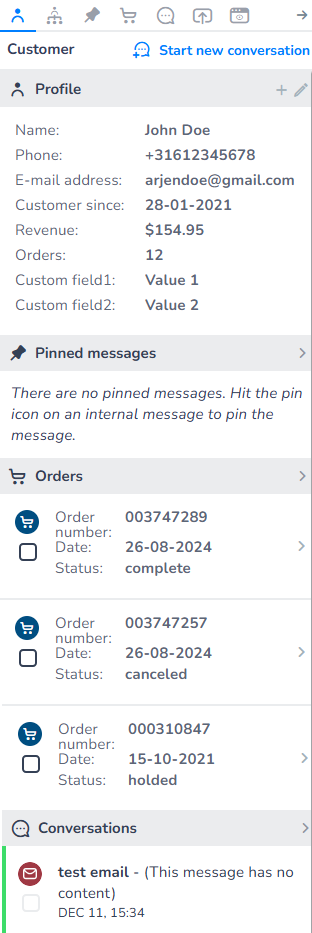
Once you now open a conversations that resides within the web store, the profile information with be fetched from the configured endpoints.
Example:
Video
Please watch the video below on Configuring Dynamic Integration.