Introduction
Once the auto translation feature is enabled for your environment, "Auto Translation" settings become available on the user settings page for each user. To access these settings:
-
Navigate to the bottom left corner and click on the three dots.
-
Select "Team" from the left-side menu.
-
Click on a user to open their settings.
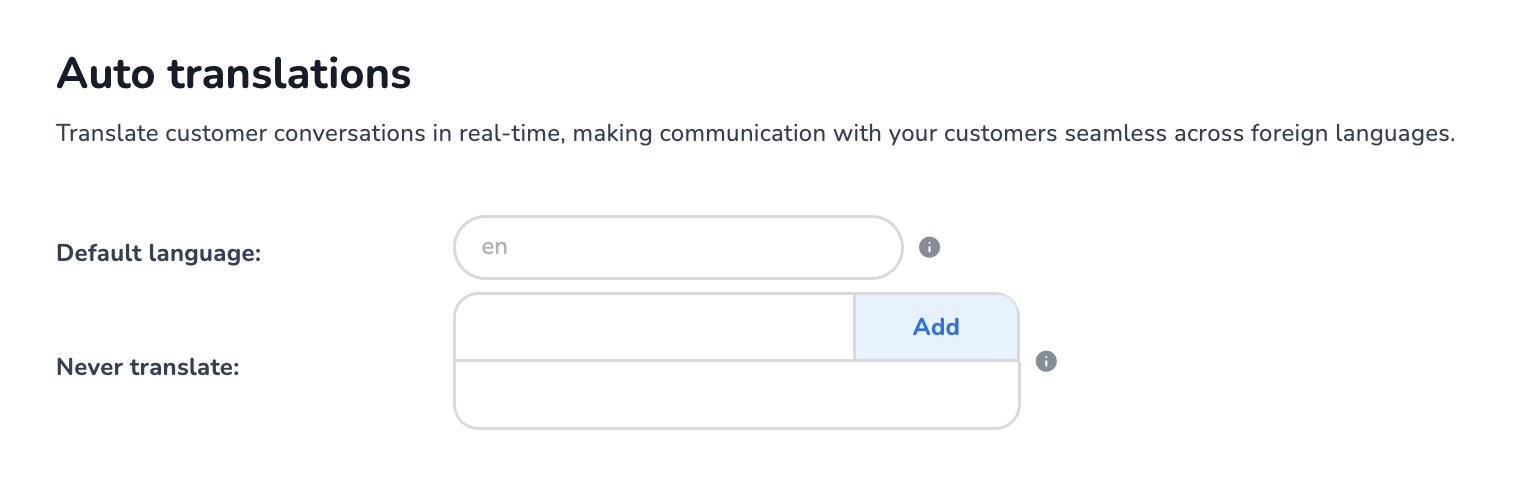
Auto translation Settings
Within these user settings, you will find the Auto Translation options, default language and never translate. These settings will not be filled by default, and only show a placeholder (see image below).
Configuring Auto Translations
The configuration of Auto Translations involves two main steps: defining a default language and specifying any languages you never want translated.
Default Language
The default language specifies the language into which conversations in foreign languages will be translated if you do not speak the language. Use ISO 639-1 notation to input the languages (for example, en for English, nl for Dutch, de for German, etc.).
Never Translate
The "Never Translate" field lets you specify languages you speak fluently and, therefore, do not want to be translated. For example, if you are Dutch but also speak English, you may choose not to translate these languages. Use ISO 639-1 notation to input the languages.
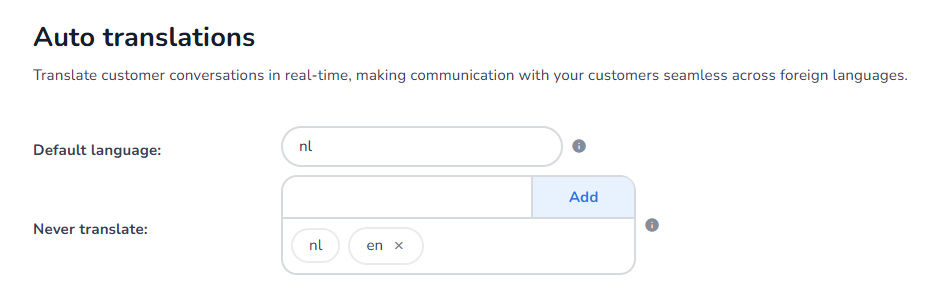
Finalisation
To finalise your configuration, click the "Save" button at the top of the screen to confirm the settings and enable the feature for the user. Until the primary language is configured for a user, the auto translation feature will remain inactive, allowing you to onboard the feature in a controlled manner for the users who need it.
When finalised, you will see the default language displayed in black, as well as shown within the never translate box (in addition to the languages that have been added to the never translate).
E-learning Video
For further guidance, watch our e-learning video on how to add and maintain users in Mobile Service Cloud: