Goal
Create a location in Seated Ticketing
Product
-
Ticketing
Steps
As a first step: open the Seated Ticketing environment in your web browser.
Now you can create a floor plan within a location and then set up the seat distribution. You do this as follows:
-
Go to settings in the dashboard at the bottom left.
-
Navigate to “venues”. in the first column.
-
Click on the plus sign at the top right.

-
Fill in all the details about the new location. Then click on save.
-
After saving the location, the “Sections” window will appear.
-
Click on the plus sign within “Sections”.

-
Give the new venue section a name of your choice, for example 'section A'.
-
You can assign sections to a ring. Choose a ring that falls within this section or create a new ring. The rings will later be used to assign different ticket types and prices per ring.
-
Then choose a “Price category, for example 'Normal' or 'VIP'. If you only have one category, call it 'regular' or 'normal'
-
You then have to make a choice between 'Reservd Seating' (fixed seats) and 'General admission' (free choice of seat).
-
When you opt for 'general admission', it is important to know the capacity of the seats and fill it in at capacity.
-
If you have opted for placed sale, a pencil will be visible next to the seat after saving. Click here to draw the section. And follow the next steps.
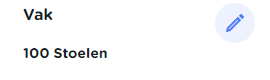
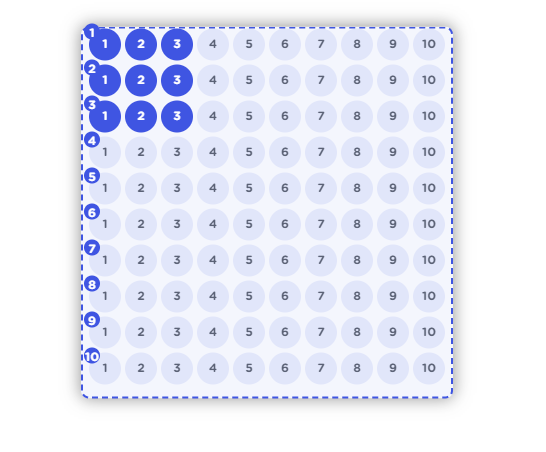
Now enter on the right how large the section should be, for example 10 rows by 10 chairs. After pressing add, the section appears.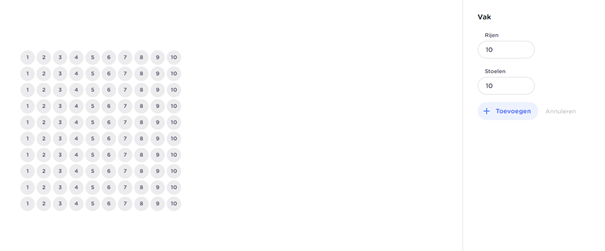
NOTE: The field or hall is always above the section in the map. Keep this in mind when drawing your venue section.
Under the button 'numbering' you can start or, for example, let the row and seat numbers start with numbers of your choice.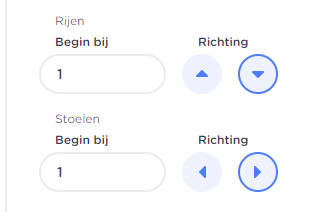
-
Under the 'spacing' button you can add extra space between the rows and seats.
-
Under the 'layout' button you can rotate the box, or tilt the chairs.
-
You may not want to use some seats in a certain section due to poor visibility or a camera, or simply that a seat is not available.
-
Click on the button with the pencil.
-
Select the seats you want to remove
-
Then click on the trash can to remove the seats.
-
You can optionally get seats back by selecting the seats again and then clicking the button to the right of the trash can.
-
Don't forget to save the section before returning to the dashboard to create subsequent sections.
-
Now that you have created a location and sections, the next step is to create a new event to be able to use this location for this event.