Once you have created your location, it is time to build your first event.
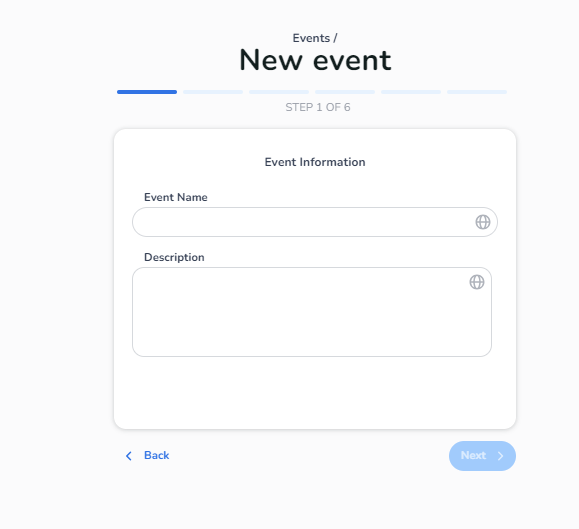
In the menu on the left go to events and press the button create new event 
-
Give the event a name (for a multi-day event, fill in the day here as well) You can also add a description in the first step. This is an open textfield wich will be shown in the online shop
-
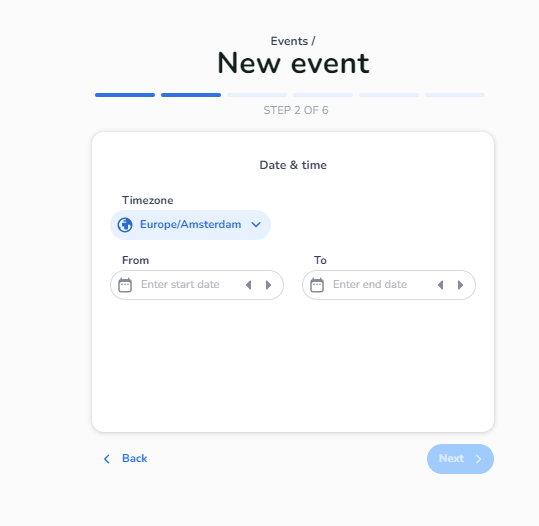
Select the start and end date and the right time zone the event will be hosted in.
-
Choose the previously created venue

-
Create or select an event category NOTE: make sure that you will connect the same category to your events and the subscriptions. A more detailed explanation about event category's can also be found in this help center
-
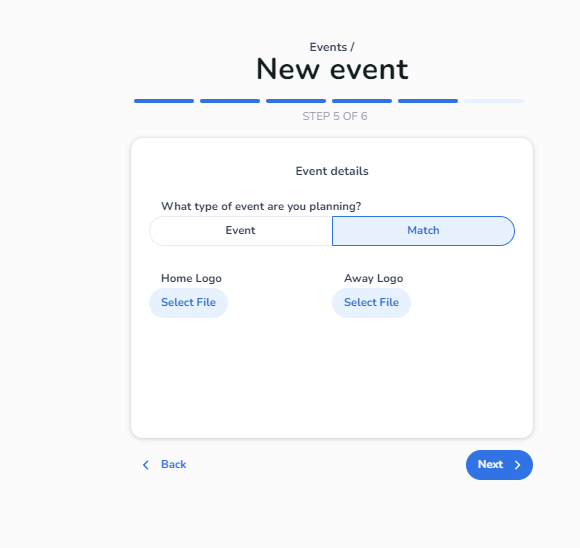
Choose between event or match (only change at match is 2 logos instead of 1)
-
Add image/logos - preferably square, but this is not a requirement
-
Press save
You have now created your event, and you can start working in it.