This article explains how to use the Content Manager within the Campaigns app of the Mobile Marketing Cloud, helping marketers enhance their campaigns with media integration. For more information on the Content Manager itself, visit the Content Manager documentation.
Step 1: Select a Channel that Supports Media
Begin by navigating to the Campaigns app and creating a campaign with a channel that supports media additions, such as images and videos. The following channels are supported and allow for at least one media type:
-
WhatsApp
-
RCS
-
Facebook Messenger
-
Push
-
Viber
-
MMS
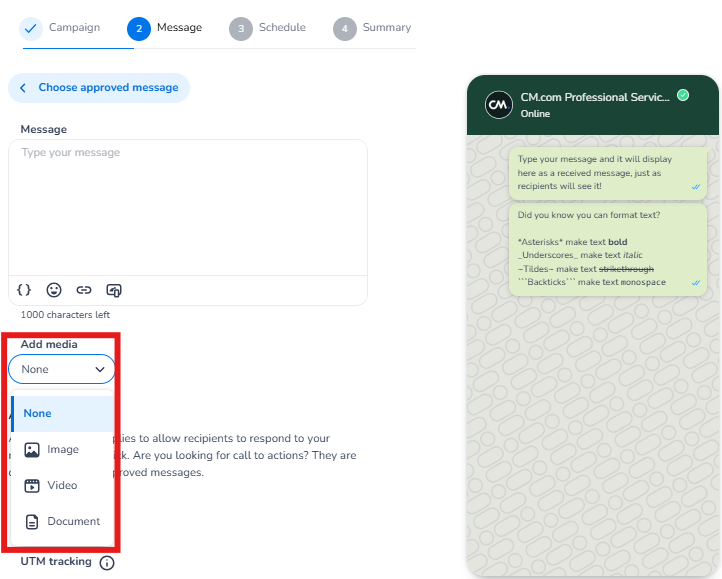
Step 2: Select the Media Type
Choose the media type you’d like to incorporate from the dropdown menu. Note that supported file types and sizes may vary depending on the channel.
Step 3: Add Media via the Content Manager
Click the "Add" button next to the media bar to open the Content Manager pop-up. In this pop-up, you'll find three tabs: Content Picker, Upload, and Link.
-
Content Picker: Add previously uploaded media by clicking the desired item. The pop-up will close automatically.
-
Upload: Upload new media files to the Content Manager. Click "Upload" after selecting a file; once the upload is complete, the media is added to your campaign, and the pop-up closes.
-
Link: Insert a link to hosted media files, with options to personalize URLs using merge tags. After clicking "Insert," the media is added to your campaign, and the pop-up closes.
Step 4: Check Preview & Edit if Needed
Review the added media in the preview section on the right side of your screen. This preview visually represents how the message will appear to the recipient. To change the media, click "Edit" next to the media bar and make necessary adjustments.
