
How to navigate to and through the Email Campaigns app?
The goal of this article is to guide users on how to easily navigate to and through the Email Campaigns app, ensuring a smooth experience when creating and managing email campaigns.
Step 1: Access the Email Campaigns App
To get started, go to the dashboard, click on the 9 dots in the top-right corner, and select "Email Campaigns."

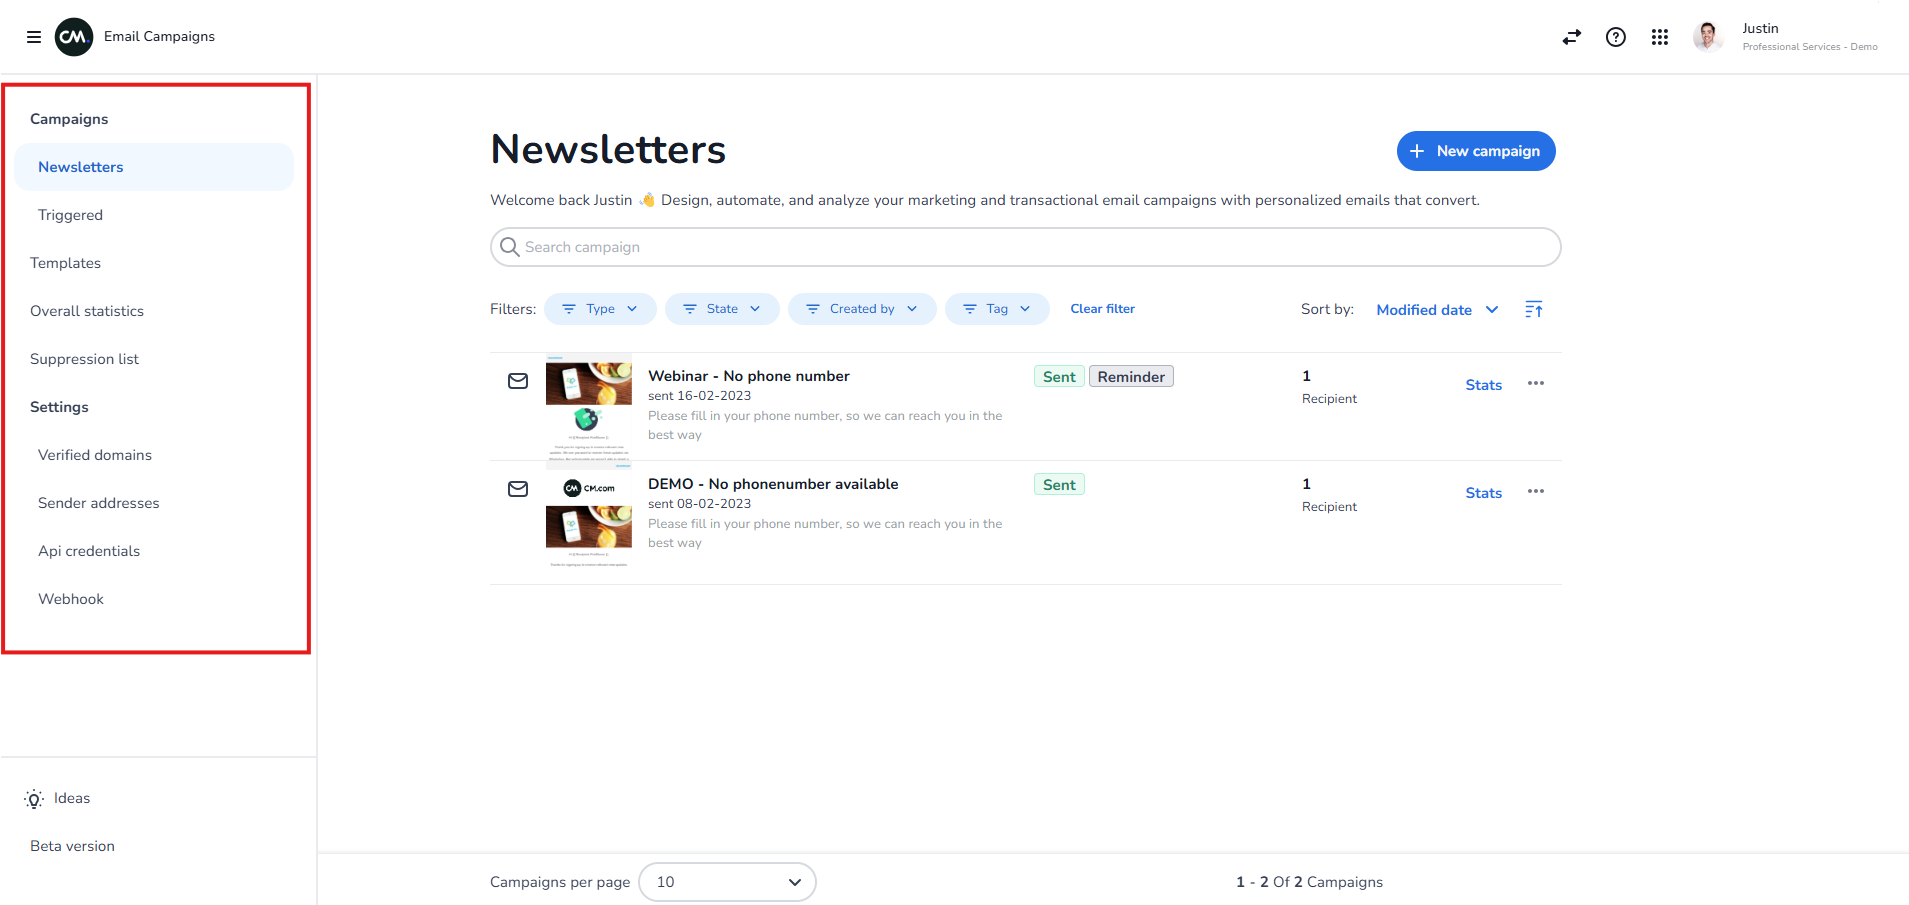
Step 2: Understand the Navigation Menu
On the left side, you’ll find the navigation menu, which can be used to navigate through the Email Campaigns app. Simply click on an item in the menu to open its content. If needed, you can close the navigation menu by clicking on the three stripes in the top-left corner next to the CM.com logo.
Step 3: Navigate Through a Single Email Campaign
You can easily create a new email campaign by clicking on the "New Campaign" button. This will allow you to choose an email type.
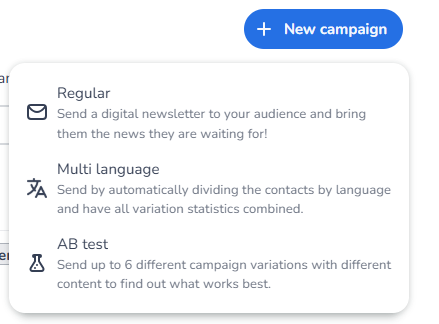
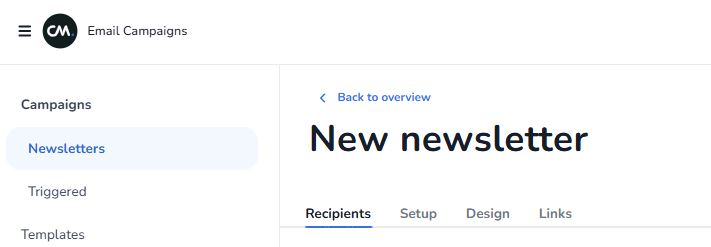
When selecting "Regular," you will see four tabs: Recipients, Set-up, Design, and Links.
Recipients Tab:
This tab allows you to select an uploaded Address Book or a segment synced from the Customer Data Platform (CDP).
Set-up Tab:
In this tab, you’ll need to fill in the general settings for the email, such as the sender name, subject, send date (if it’s a scheduled campaign), template selection, and more.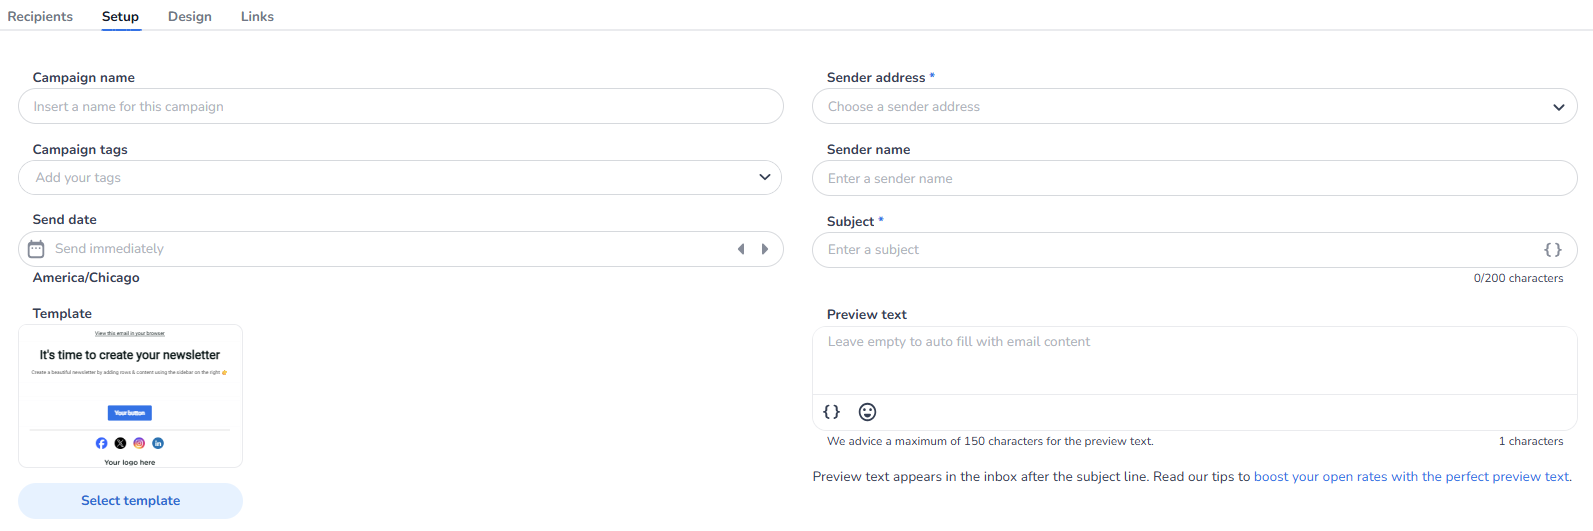
Design Tab:
Here, you can design your email campaign using the drag-and-drop editor or the HTML editor.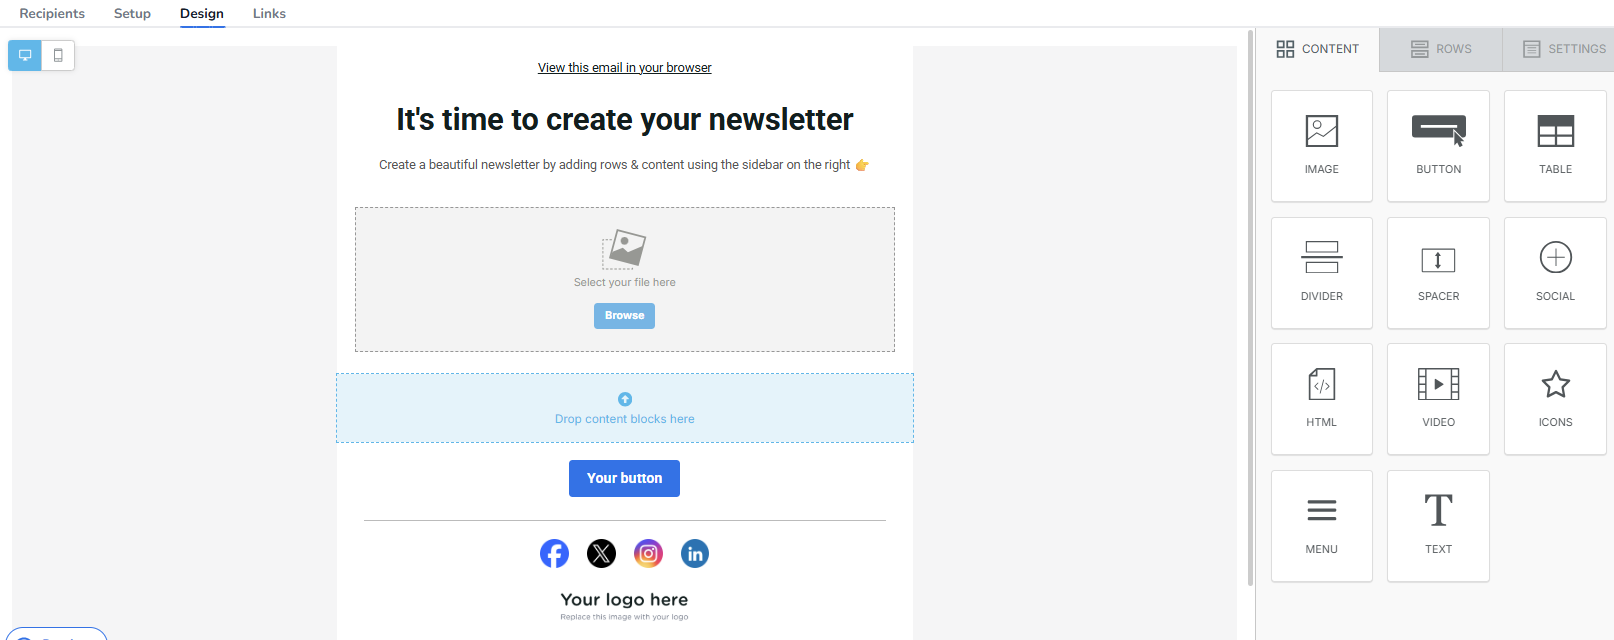
Links Tab:
The final tab allows you to select a domain for shortening links, enable UTM tracking, and add link tagging to effectively monitor the performance of your email campaign.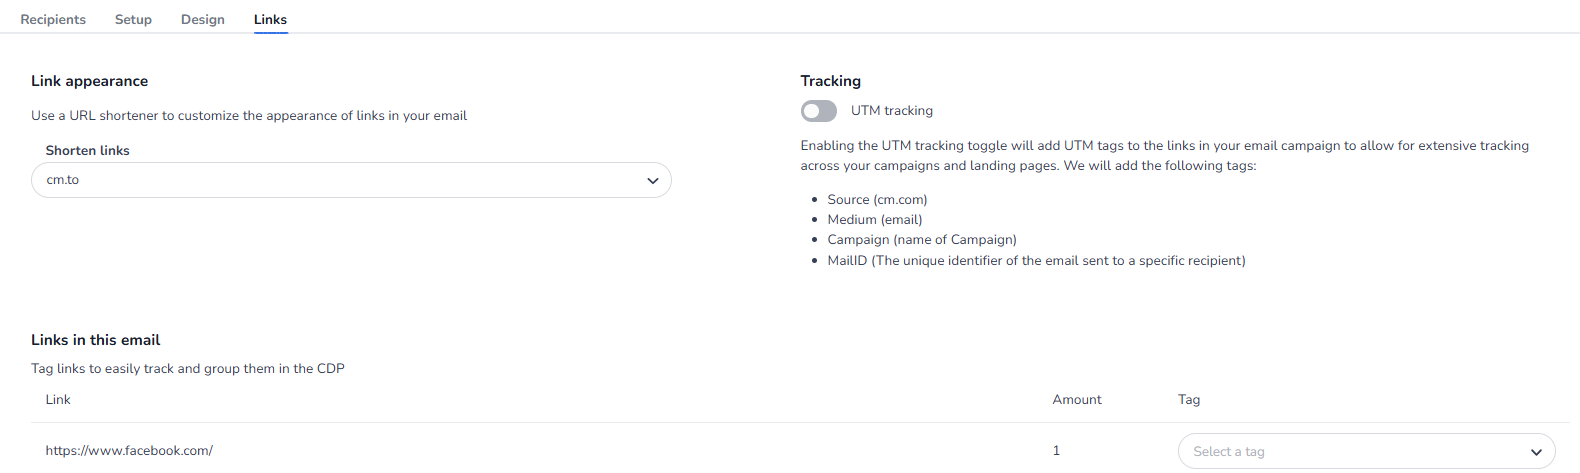
Video
Below you find a video on Email Campaigns in the Mobile Marketing Cloud.