
Tool Creation Process
This guide outlines the process of creating tools within HALO, focusing on building a tool from scratch and explaining each step involved. Another option is to create a tool from a template, offering a structured starting point.
Starting the Tool Creation Process
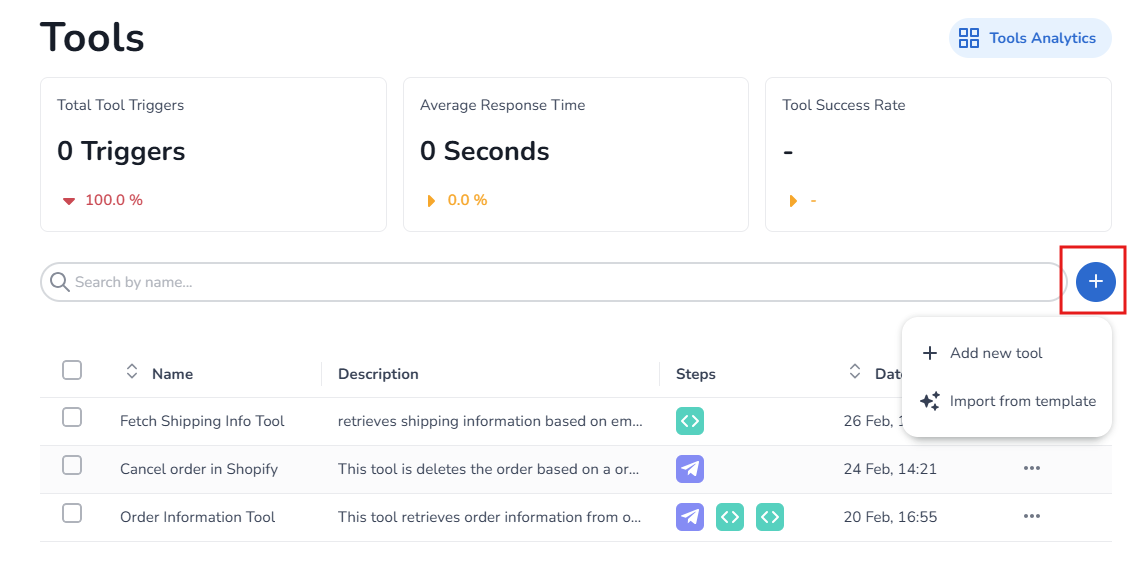
Initiate Creation:
Navigate to the Tools Overview section and click the blue ‘+’ icon.
You'll see two options. Select ‘Add New Tool’ to begin with a blank canvas.
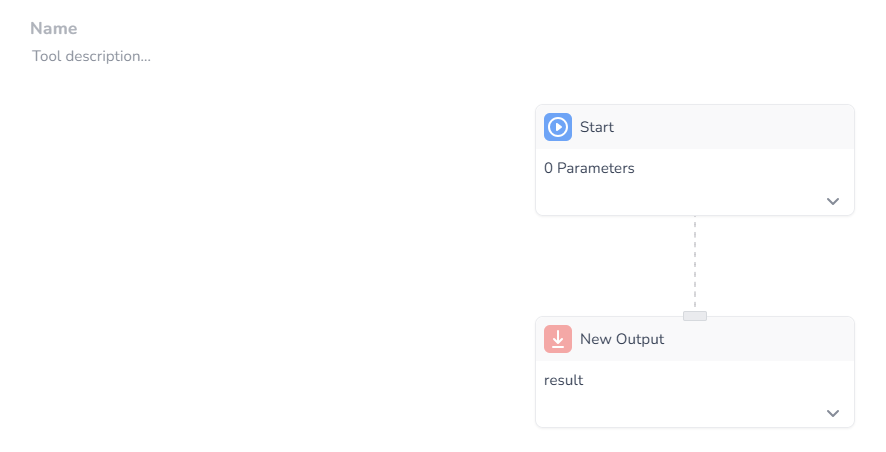
Tool Structure:
A tool follows a fixed format:
Start Block: Contains input parameters.
Process Steps: Includes sending, retrieving, or updating data.
Output Block: Sends the output back to the AI agent.
Visualization:
Before starting the creation process, it's helpful to draw or digitally sketch the tool’s steps. This visualization helps you understand the exact steps needed to develop the tool effectively.
Example Tool: Order Information Retrieval
To demonstrate, consider an example tool designed to retrieve order information based on an order ID.
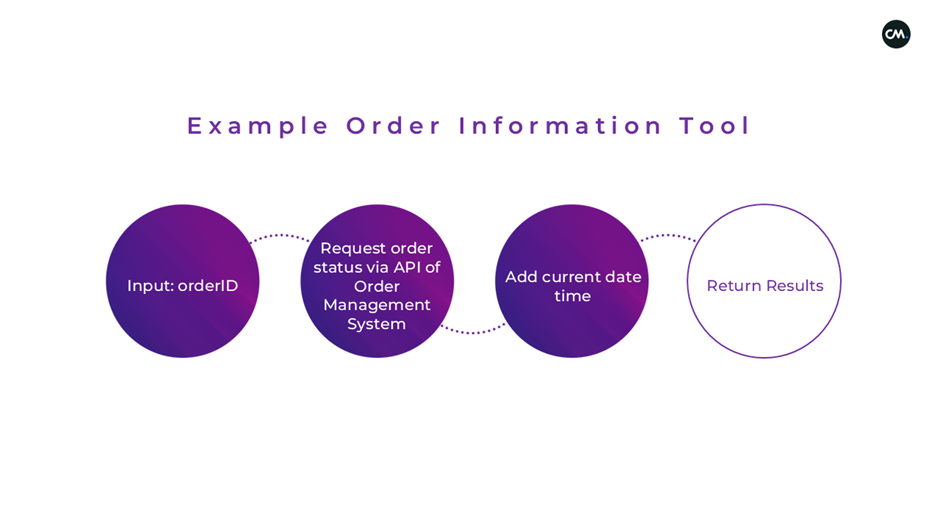
Input: Begin with the Order ID.
Process: Request order status from the order information system's API.
Enhancement: Add the current date and time.
Output: Send all results back to the AI Agent.
This concludes our introductory explanation of creating tools in HALO. In the subsequent guides, you will learn how to build this tool from scratch, deepening your understanding of HALO’s tool creation capabilities.
By following these steps and examples, you can effectively create and customize tools that meet your specific needs in the HALO platform.
E-learning Video
For further guidance, watch our e-learning video on “Tools: Introduction and Steps” for HALO.
https://vimeo.com/1060522521/a937e0207a