Ava in HALO Studio is a dynamic tool that simplifies the creation and management of agents, tools, and code execution. Its versatility enhances the efficiency of building components to meet your personalized specifications.
Exploring Ava in HALO Studio
Ava operates across three main areas, providing streamlined processes and valuable guidance:
-
Agents: Facilitates the creation of sophisticated AI agents from scratch, offering customization options tailored to your needs.
-
Tools: Assists in developing tools using various methods, including natural language, images, and verbal instructions, to fulfill specific operational tasks.
-
Code Execution: Supports the generation of necessary code for complex tasks, making programming accessible even to users with limited coding expertise.
Building Agents with Ava
-
Create a New Agent:
-
To begin creating an agent, click the blue '+' sign on the Agent Overview page, where Ava will be activated at the bottom of the screen. More on creation of Agent on this page.
-
Click on Ava, and it will open Ava window.
-

-
Define Agent Functions:
-
Input Options: Describe the agent's intended function by either typing it out, speaking using the mic icon on the right, or uploading a file with the process details via the '+' sign.
-
Guidance and Setup: Ava adds placeholders for any missing tools and guides you through naming and completing the agent setup.
-
Example: Instruct the agent with a request like "Create an agent that uses the order management tool to retrieve order statuses." Ava will create an 'Order Status Agent' that utilizes the 'Order Information Tool'.
-
-
Agent Customization:
-
Modify the agent further by instructing Ava to add specific actions, such as requesting the customer's name, by using prompts like "Please add to this agent that it should ask for the customer's name at the start."
-
Save your configurations to ensure your agent is ready for deployment.
-
Using Ava to Create Tools
-
Create a New Tool:
-
To begin creating a tool, click the blue '+' sign on the Tool Overview page and choose ‘Add New Tool’. Ava will be activated at the bottom of the screen. More on creation of Tools on .
-
Click on Ava, and it will open Ava window.
-

-
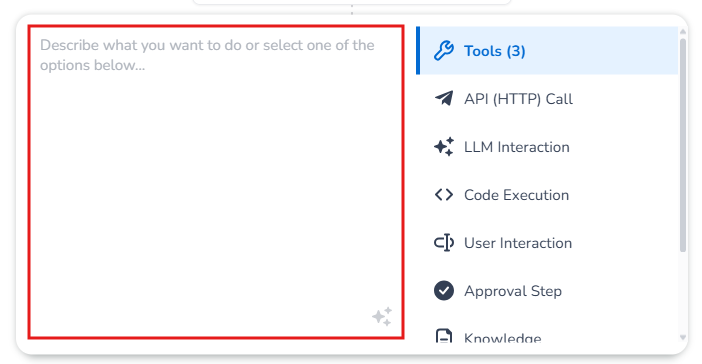
Tool Creation Methods:
-
Text: Enter the tool's name or describe the process for structured guidance.
-
Files: Upload a file describing a process or flow using the '+' sign.
-
Images: Use images to visually inform the tool creation process via the '+' sign.
-
Speech: Provide verbal commands using the mic icon to instruct Ava in building tools.
-
-
Tool Customization:
-
Modify the tool further by instructing Ava to add specific steps.
-
Save your configurations to ensure your tool is ready for deployment.
-
-
Example:
-
Upload an Order Information Tool image example and instruct, “Create a tool from this picture”.
-
Ava organizes the steps involved, allowing you to input any additional details or requirements.
-
Enhancing Code Execution with Ava
Ava in HALO can be a valuable resource for efficient code generation and customization. By utilizing Ava in the tools panel, you can receive coding support that simplifies the customization of tools. It generates the necessary Python code for logging and specific customization needs, effectively streamlining your coding process and enhancing operational efficiency.
Conclusion
In this guide, you’ve discovered how to leverage Ava in HALO to streamline tool and agent creation, as well as assist in code execution. Ava is an invaluable resource for enhancing your workflow, offering guidance at every step of your development process.
Video
Please watch the video below to learn how to work with Ava in HALO.