In this article, you will learn how to add a sender address to your Email Campaigns environment using a verified domain. This ensures your emails are sent from a recognizable and trusted source. If you haven’t verified a domain yet, please refer to our help center article on how to verify a domain.
After verifying your domain, you can add a new sender to your Email Campaigns environment. The sender consists of the email address and name you’ll be sending from. You can choose any sender name and address, as long as it uses your verified domain.
-
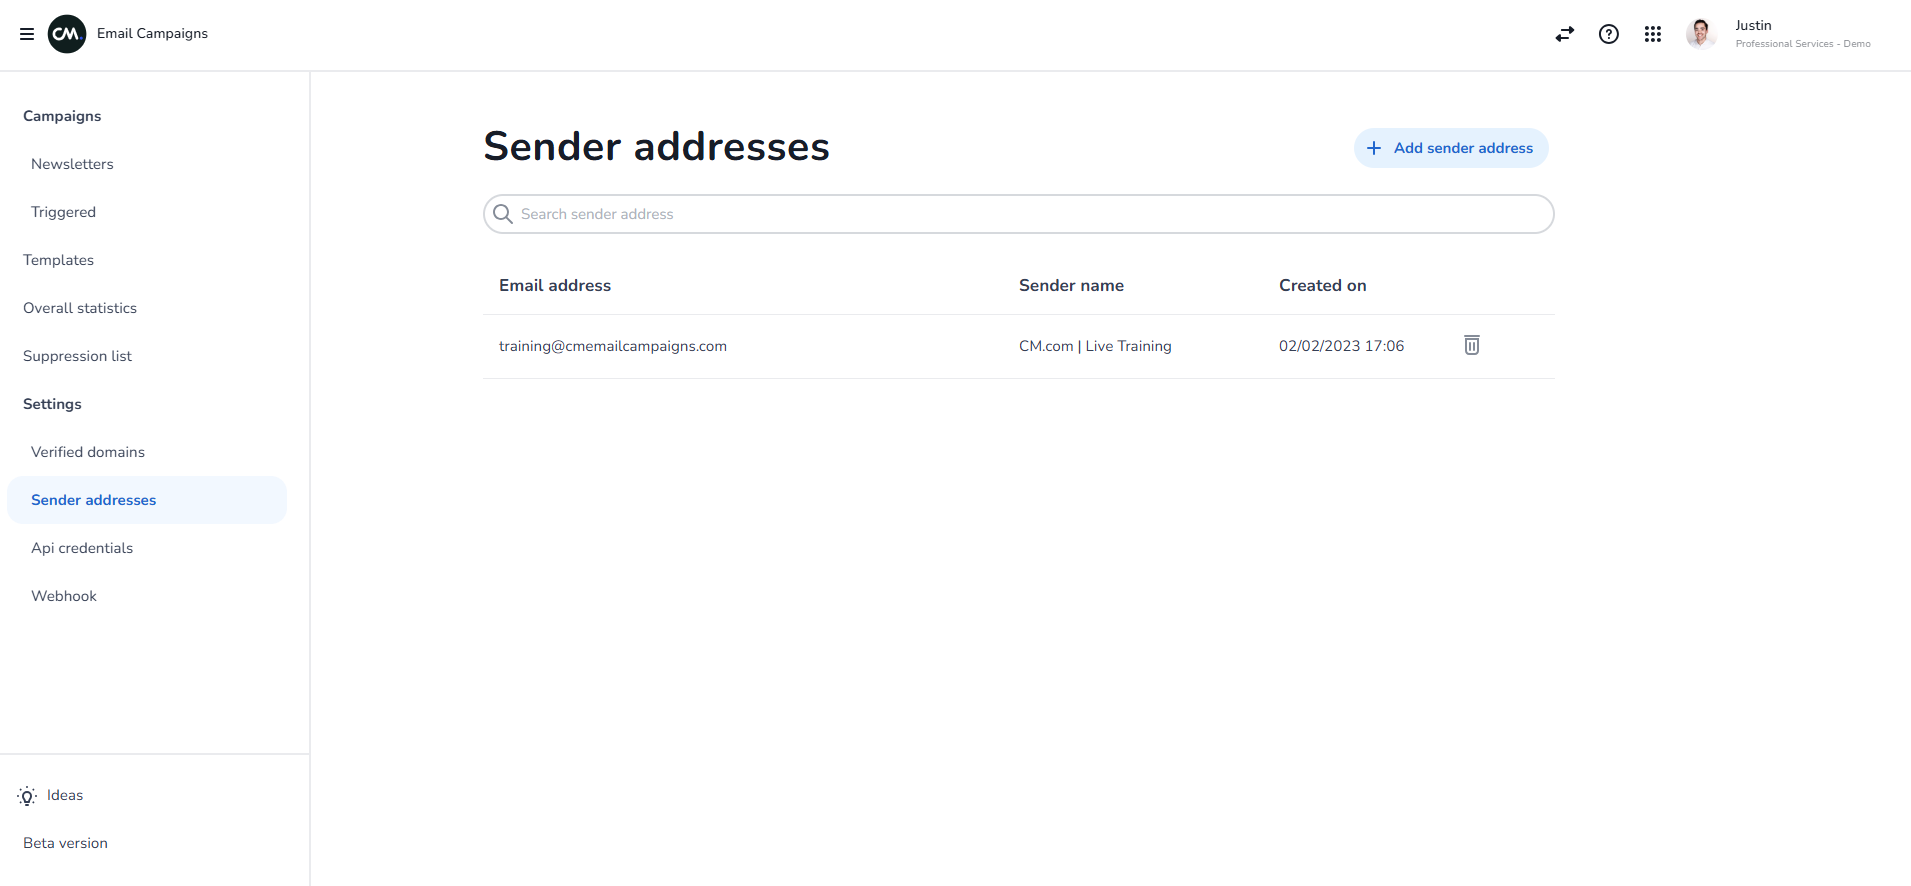
Access the Sender addresses section:
Open the Email Campaigns app and navigate to the Sender addresses section. Here, you’ll see all existing sender addresses. To add a new one, click “Add sender address.”
-
Enter the email address:
Fill in the email address you want to use, ensuring it belongs to the verified domain. -
Enter the sender name:
Provide the sender name, which will appear in the recipient’s inbox.

Make sure to use a sender address and name that makes it easy for your customers to identify you. For more information on best practices, click here.