Text customization is a critical feature in Web Conversations that allows you to personalize the interface texts displayed within your web chat. From naming your chatbot to customizing placeholder text and menu options, text customization ensures that your chatbot communicates in a way that reflects your brand’s tone of voice and enhances the user experience.
This article explores the text customization options available in Web Conversations and provides step-by-step guidance on how to configure them effectively.
Why Text Customization Matters
Customizing the text in your web chat interface is essential for creating a chatbot experience that feels professional, engaging, and aligned with your brand. Here’s why text customization is important:
-
Brand Voice: Ensure that your chatbot communicates in a tone and style consistent with your brand’s personality.
-
Clarity: Provide clear and intuitive instructions to guide users through interactions with your chatbot.
-
Personalization: Tailor the chatbot’s interface texts to make the experience feel more human and relatable.
-
User Engagement: Well-crafted texts can make the chatbot more approachable, encouraging users to interact with it.
Key Text Customization Options
Web Conversations provides a variety of text fields that you can customize to enhance the user experience. These options are accessible through the Texts section in the Web Chat Editor.
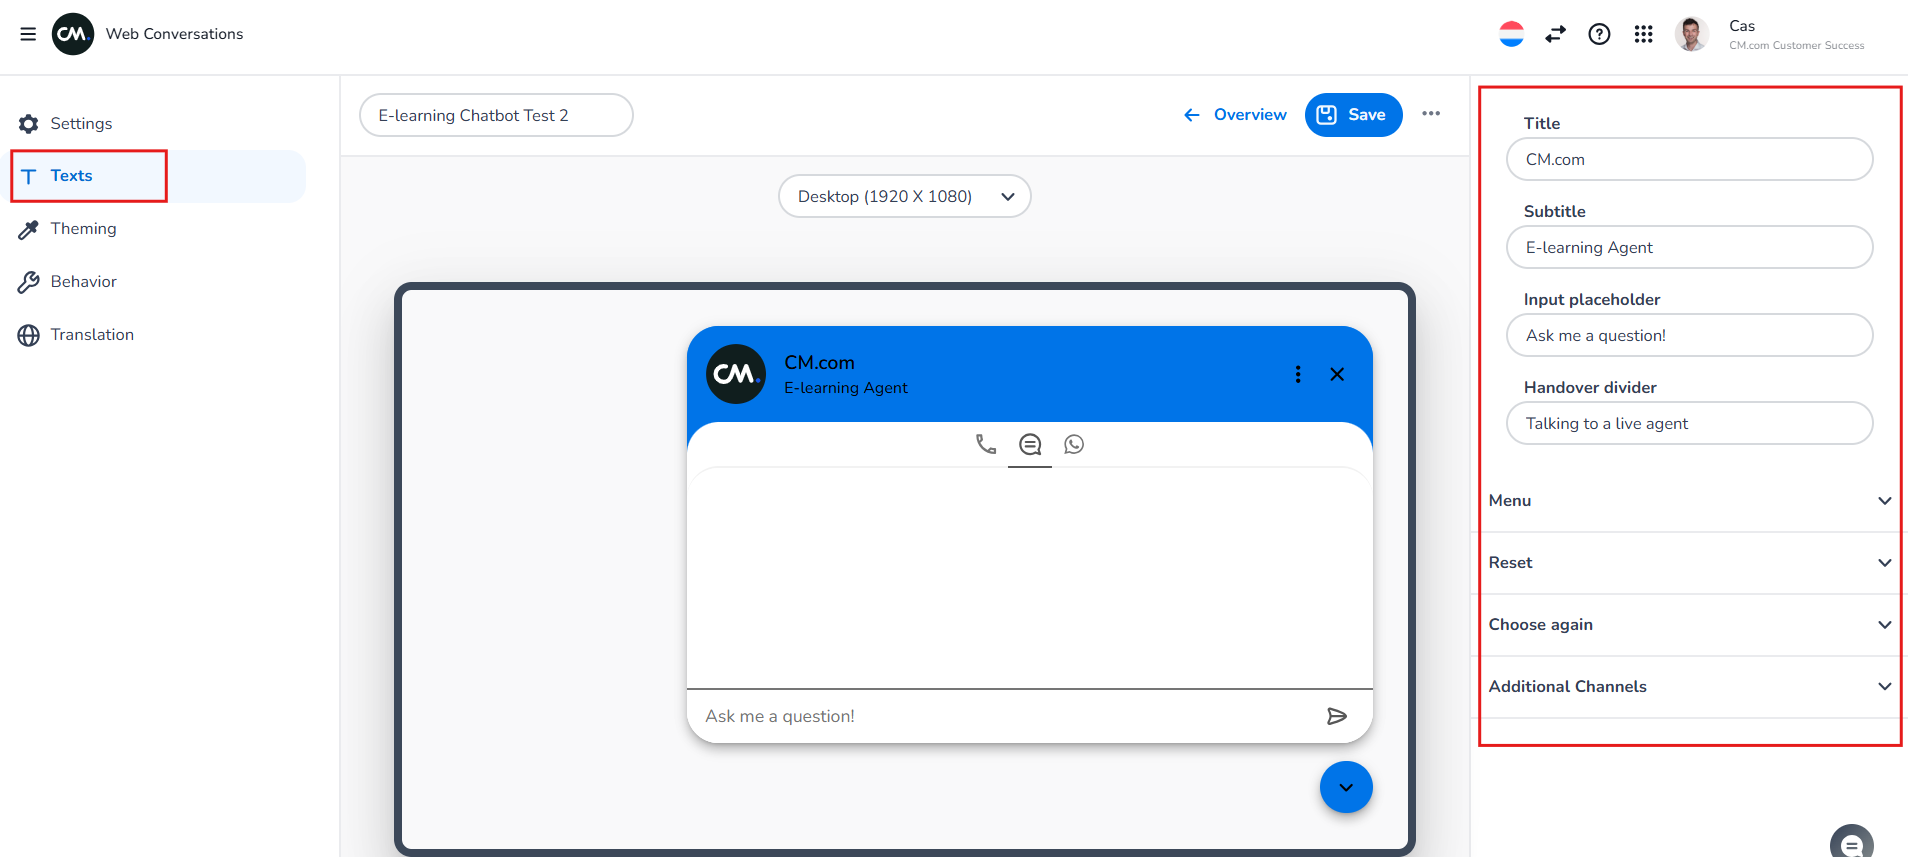
1. Title and Subtitle
The Title and Subtitle are displayed at the top of the chat window and provide context about your chatbot.
-
Title: Typically used to display your company name or the name of your chatbot. For example, "CM.com" or "Customer Support Bot".
-
Subtitle: Additional text that appears below the title, often used to describe the chatbot’s purpose. For example, "Here to assist you 24/7".
How to Customize:
-
Navigate to the Texts section in the Web Chat Editor.
-
Locate the Title and Subtitle fields.
-
Enter your desired text and save your changes.
-
Preview the updates in the Preview Window.
2. Input Placeholder Text
The Input Placeholder Text is the text displayed in the input field where users type their messages. This text serves as a prompt to guide users on what to type.
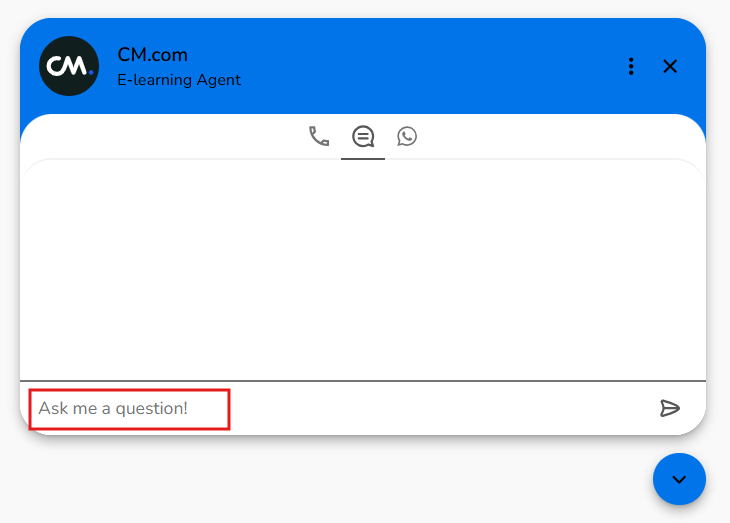
-
Best Practices: Use simple and inviting text, such as "Ask me a question!" or "How can I help you today?" Avoid using questions as placeholder text, as this can confuse users.
3. Handover Divider Text
If your chatbot is integrated with live chat, the Handover Divider Text indicates the point in the conversation where the chatbot transfers the user to a live agent.
-
Example: "You are now being connected to a live agent."
4. Menu Texts
The Menu Texts refer to the options accessible via the three dots in the title bar of the chat window. These options allow users to perform actions such as resetting the conversation or starting a new session.
-
Reset Confirmation Text: Customize the text that appears when users choose to reset the conversation.
-
Menu Options: Define the labels for menu items, such as "Start New Session" or "Reset Conversation."
5. Additional Channels Texts
If you’ve enabled additional channels, such as WhatsApp or phone numbers, you can customize the texts associated with these options.
-
WhatsApp Text: Define the label or tooltip text for the WhatsApp icon (e.g., "Chat with us on WhatsApp!").
-
Phone Number Text: Define the label or tooltip text for the phone icon (e.g., "Call us directly for assistance").
Live Preview and Testing
As you make changes to the text fields, the updates are automatically reflected in the Preview Window in the Web Chat Editor. This live preview allows you to see exactly how your changes will look to users.
How to Test:
-
Make changes to the text fields in the Texts section.
-
View the updates in the Preview Window.
-
Switch between device views (desktop, tablet, mobile) to ensure the texts are displayed correctly across platforms.
-
Save your changes and test the web chat on your live website.
Best Practices for Text Customization
-
Keep It Clear and Concise: Use simple, straightforward language to ensure users understand the chatbot’s purpose and instructions.
-
Reflect Your Brand Voice: Customize the texts to align with your brand’s tone, whether it’s formal, friendly, or conversational.
-
Avoid Overloading Users: Keep placeholder and menu texts short and to the point to avoid overwhelming users.
-
Test for Readability: Ensure that the text is legible against the background colors. Use the Theming section to adjust colors if needed.
Learn More with E-Learning Videos
For a step-by-step walkthrough of text customization in Web Conversations, check out our dedicated e-learning video. This video guides you through customizing interface texts, including titles, subtitles, placeholder text, menu options, and more. It also demonstrates how to preview and test your changes to ensure they align with your brand and user experience goals.
Conclusion
Text customization in Web Conversations is a powerful way to personalize your chatbot and create a user experience that aligns with your brand. By tailoring elements such as titles, placeholder text, and menu options, you can ensure that your chatbot communicates effectively and engages users in a meaningful way.
Start exploring the Texts section in the Web Chat Editor today and transform your chatbot into a true extension of your brand!