This guide is intend for customers that have acquired their own Zebra hardware for using in combination with our Entrance Management App, Ticket Scan App or the YTP Scan App. If you own a device under management by CM, this guide does not apply to you.
At this point in time the app does not automatically set up the laser scanner on non-managed devices, therefor the customer has to manually activate the connection with the laser scanner by adding a DataWedge profile.
Create a New Profile
To create a new profile (device screens may vary depending on device system and DataWedge version):
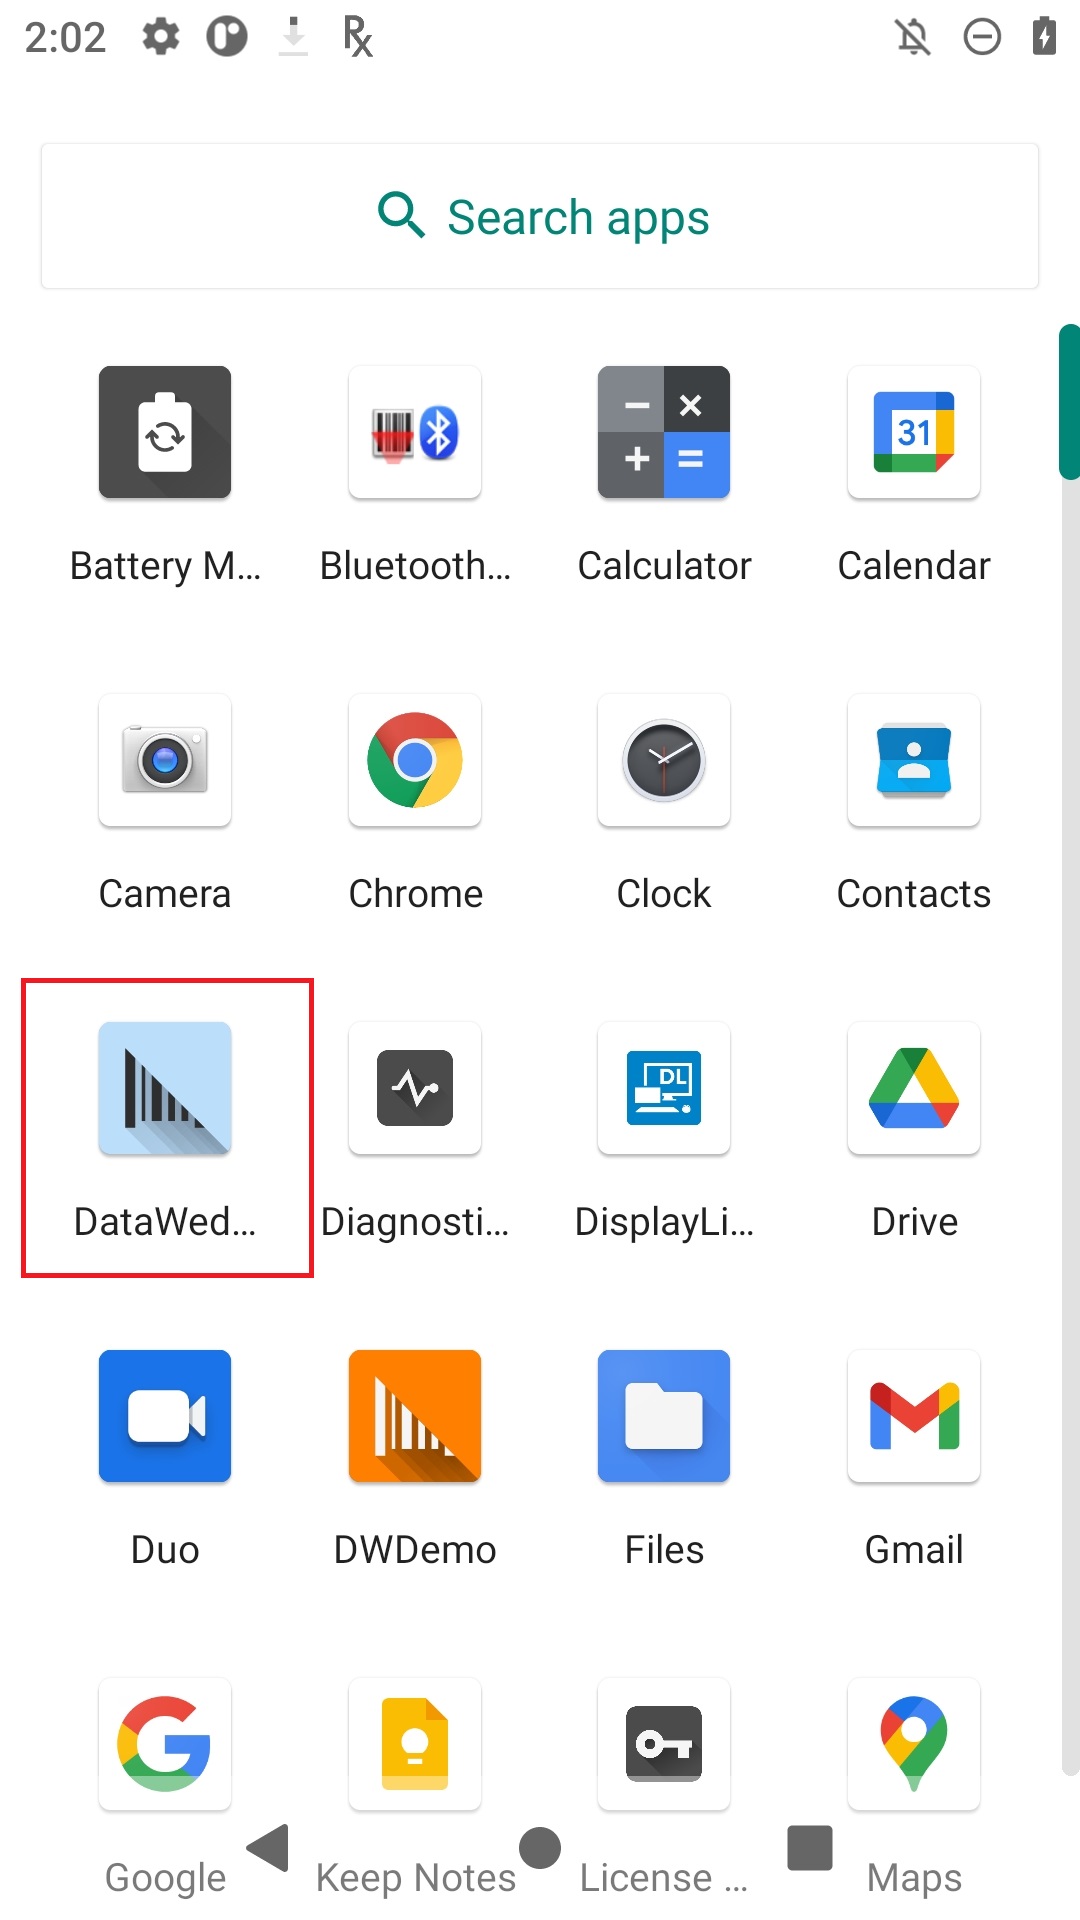
The launcher icon for DataWedge 7.x is shown below. Locate the DataWedge icon and tap it to begin.
|
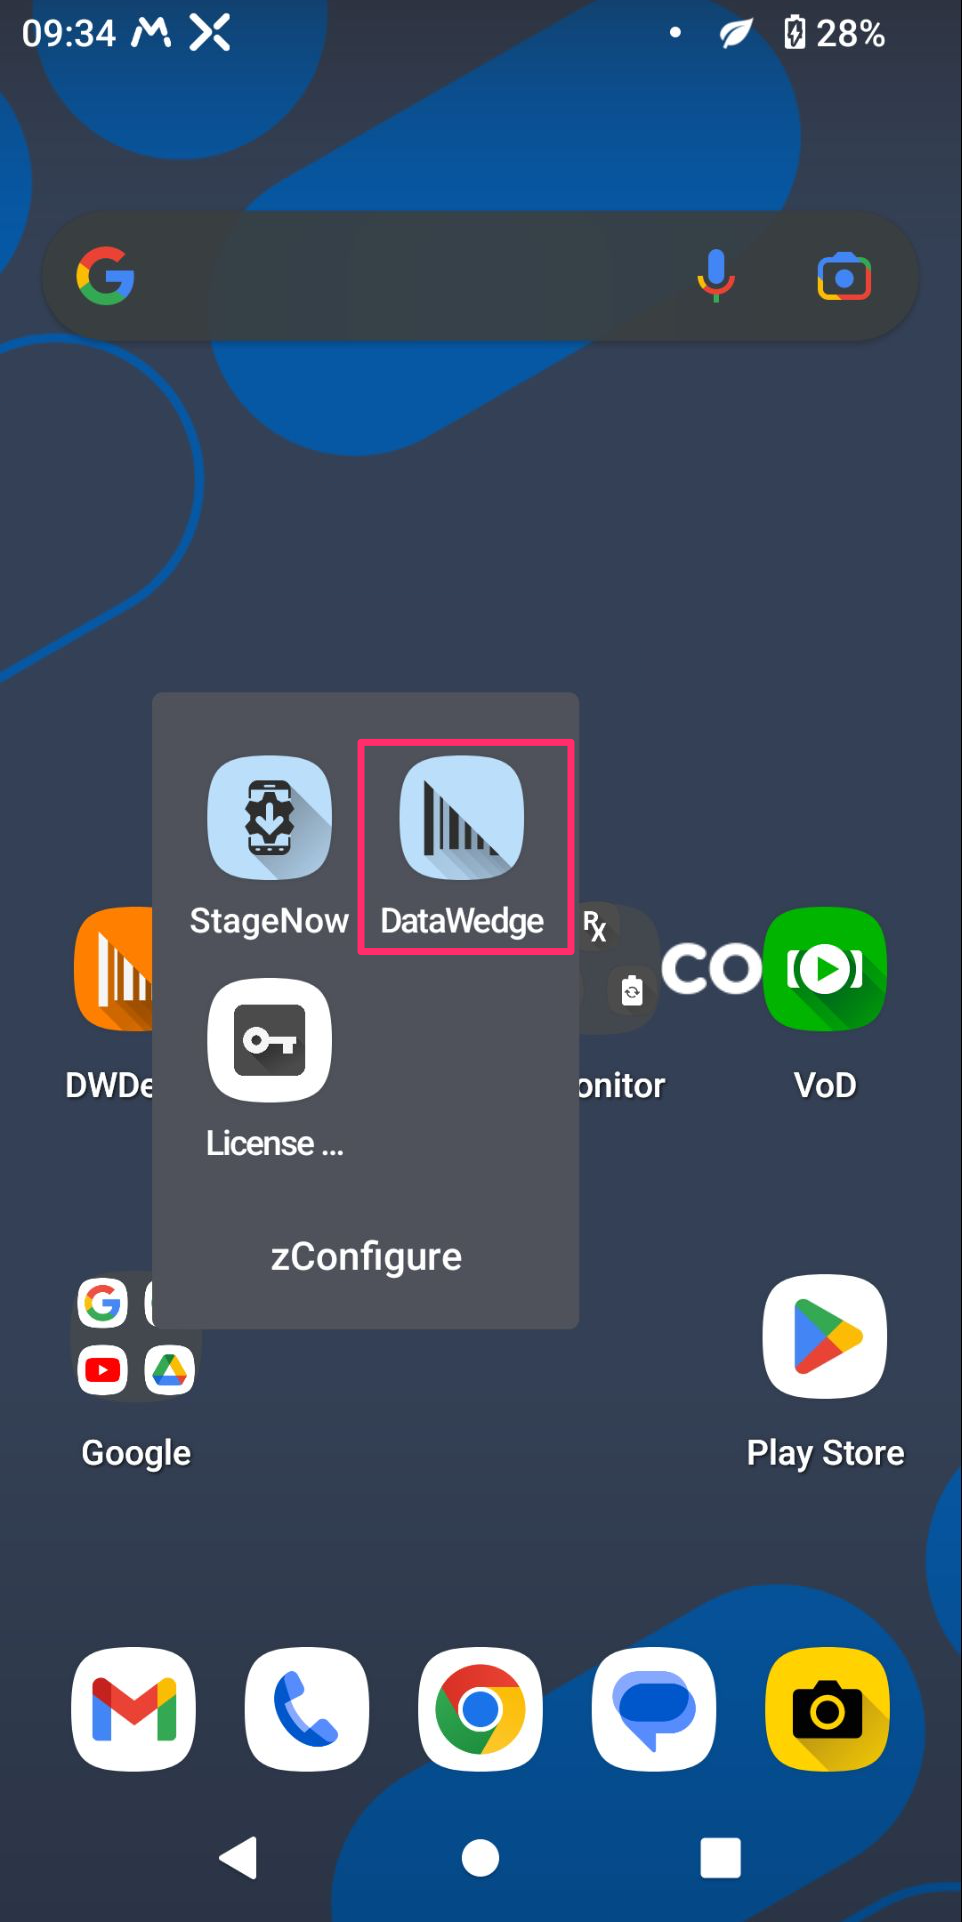
Location of DataWedge on modern Android devices |
|
On a new installation, the DataWedge Profiles screen appear similar to that of the image below, showing the three included (visible) Profiles. White text indicates enabled Profiles. Also shown is a fourth, disabled Profile (grey text) that's not present out-of-the-box.
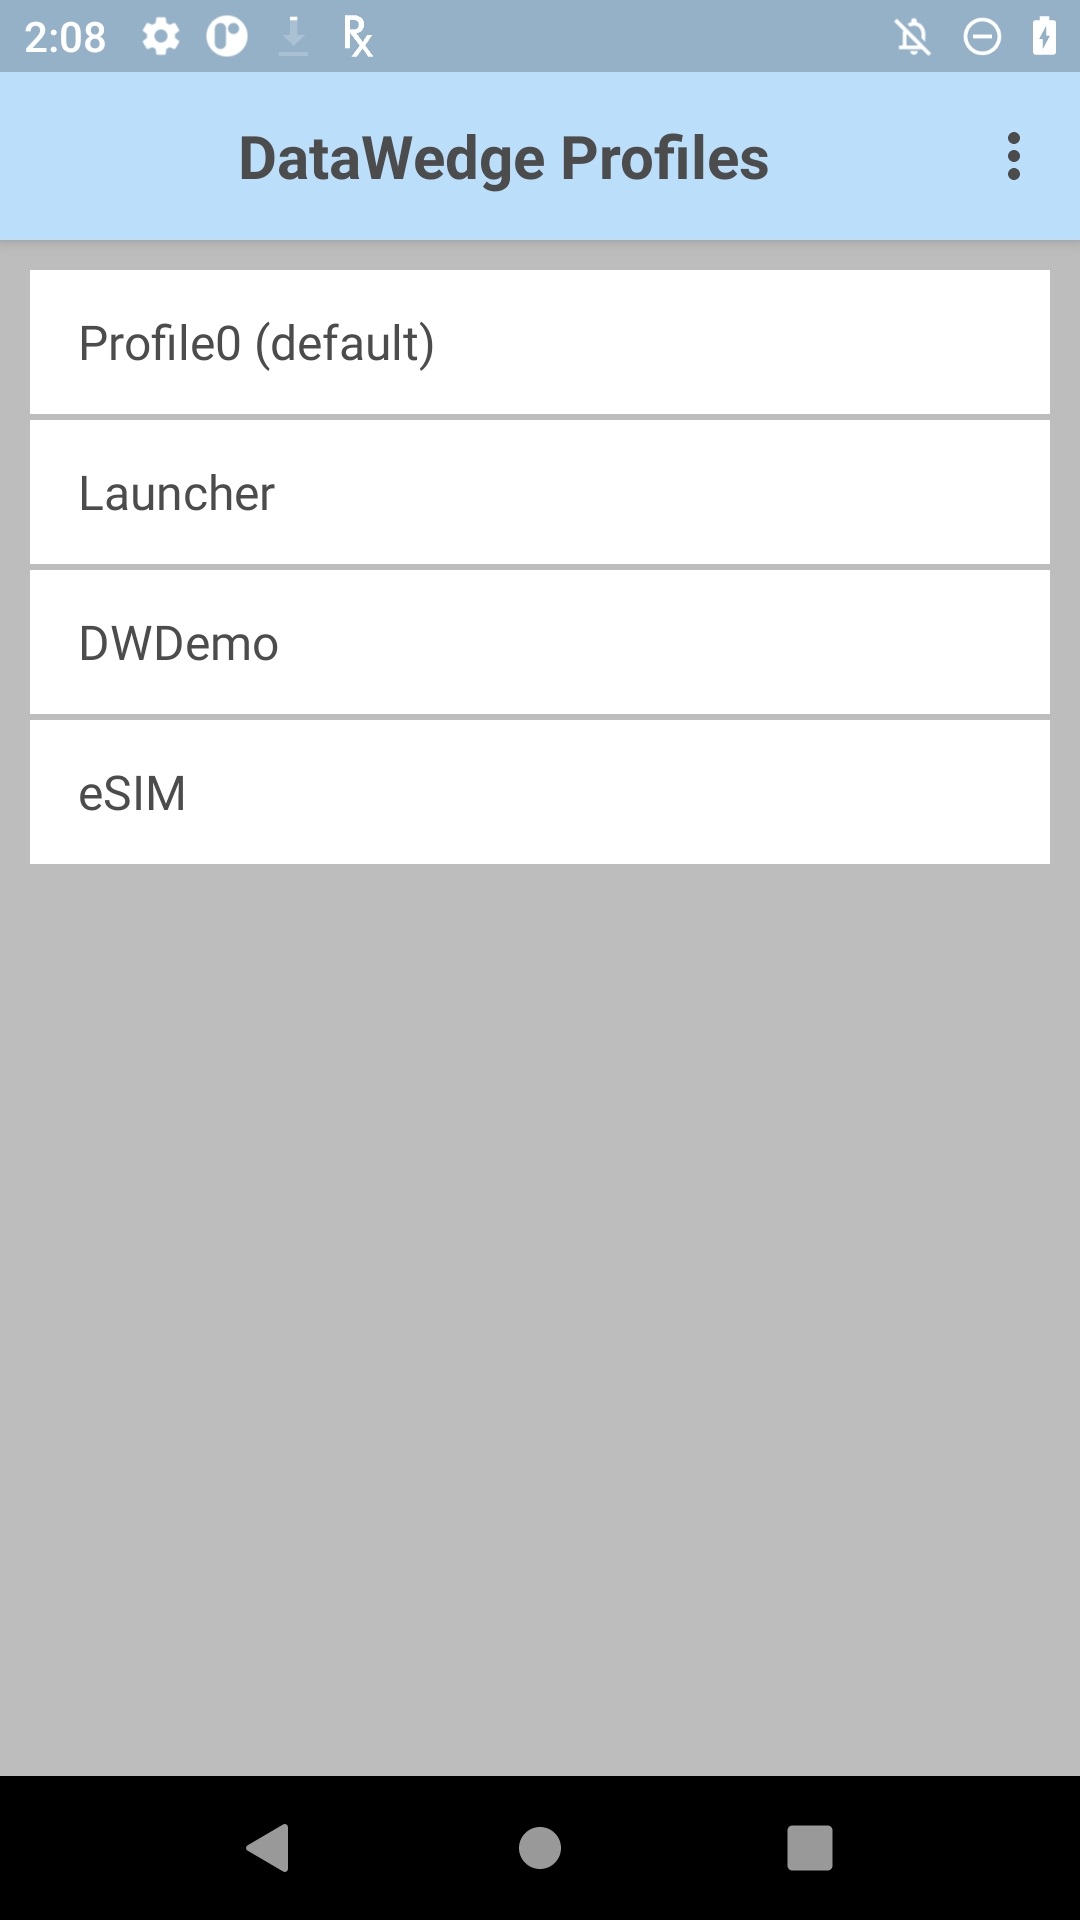
Note: If DataWedge had been opened previously, it will reopen to the last screen used. If necessary, press BACK until the Profiles screen appears.
-
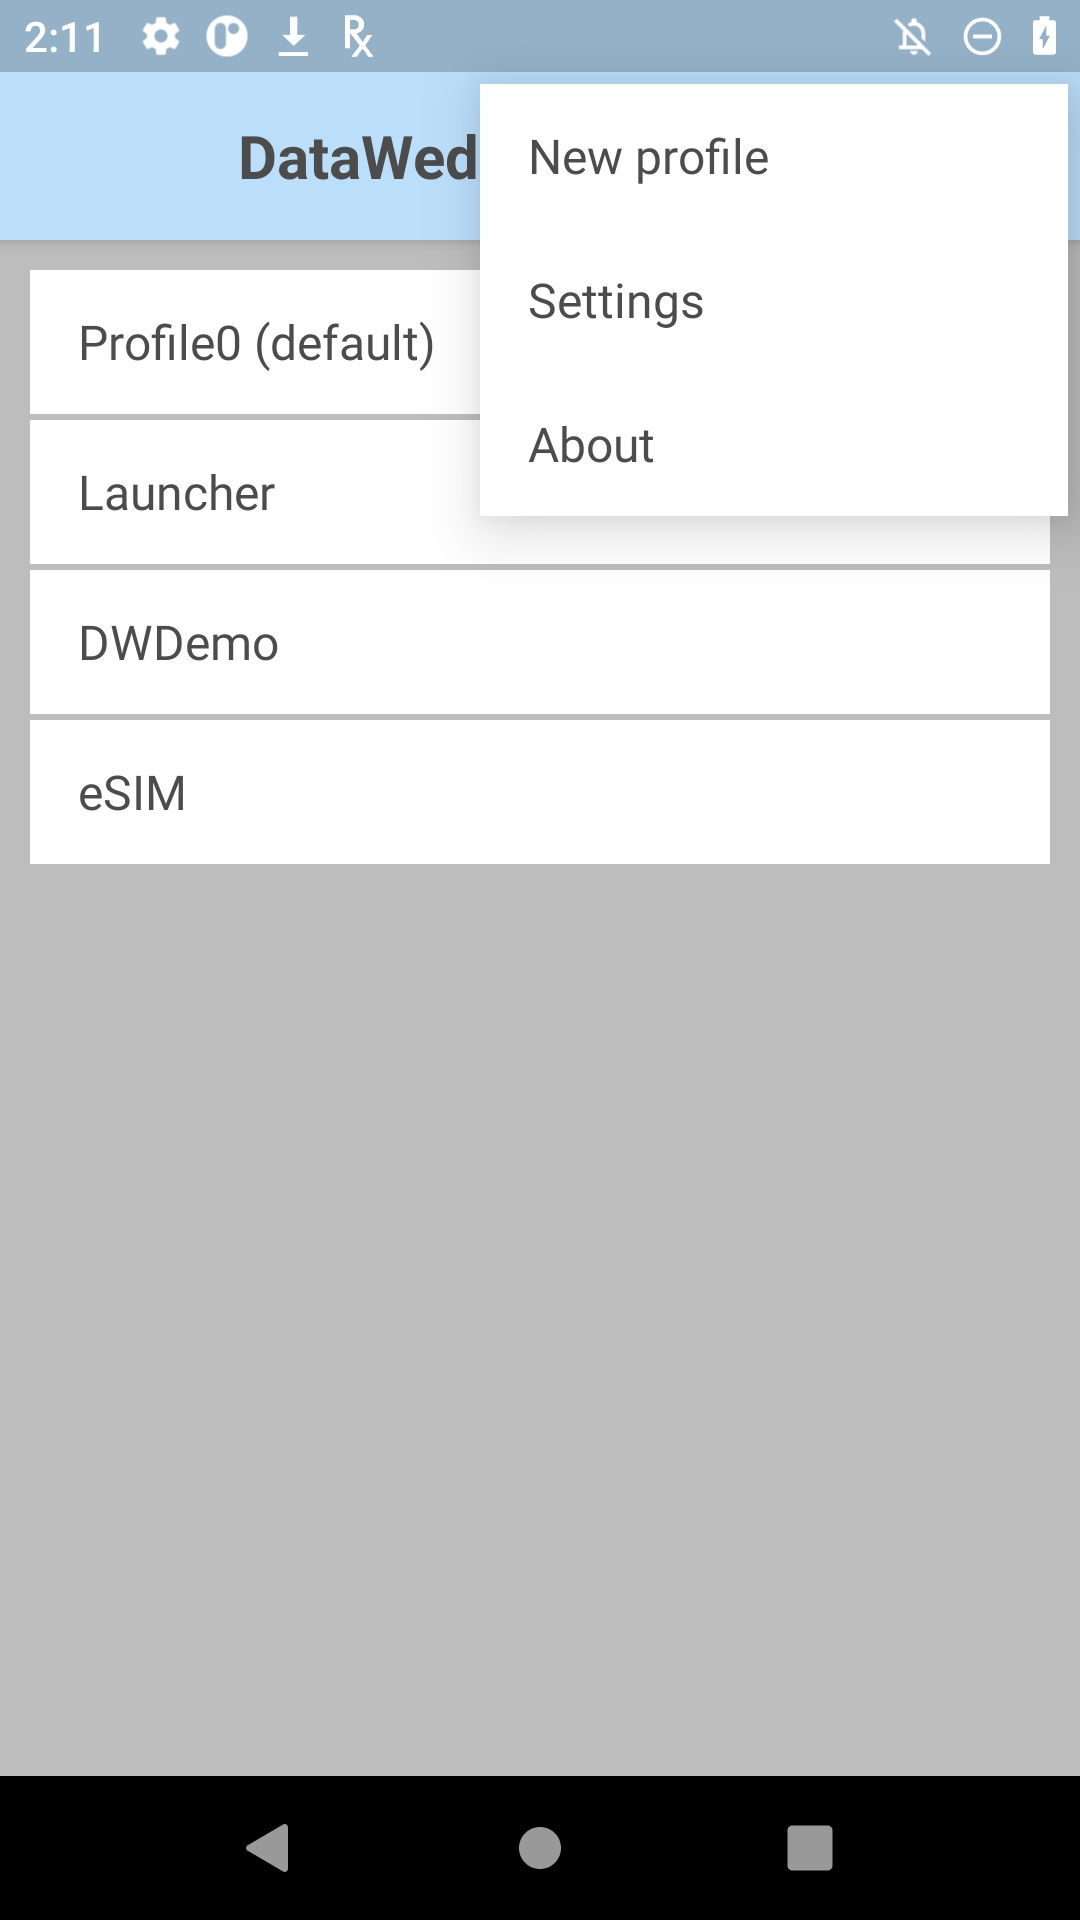
Tap the "hamburger" menu and select -> New profile.
-
Enter a name for the new Profile and tap OK. The Profiles list appears, similar to the image in Step 4, below.
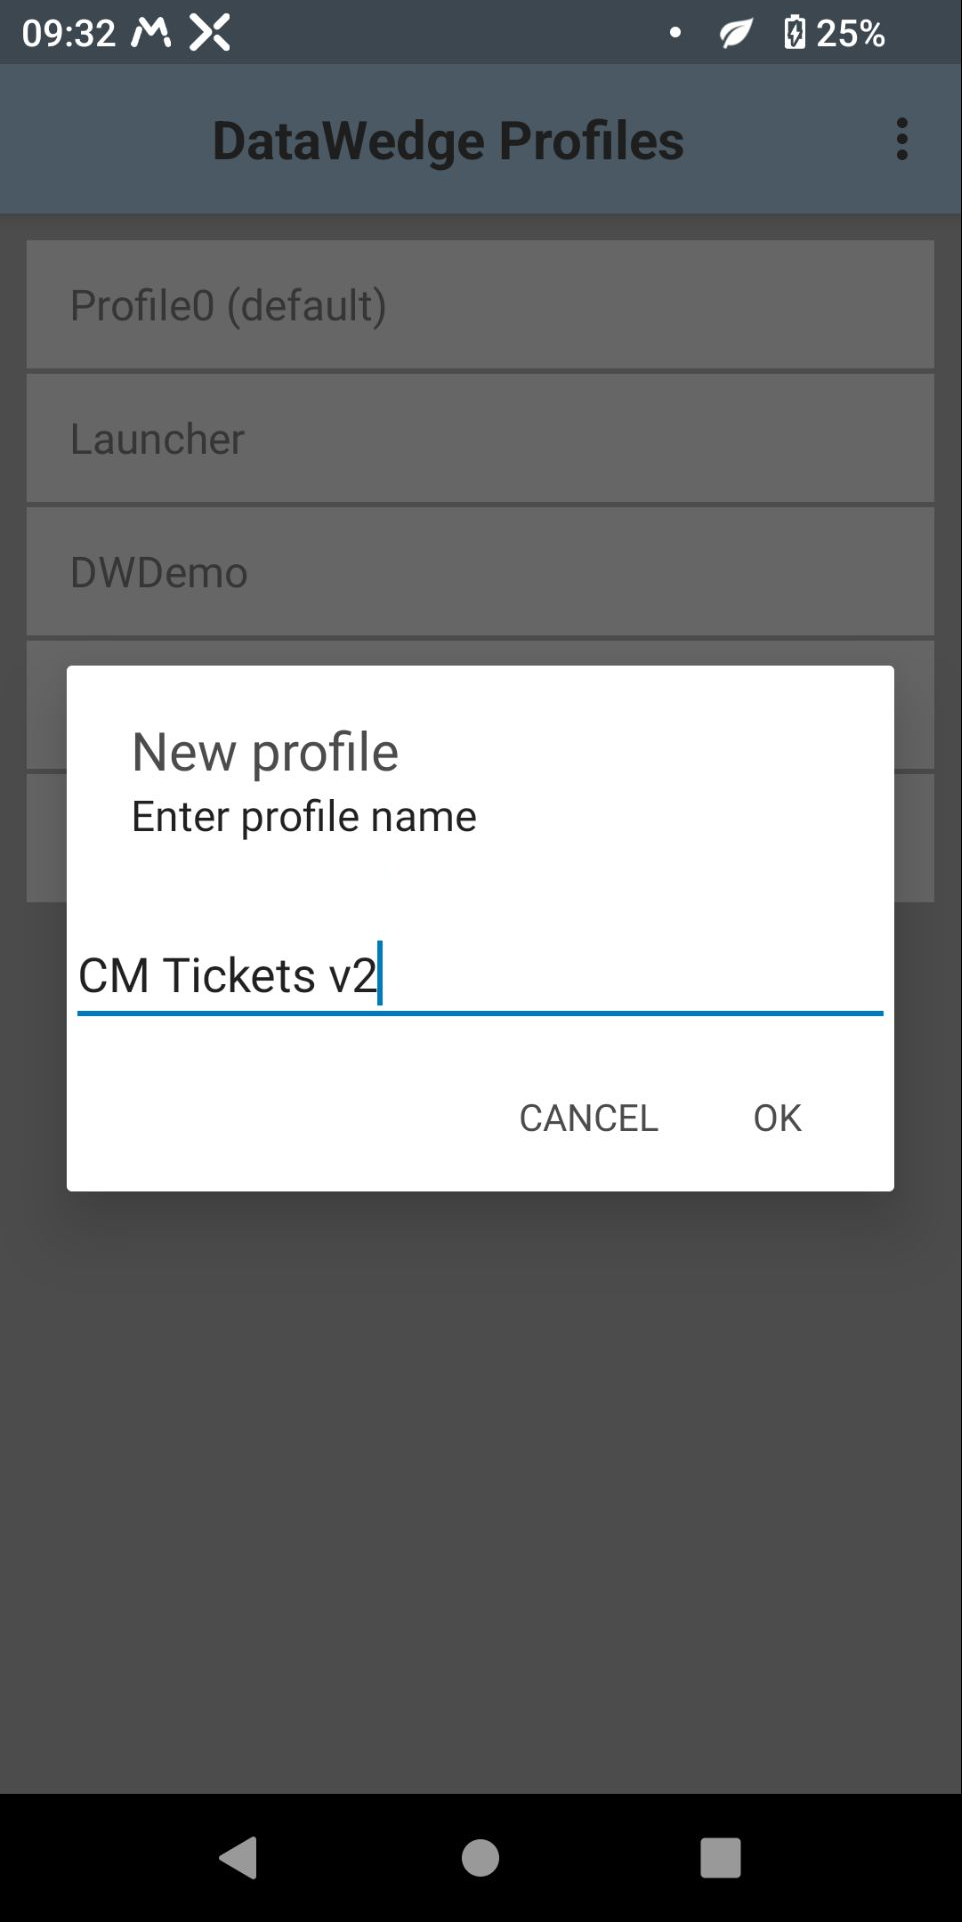
Zebra recommends that Profile names be unique, contain alpha-numeric characters, and be short in length to avoid possible import/export profile issues.
Associate the Profile with App(s) and/or Activities:
-
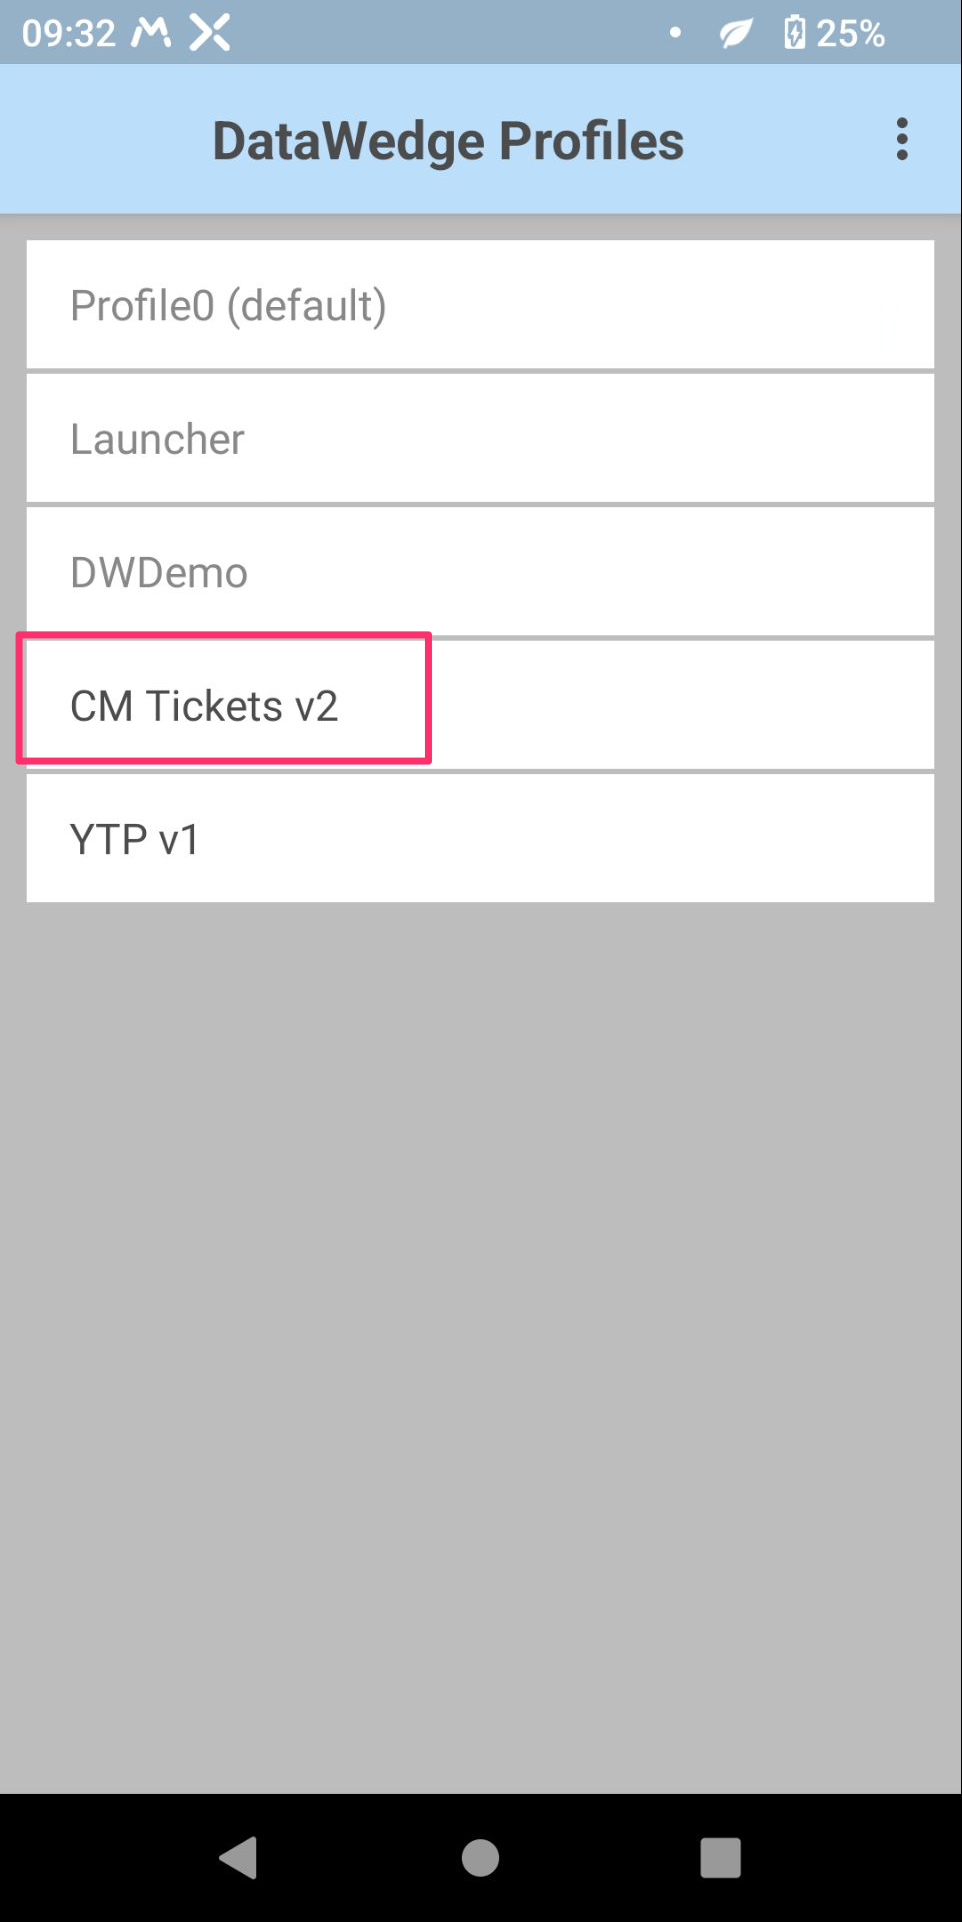
Tap the Profile to be associated:
-
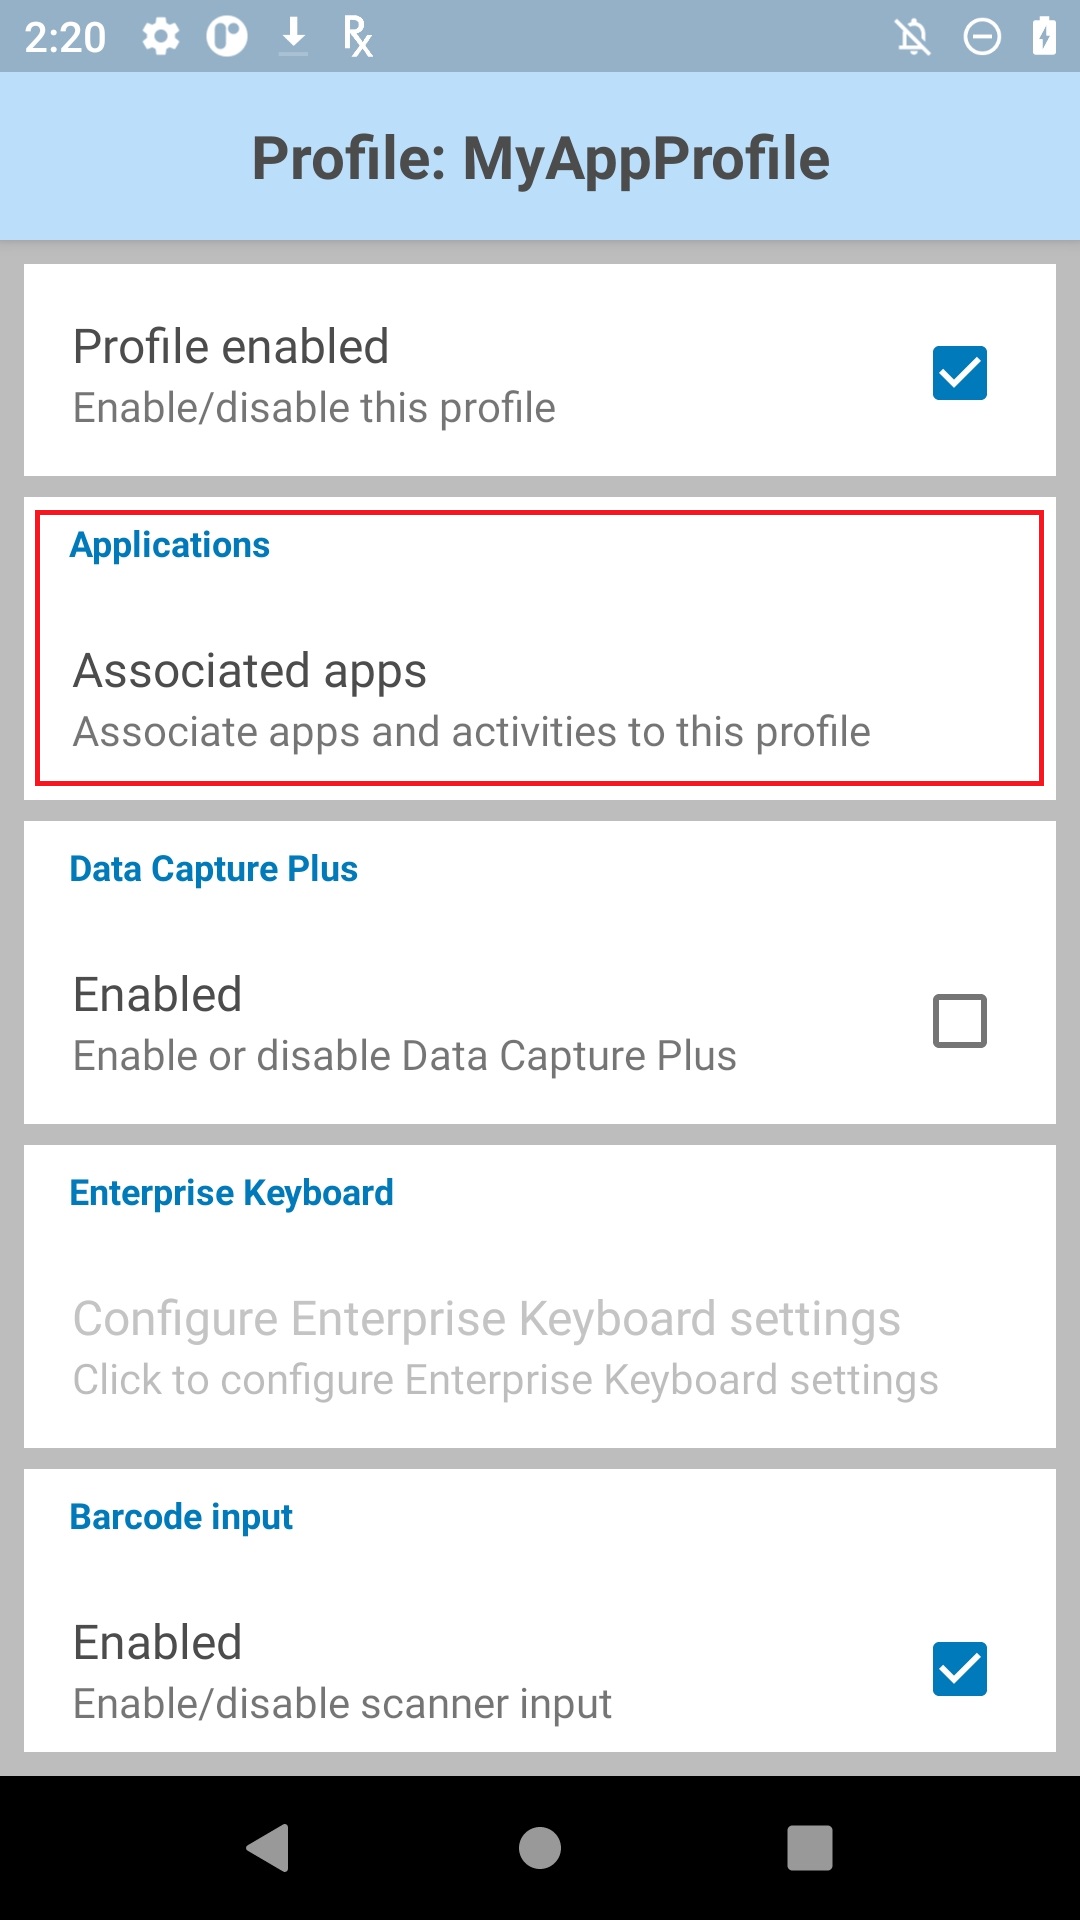
From the Profile screen, tap the "Profile enabled" checkbox to enable it, then tap "Associated apps" to link it with an app or activity:
-
Tap the menu and select -> New app/activity. A list appears with all apps and activities installed on the device.
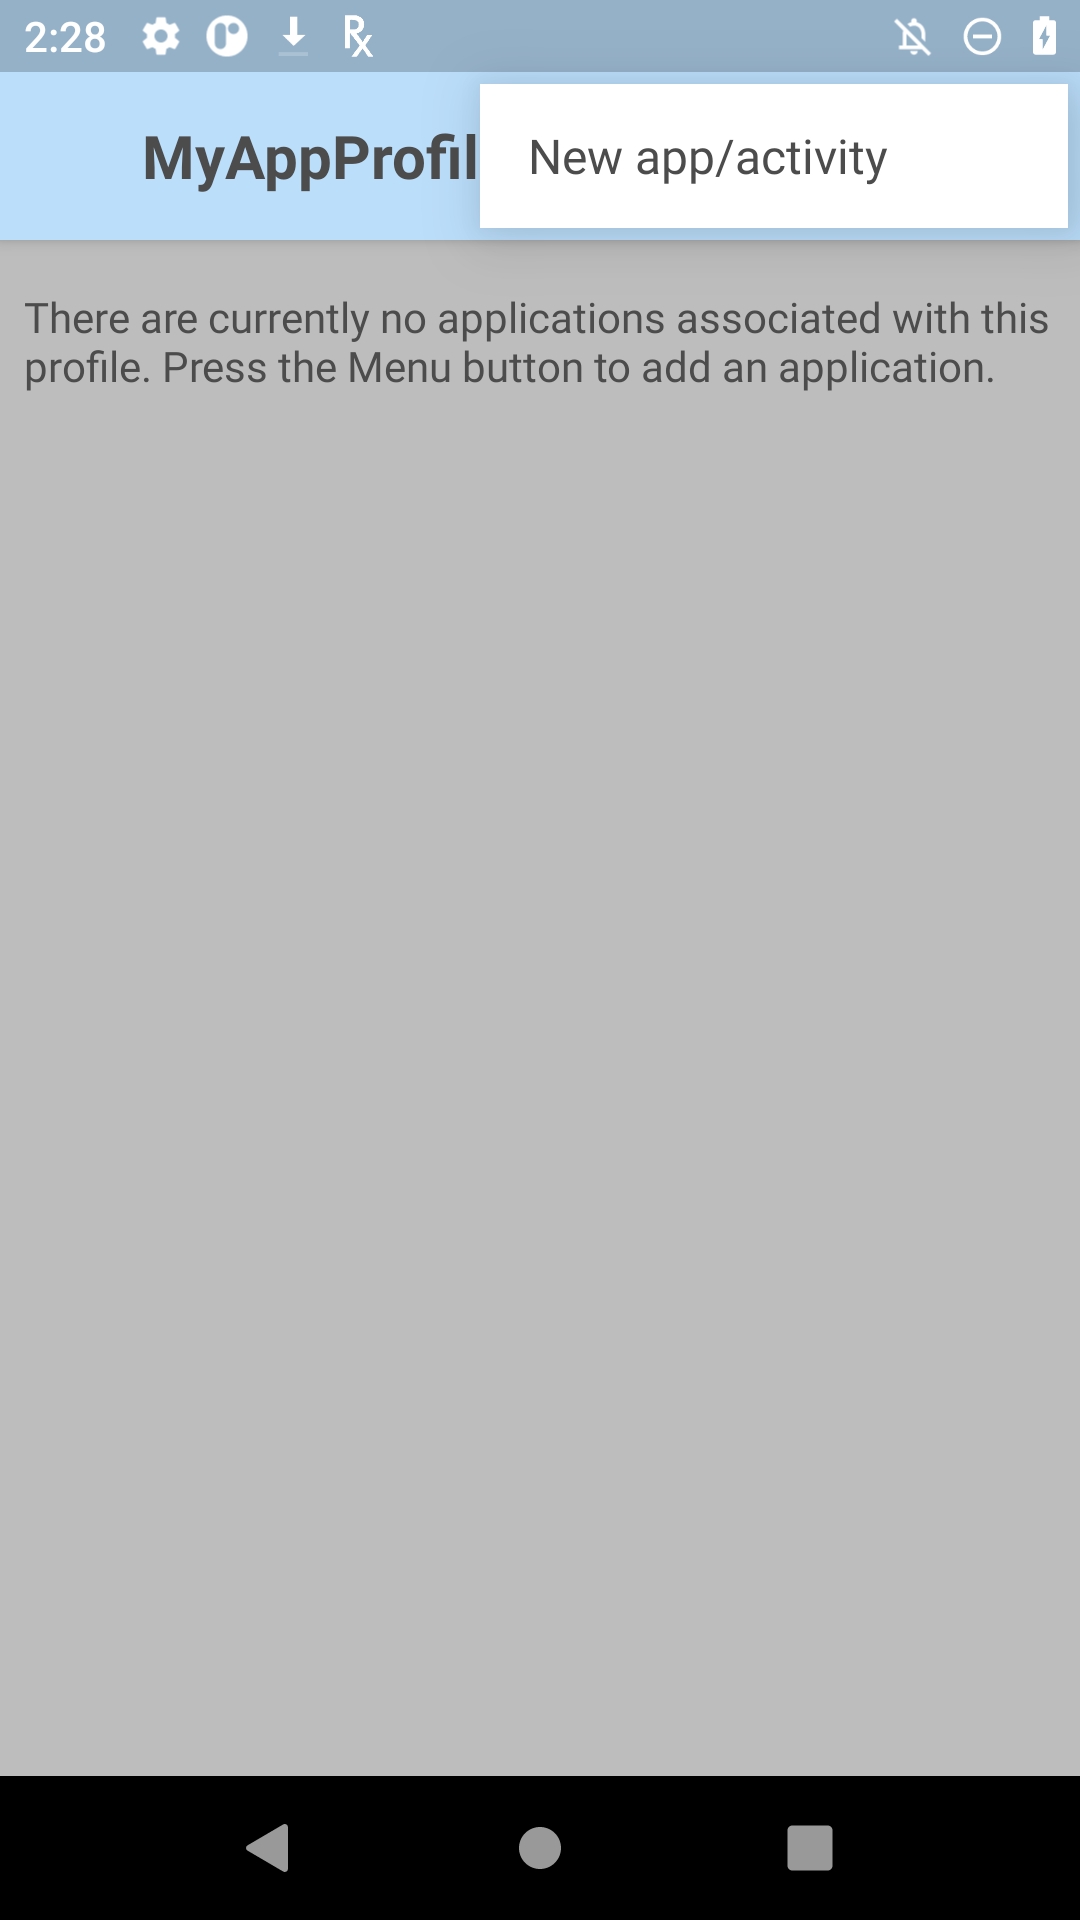
-
From the device apps/activities list, select the app or activity to associate with the Profile being edited. When an app is selected, its activities list appears (see Step 8).
|
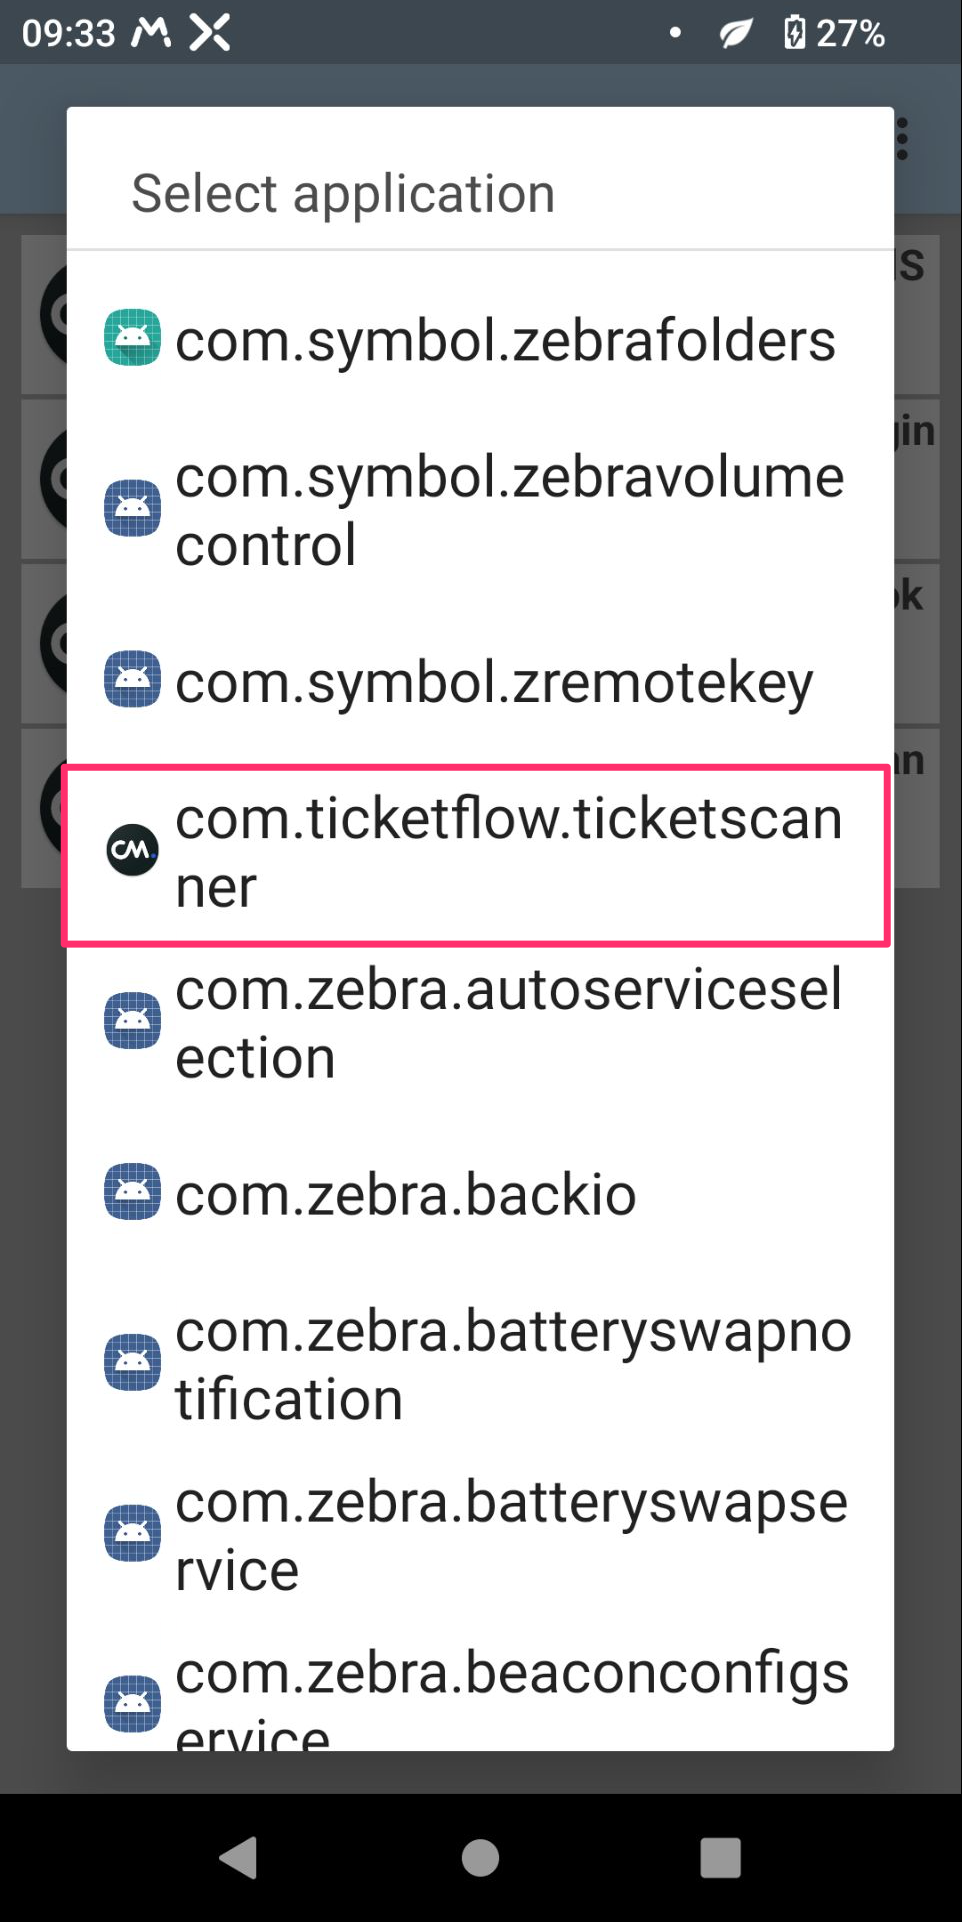
Locate the CM tickets App |
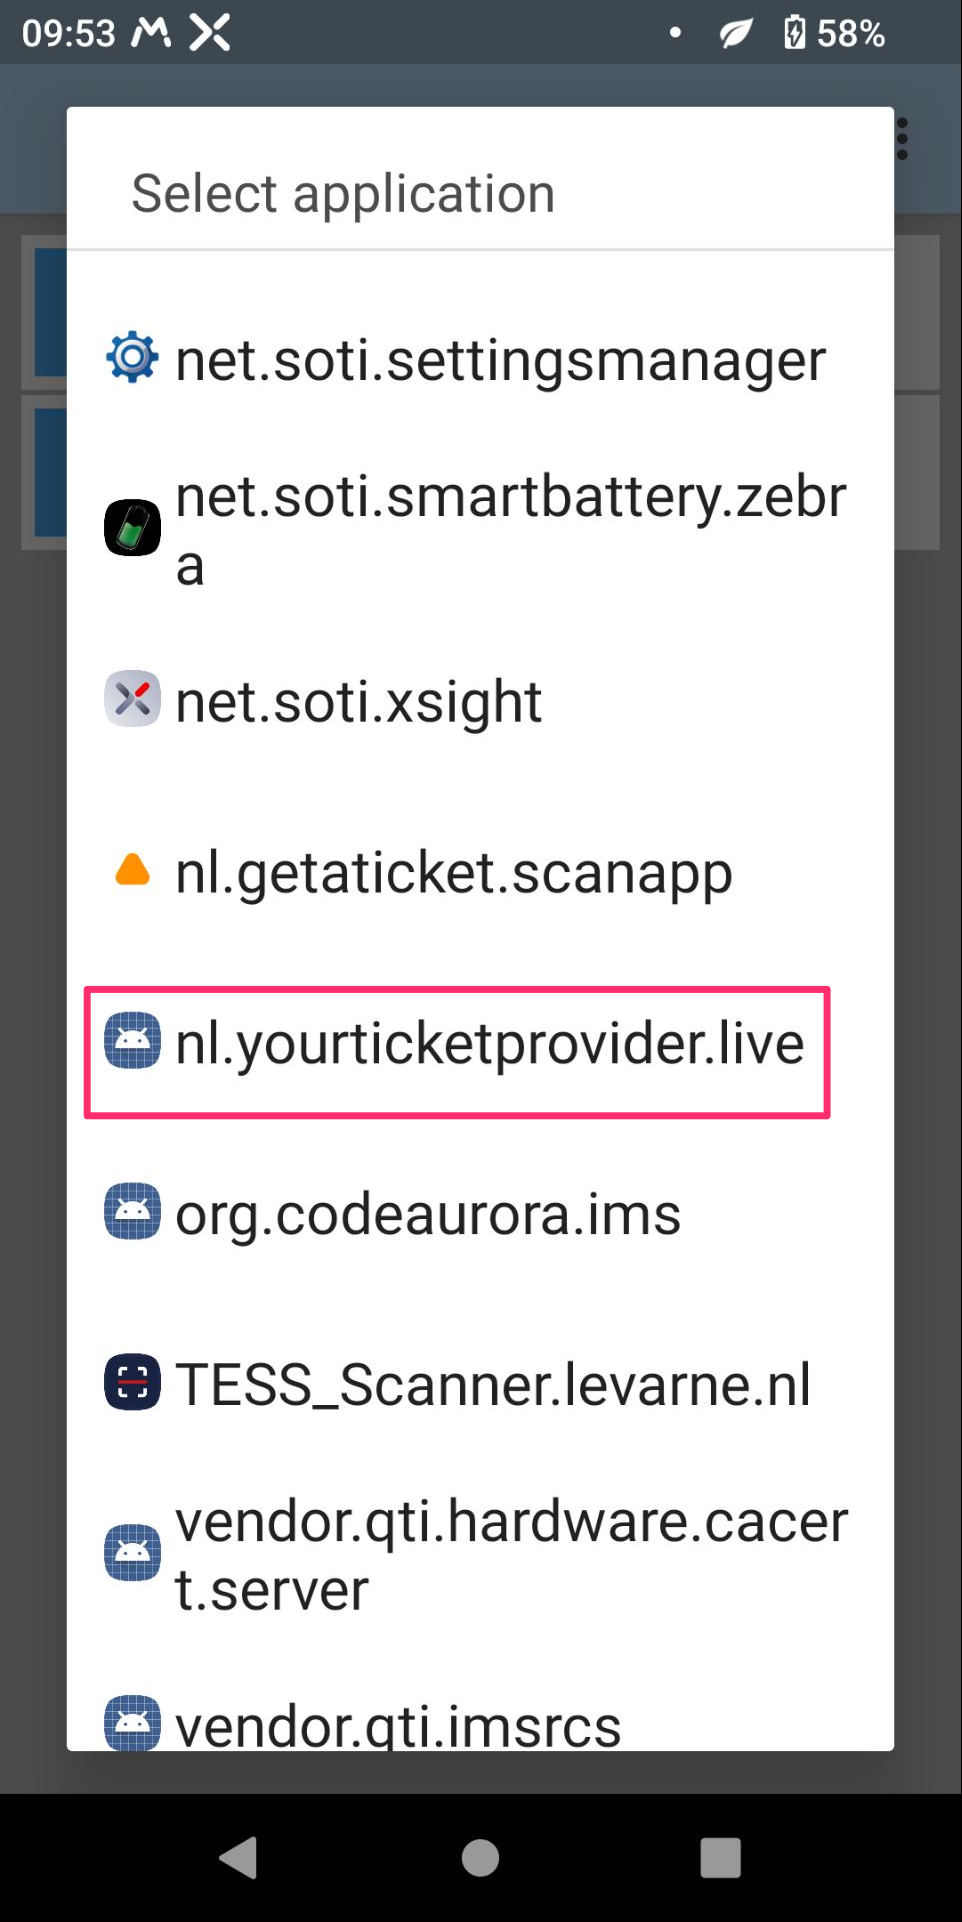
Locate the YTP app |
-
From the app activities list, tap the asterisk to associate all app activities with the Profile, or tap on an indvidual activity to use DataWedge for that specific activity only:
|
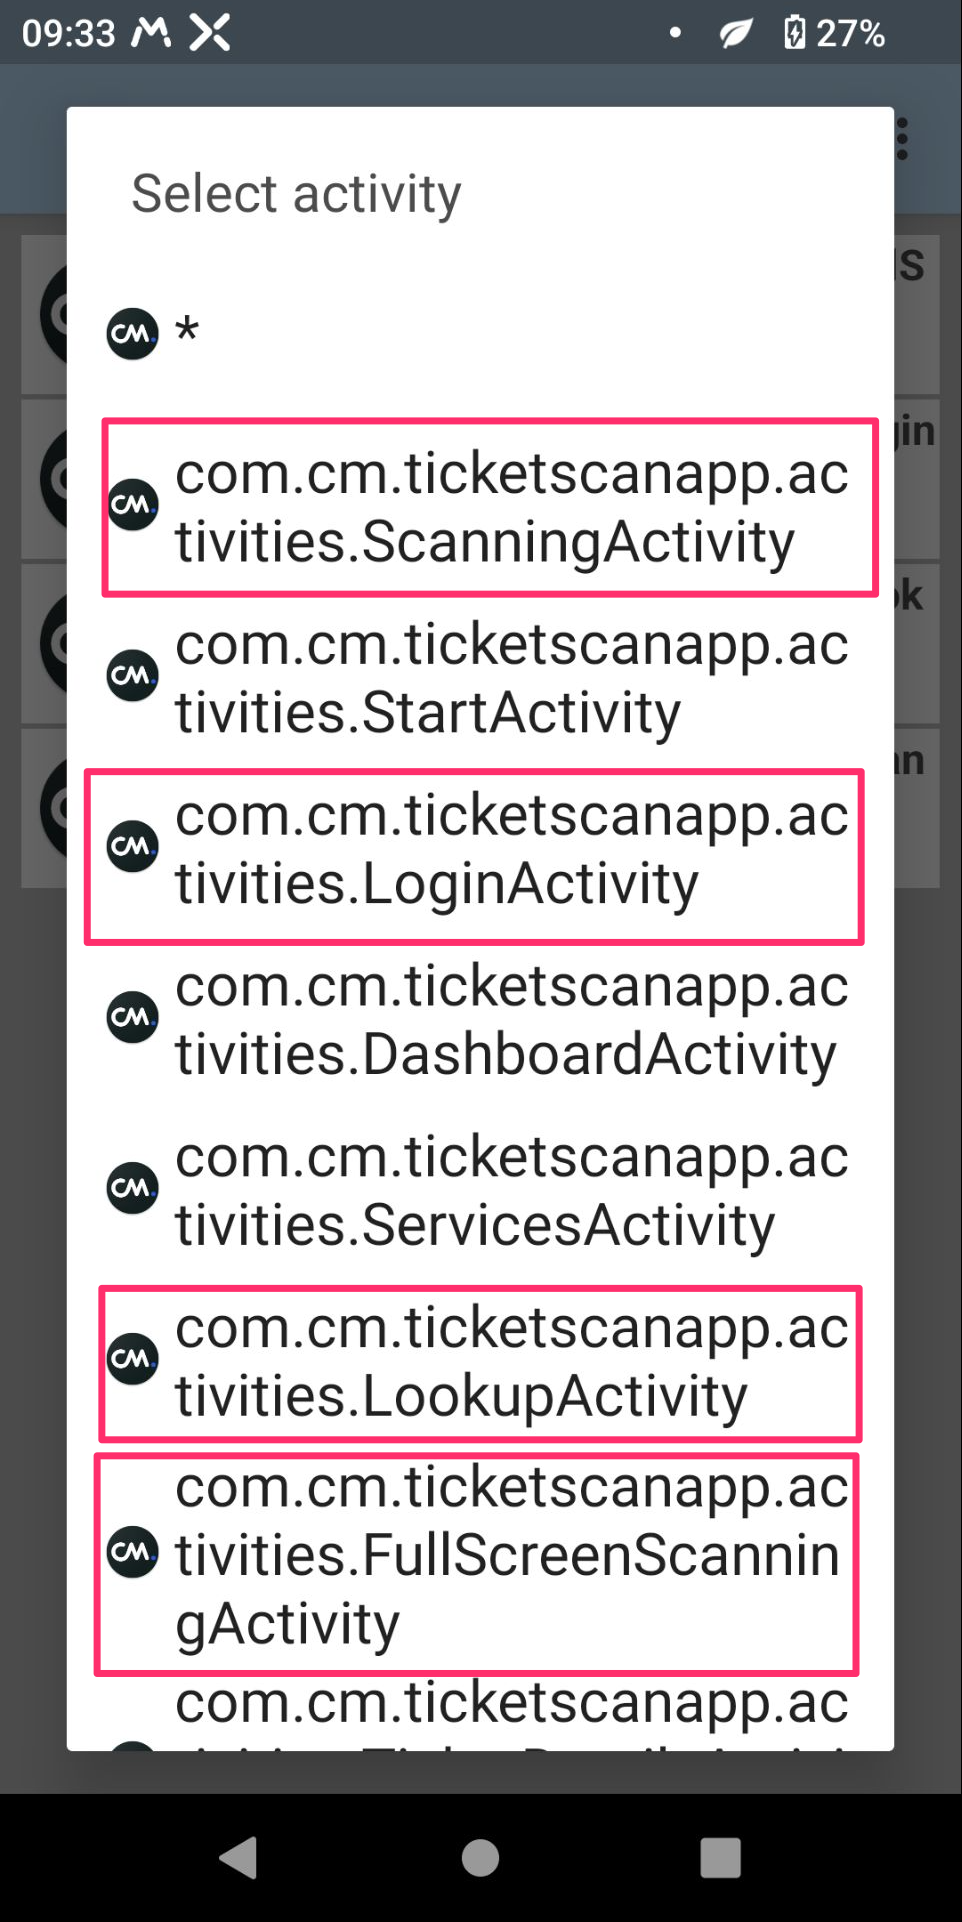
Activate the following activities for the CM Tickets scan app:
|
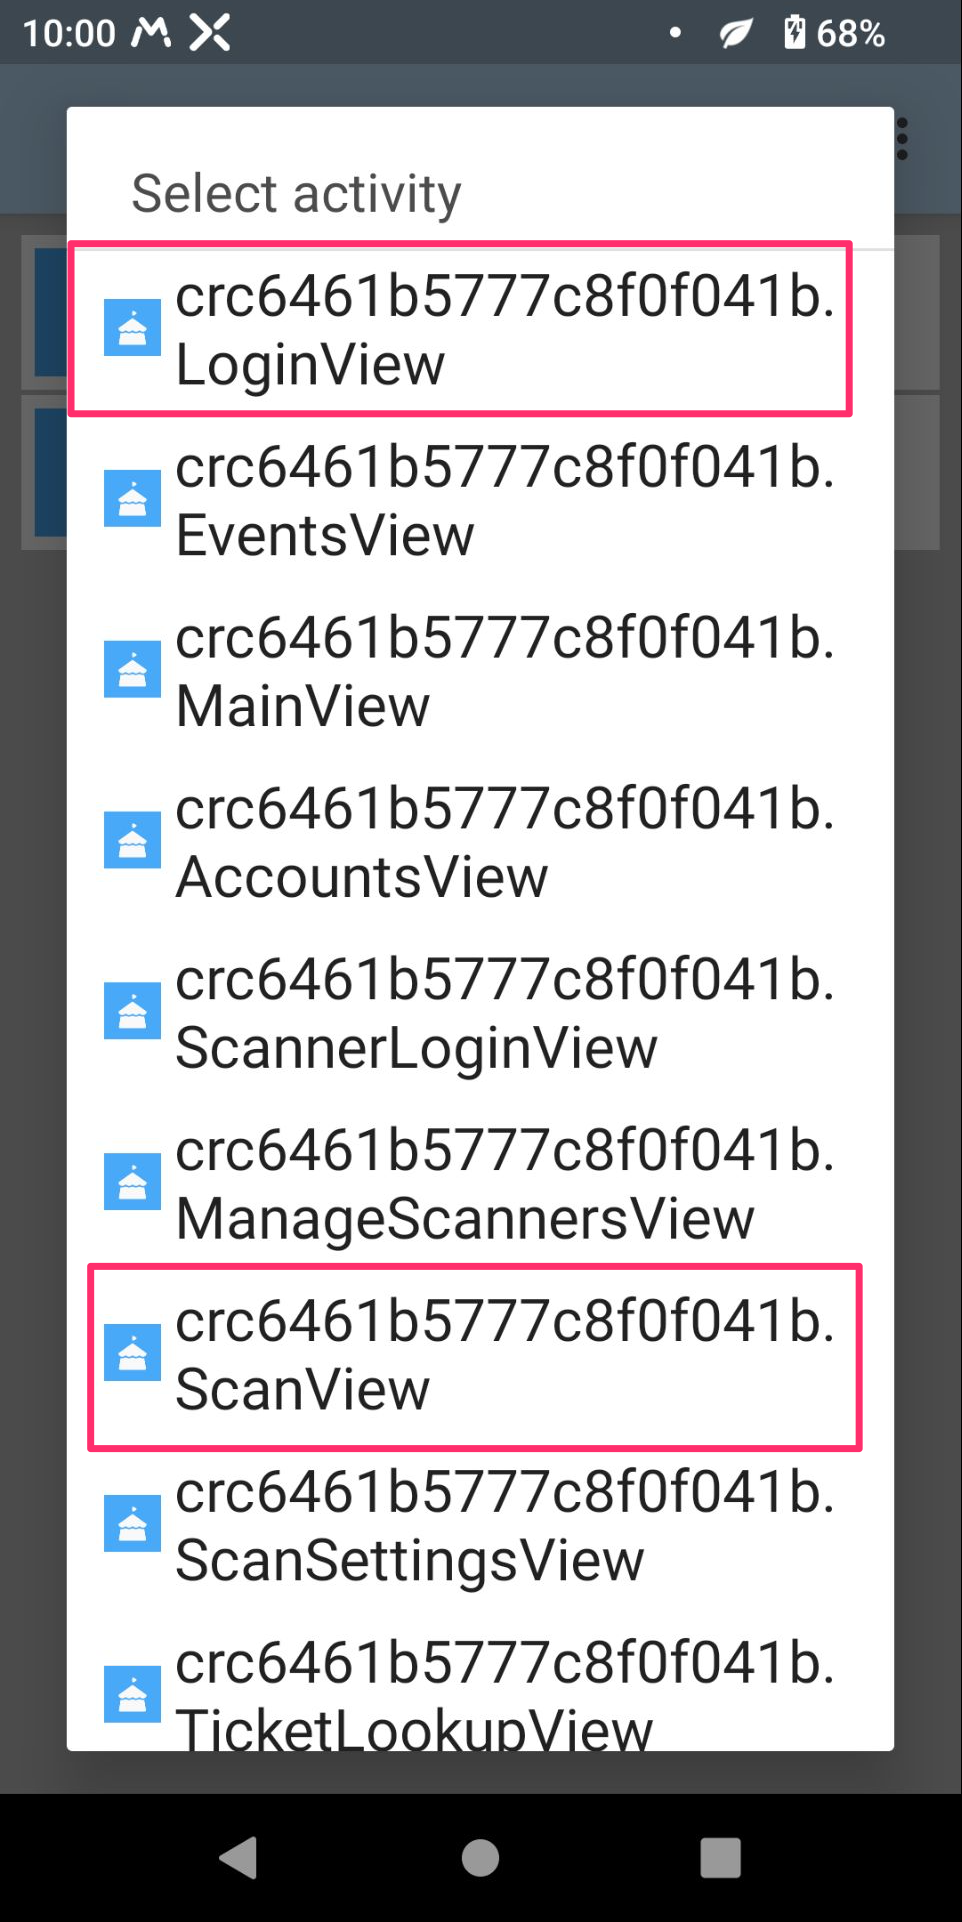
Activate the following activities for the YTP scan app:
|
-
The app now appears in the Profile associations list as below. Repeat Steps 6-9 until all desired apps and/or activities are associated.
|
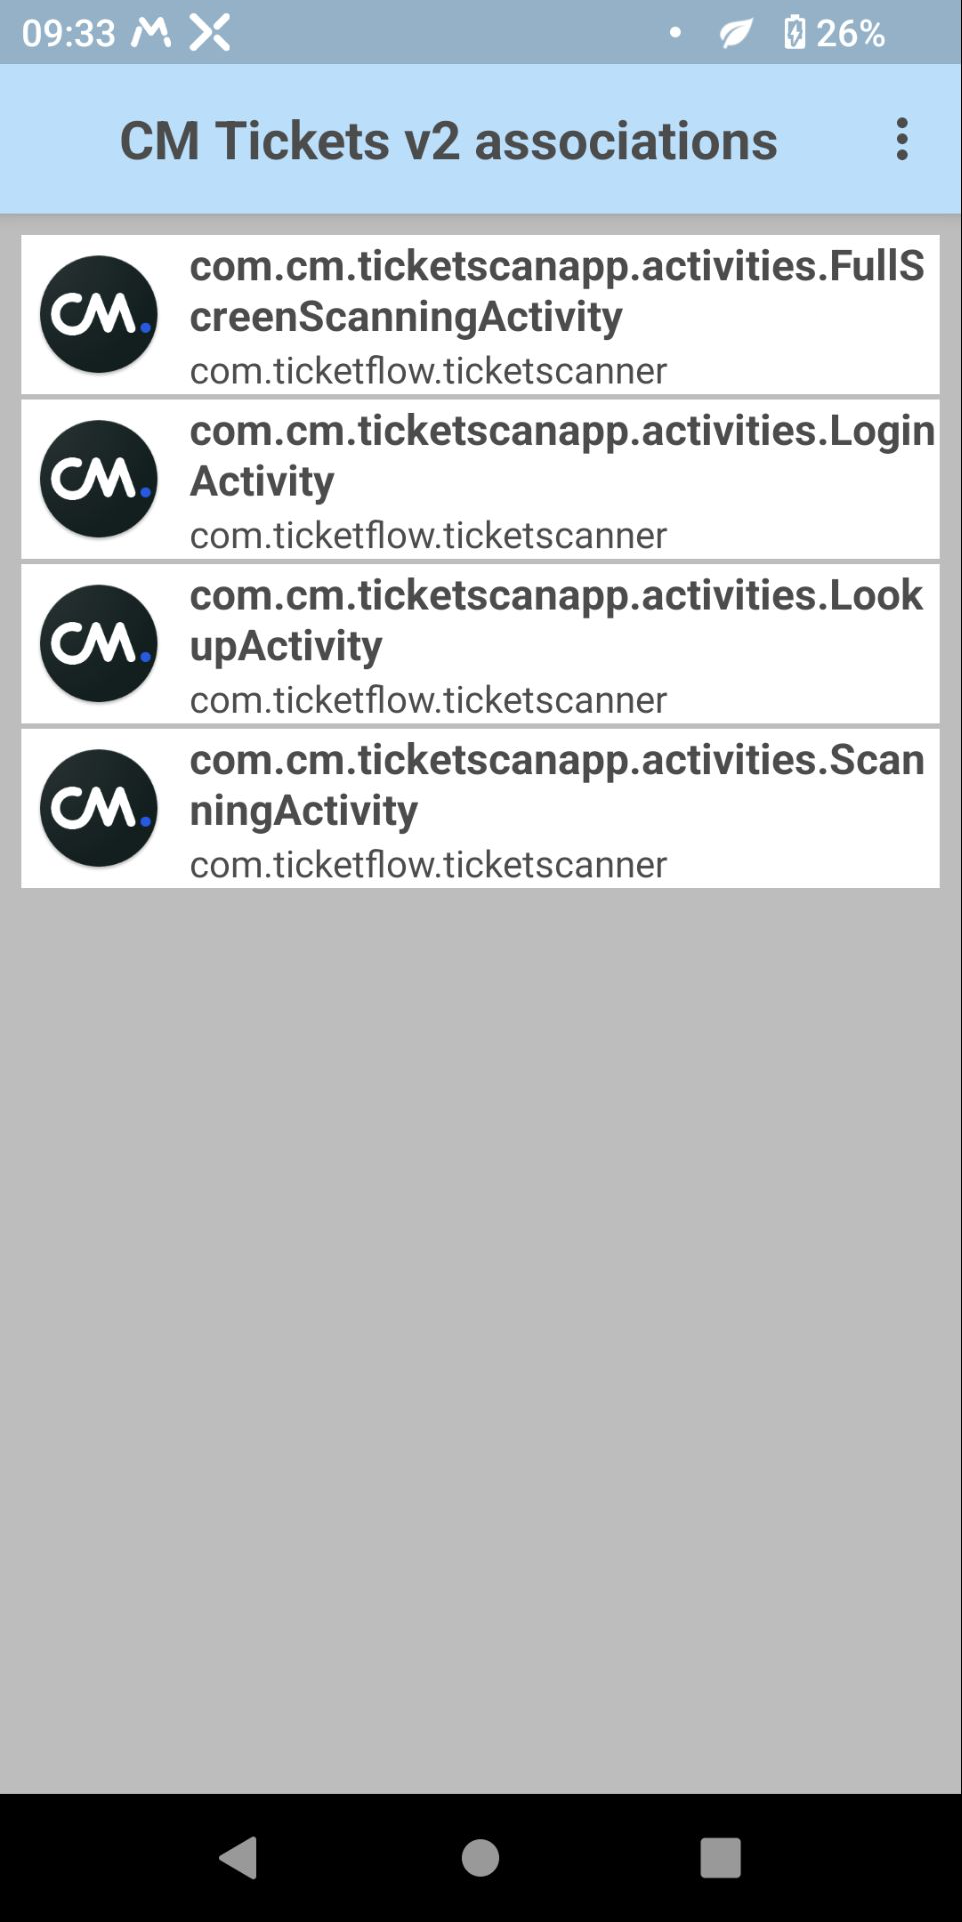
Properly configured activities for the CM Tickets App |
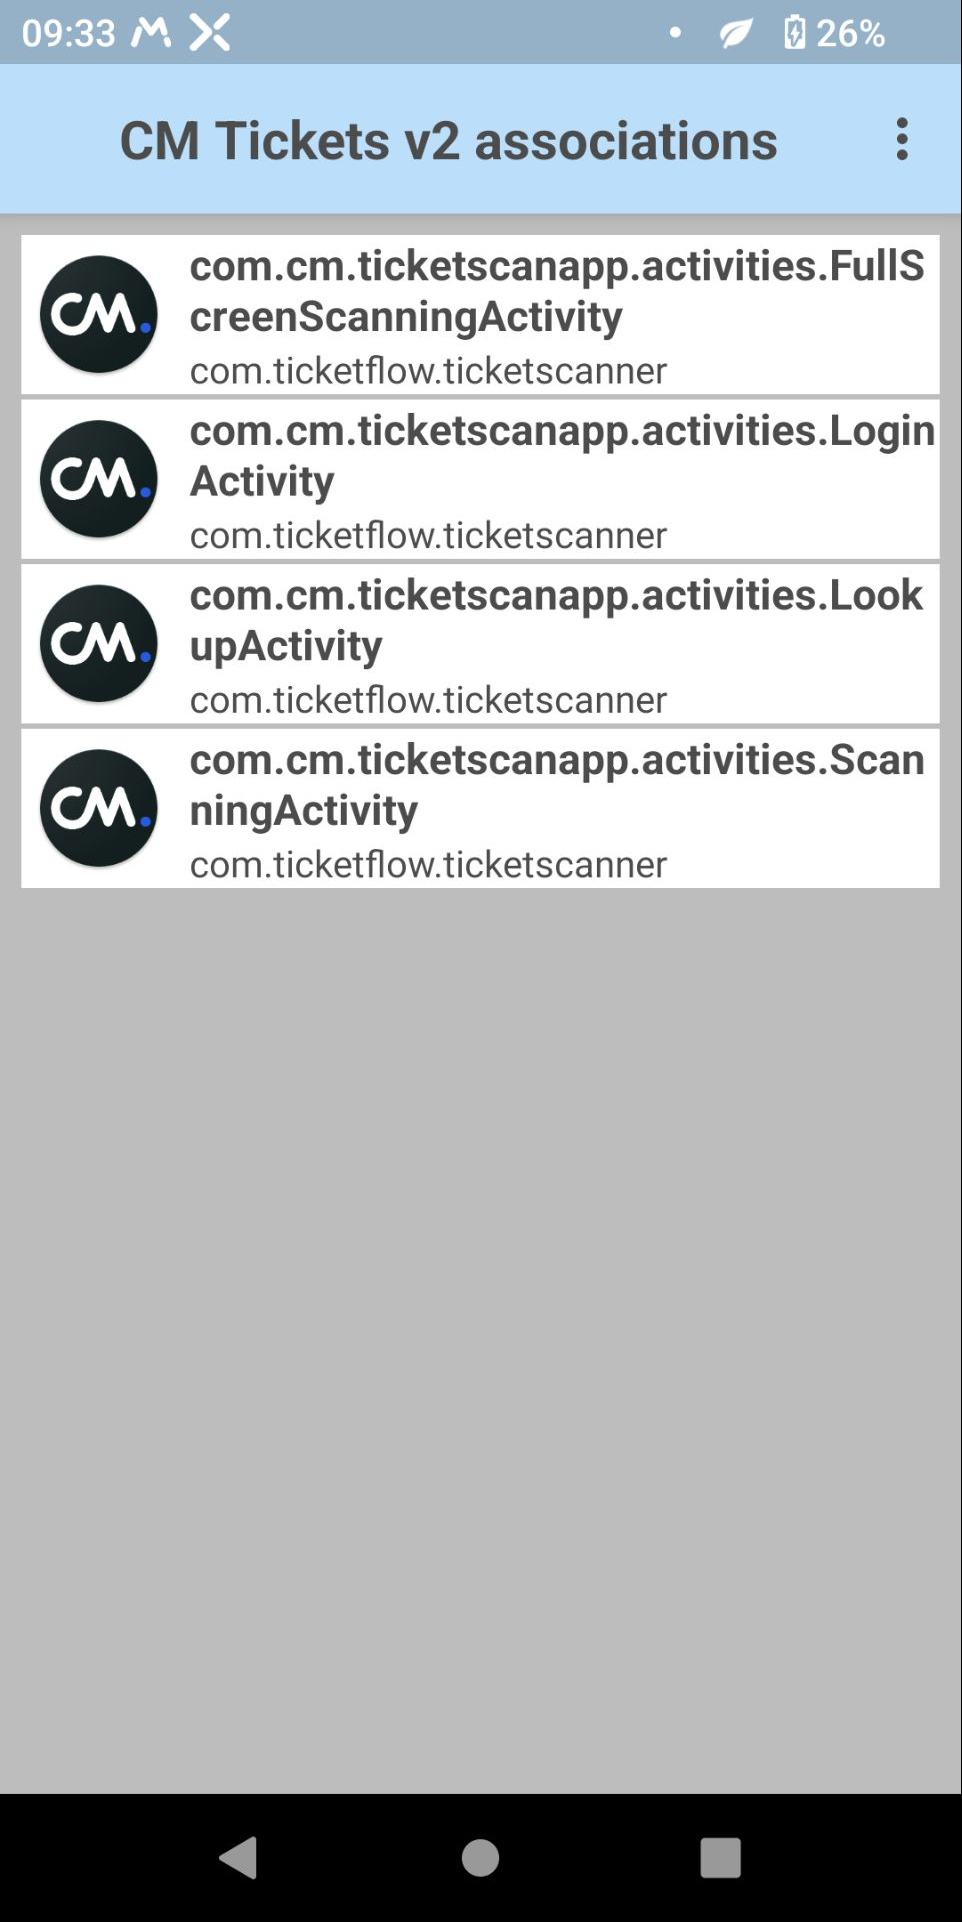
Properly configured activities for the YTP Scan App |
When finished adding associations, tap the back button to return to the Profile screen. Confirm that the "Profile enabled" checkbox is checked for the new profile created. If needed, check that Barcode Input and Keystroke Output are enabled.
Configure a Profile for Input, Processing and Output:
10. From the Profile screen, select the desired Output method (scrolling down as necessary). Configure Intent output and set it to Broadcast intent.
|
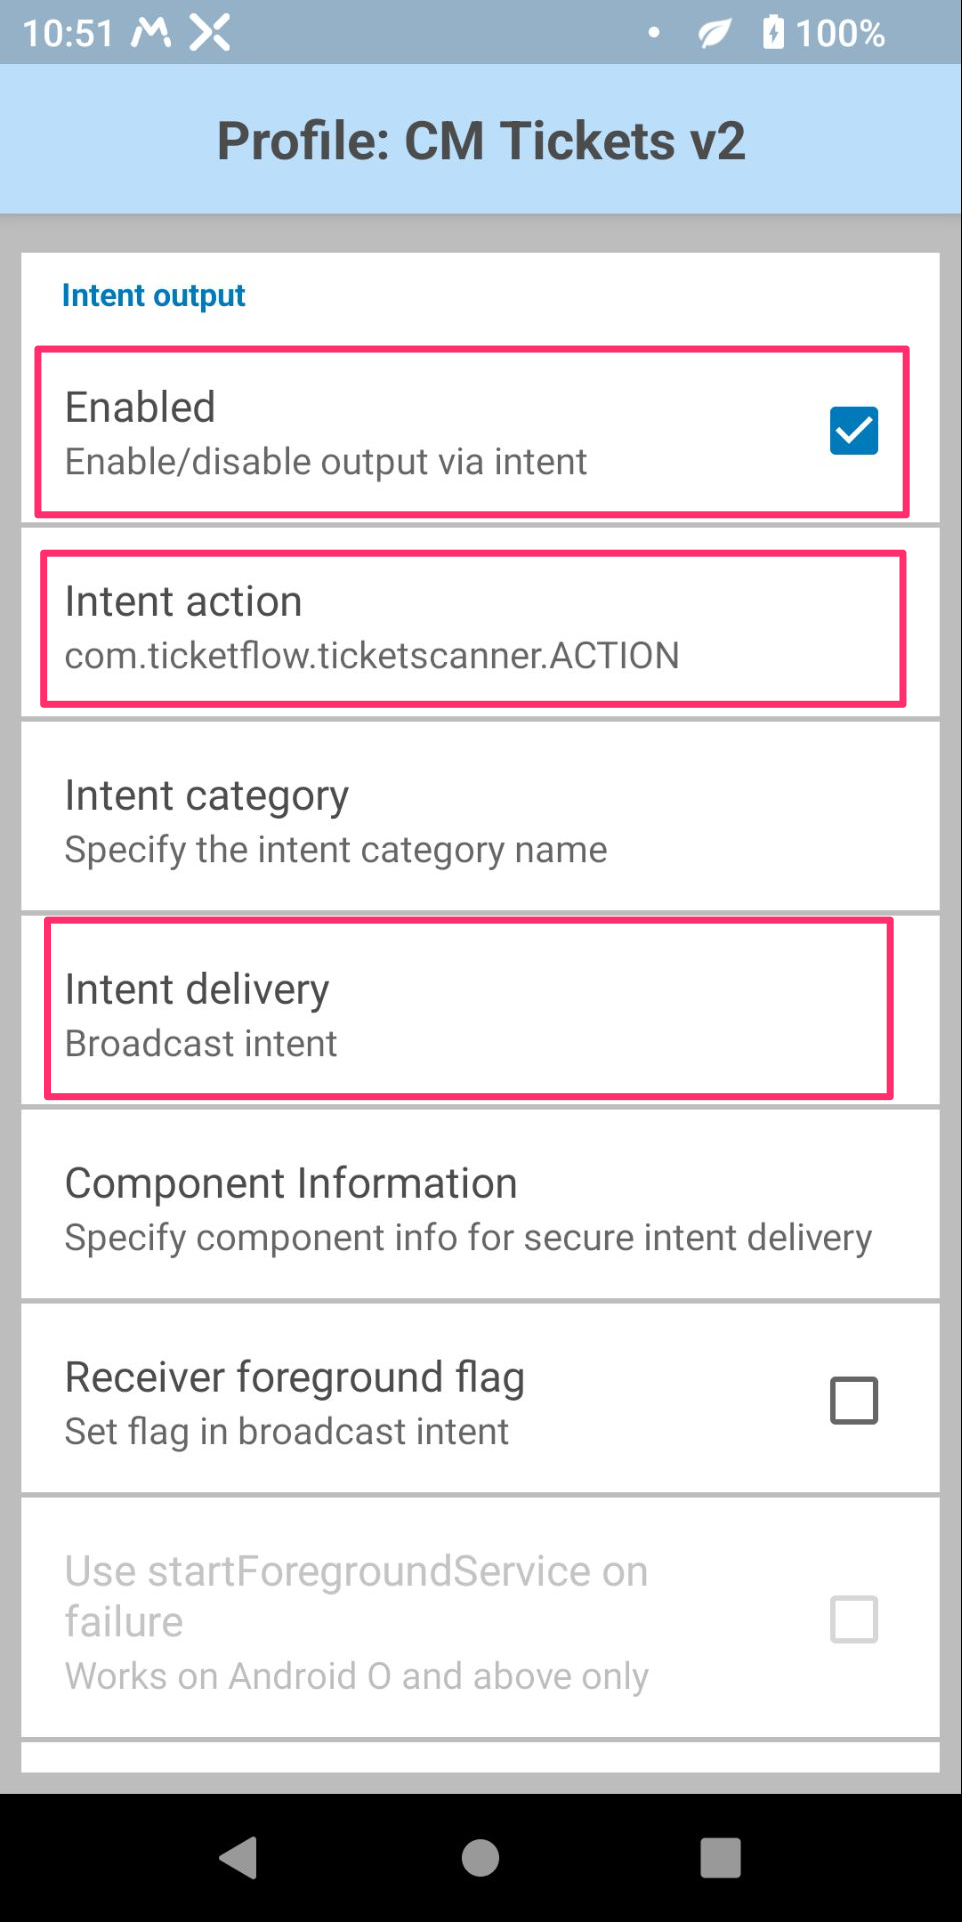
For CM Tickets configure the broadcast intent action to be: |
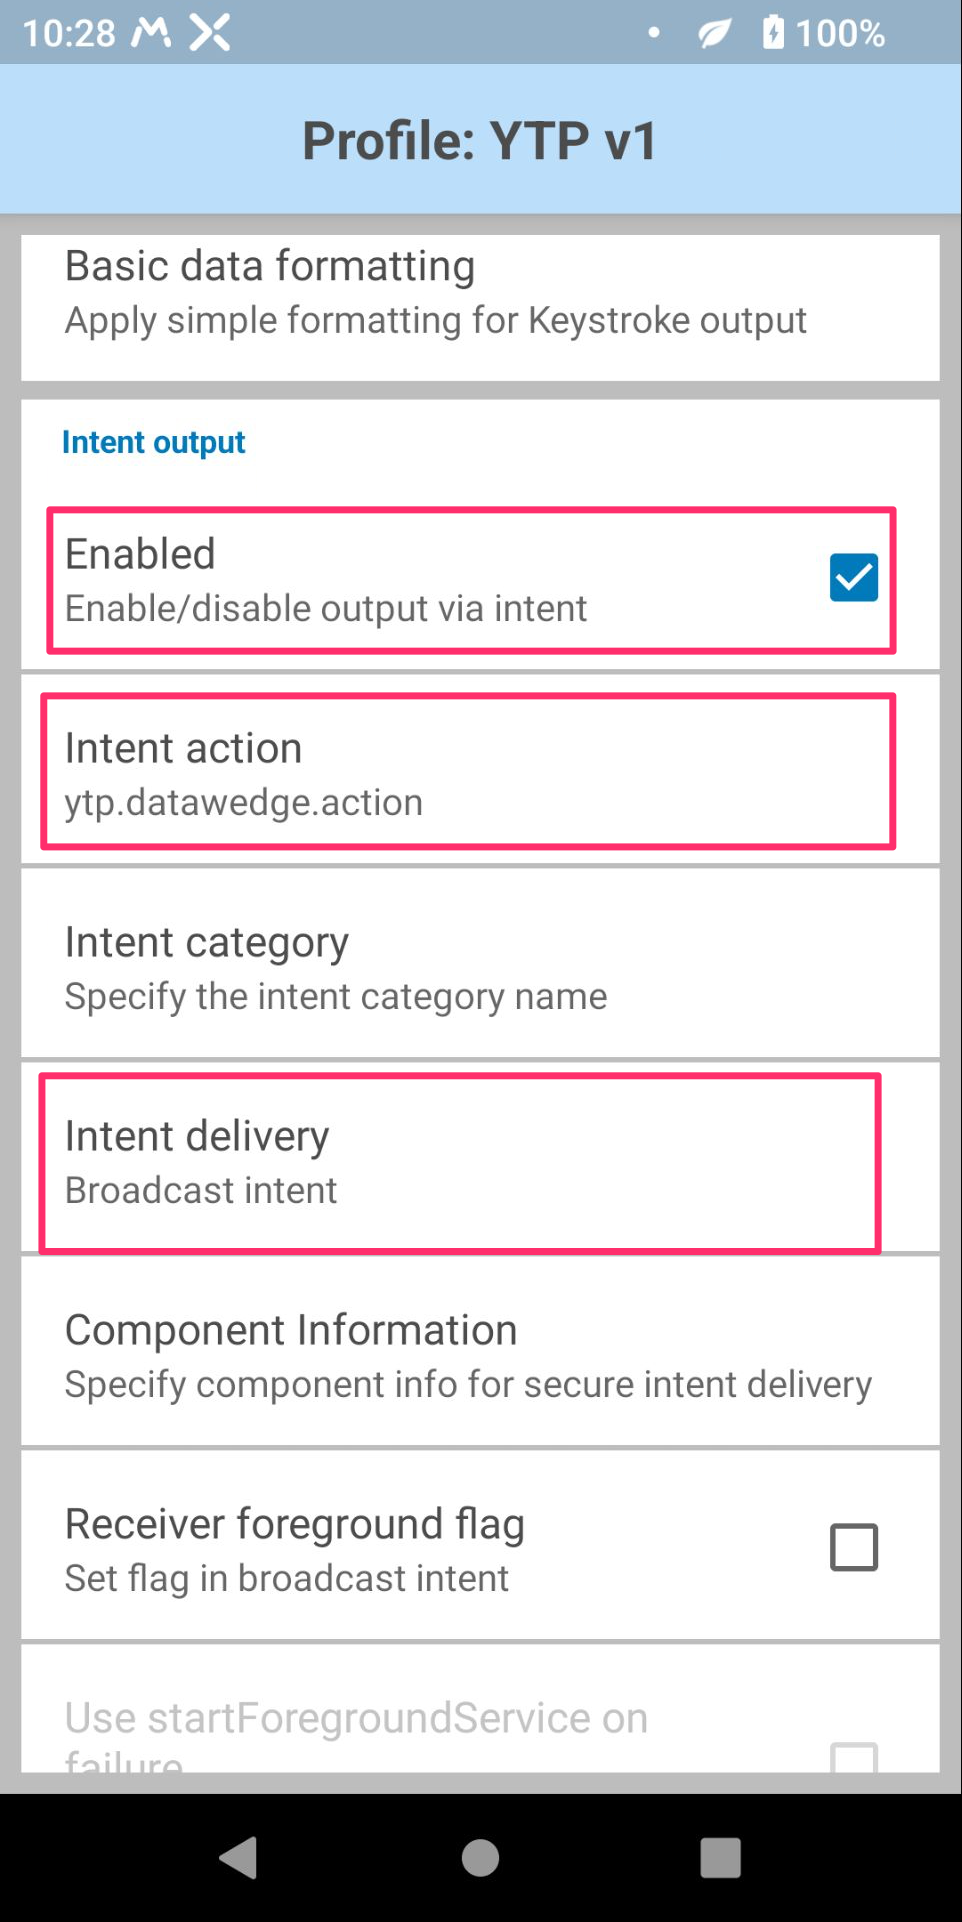
For YTP configure the broadcast intent action to be: |
Note: Output sections contain selectors for configuring "Basic data formatting" and "Advanced data formatting." These are the data processing options.