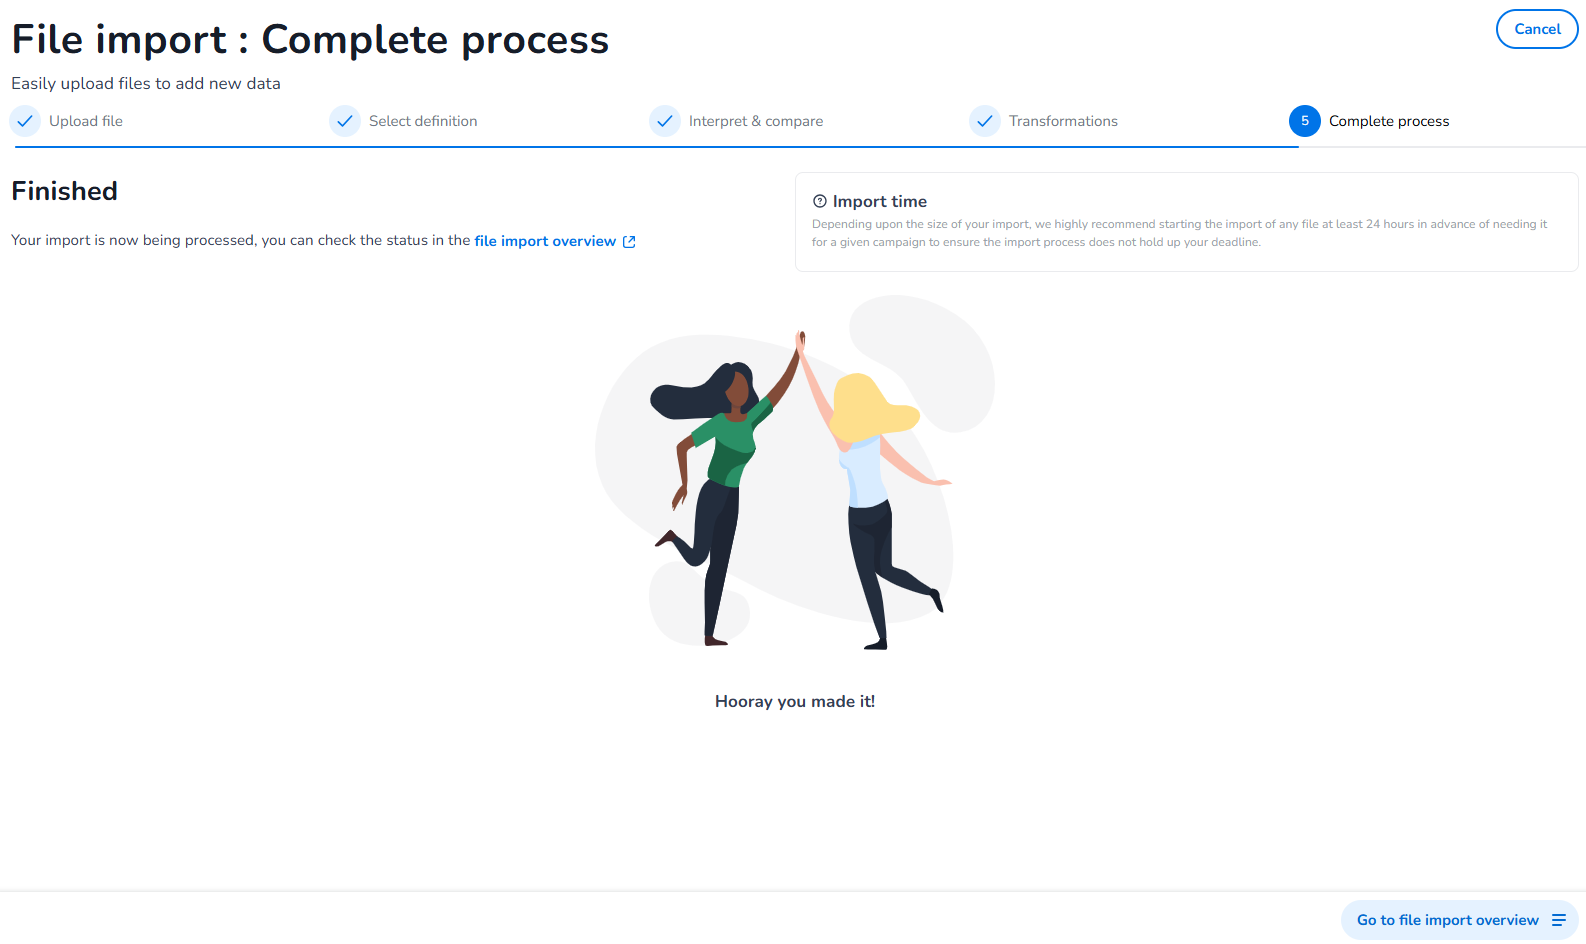
If you import a large file with a significant amount of data, the import process may take some time to complete. Unfortunately, there is no way to speed up this process once it has begun. However, there are some ways to proactively improve the import process.
We highly recommend planning to import a new file some time in advance of when you intend to contact the contacts in the file, as imports can take time depending on the amount of data and other incoming traffic on your account.
General
-
We only support .CSV and excel files
-
Max file size of 100MB
Make sure your file headers match the selected definition properties, any mismatch will not be taken into account.
What to avoid
-
Avoid duplicate unique identifiers in your import, this will slow down the process if we need to merge objects constantly
-
Avoid empty headers in your import
-
Avoid strange characters in your headers
-
Avoid empty rows in your file as we will then try to process them, this will slow down the process if we need to evaluate all these empty rows
Formatting
-
Date formatting is based on the selected definition property, if you import another format then specified in the definition, the date cannot be processed.
-
Number formatting (decimals and thousand separator) is based on the selected definition property, if you import another format then specified in the definition the number cannot be processed.
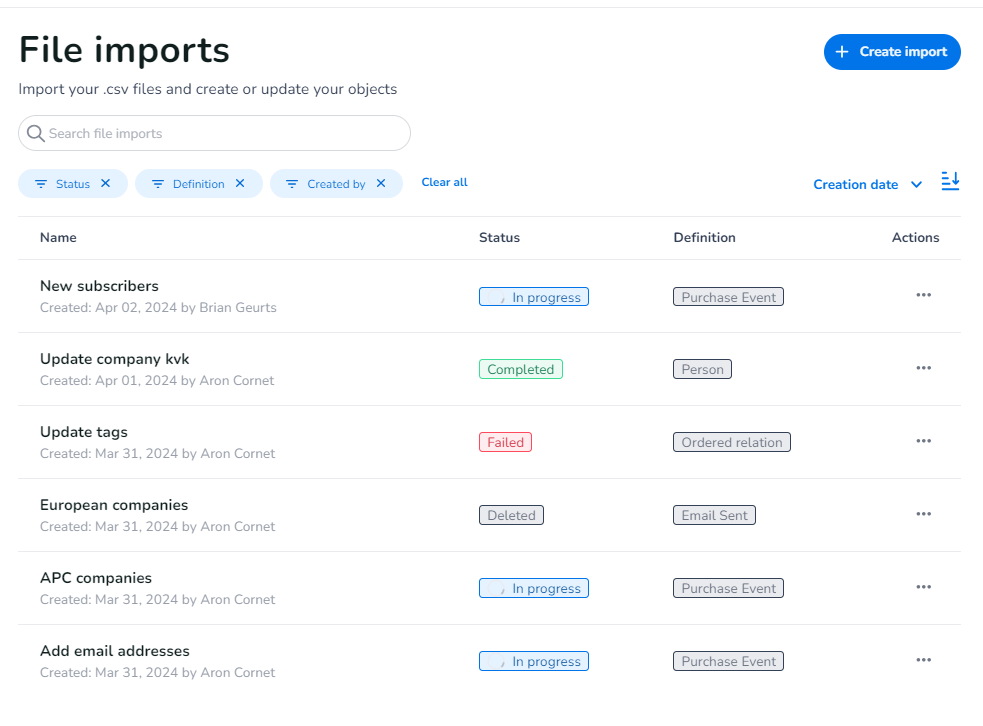
Import overview
After an import begins, you will see it’s status in the import overview. Once this is set to completed, all file events are processed and placed in the queue for profiling.
Import steps
Follow the below steps for an easy and successful import of your file data.
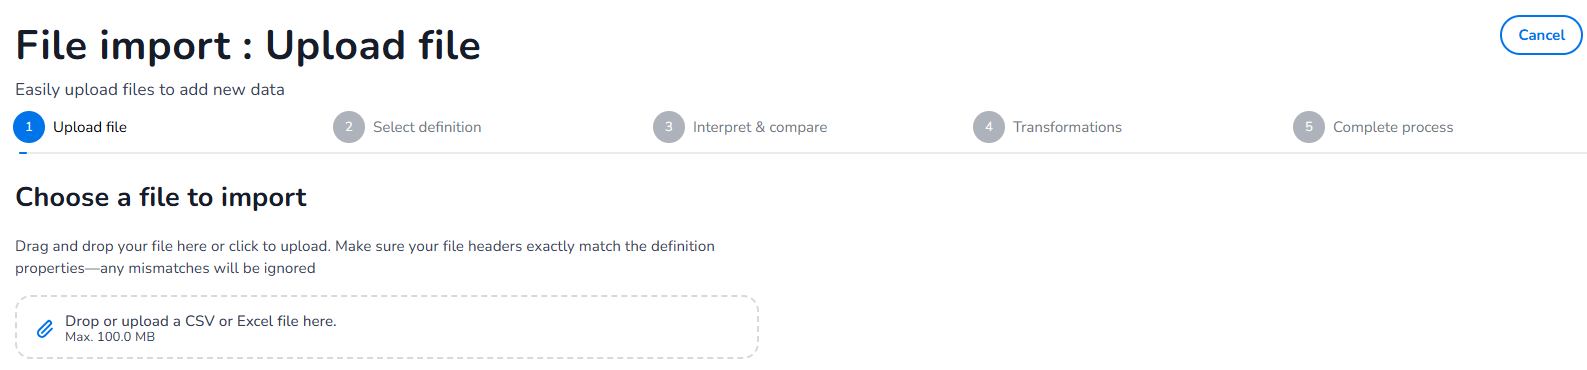
Step 1: Add Your File
Start by uploading your file. Select the file you want to upload.
Make sure the column headers in your file match the properties in the system's definition. If they don’t match, the system will ignore them.
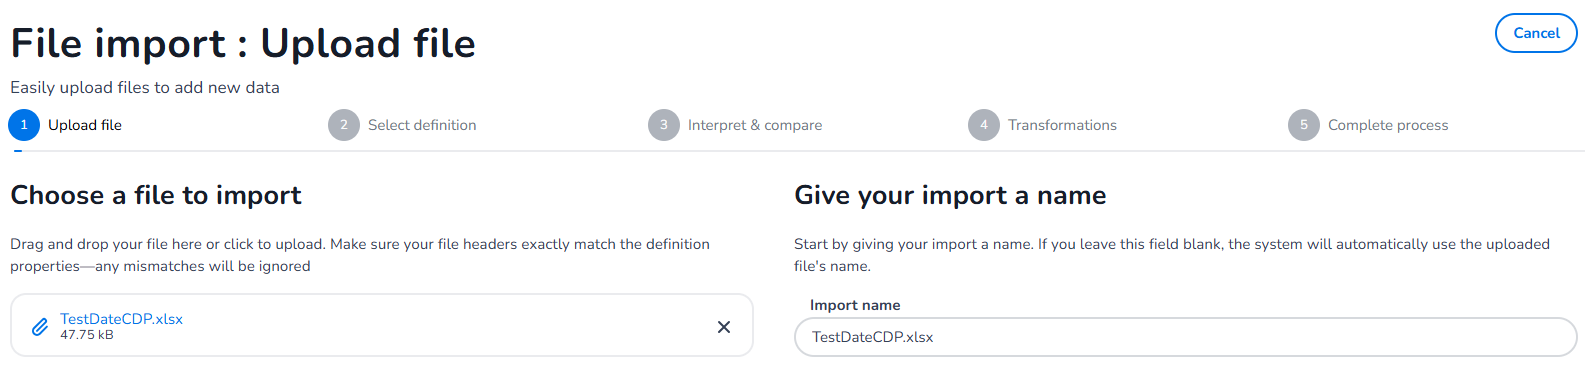
Name Your Import
-
The system will automatically name your import based on the file name, but you can change it if needed.
-
Note: You cannot use the same file name twice. Each file name must be unique.
Once your file is added and named, click the Upload File button in the bottom-right corner. The system will start uploading and analyzing your data in the background.
Step 2: Choose a Definition
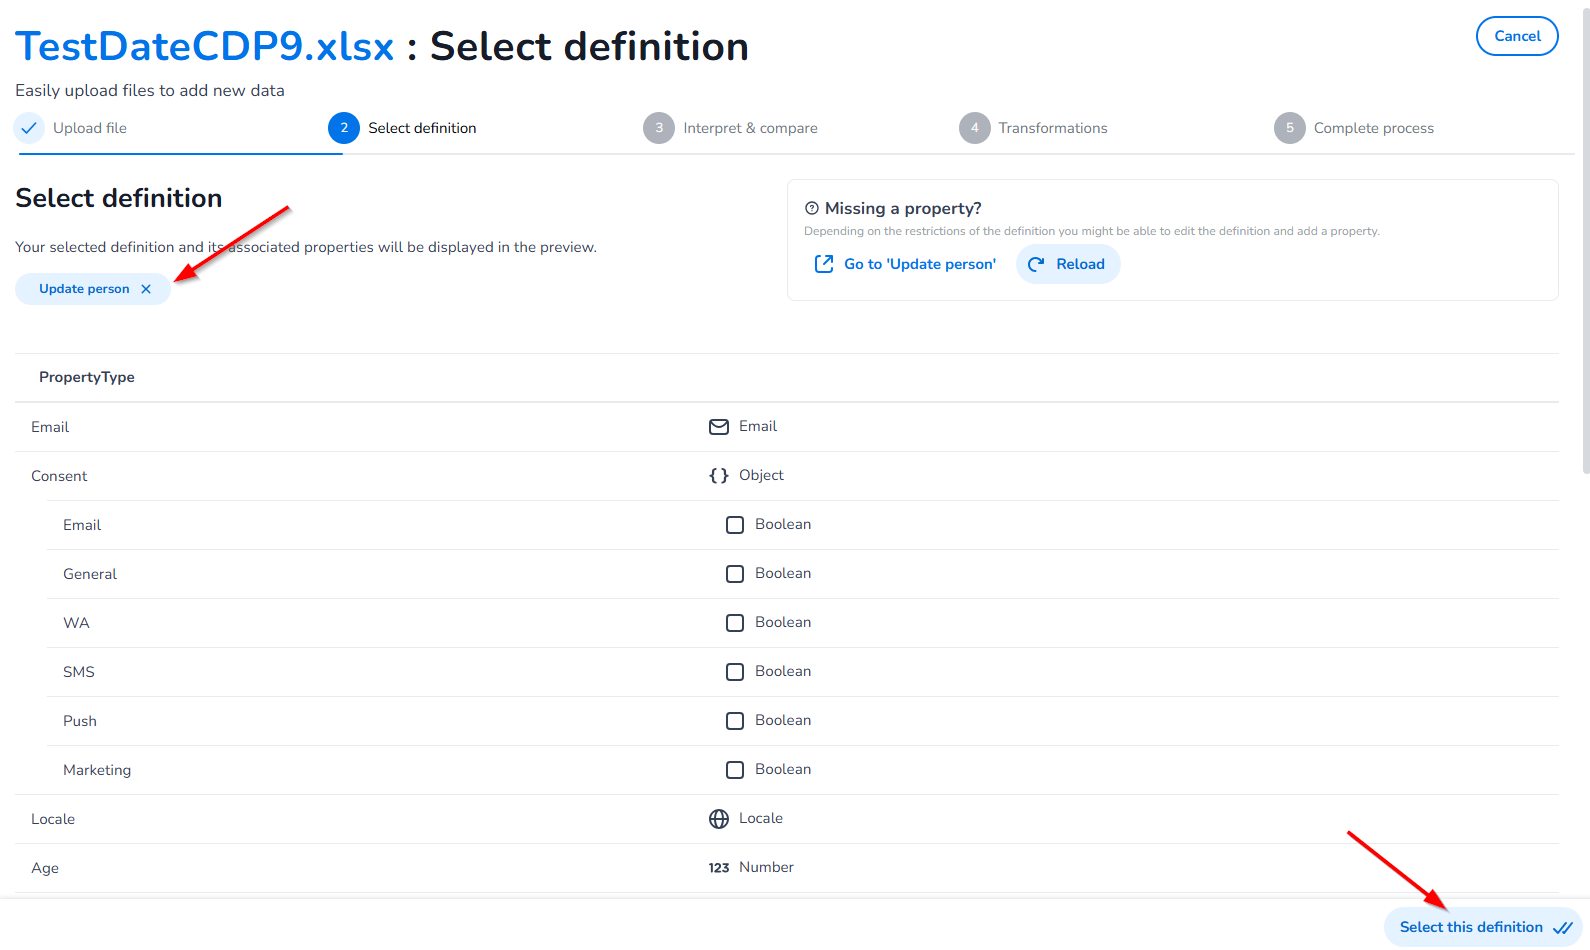
After uploading your file, you’ll move to the next step: selecting a definition.
-
We recommend using an existing definition to keep things organized.
Need a New Definition?
If you need to create a new definition:
-
Click Create a New Definition (this will take you out of the import process).
-
Once the new definition is created, return to the import screen and click Reload to see it in the list.
Double-Check Your File
After selecting a definition, you’ll see its properties. Make sure the column headers in your file match the properties of the definition.
-
Need to add a property to the definition?
-
Click Go to Definition to add the property.
-
Save it, return to the import screen, and click Reload to update the list.
-
When everything looks good, click Next Step. The system will now compare your file data with the selected definition. This may take a moment.
Step 3. Interpret & Compare
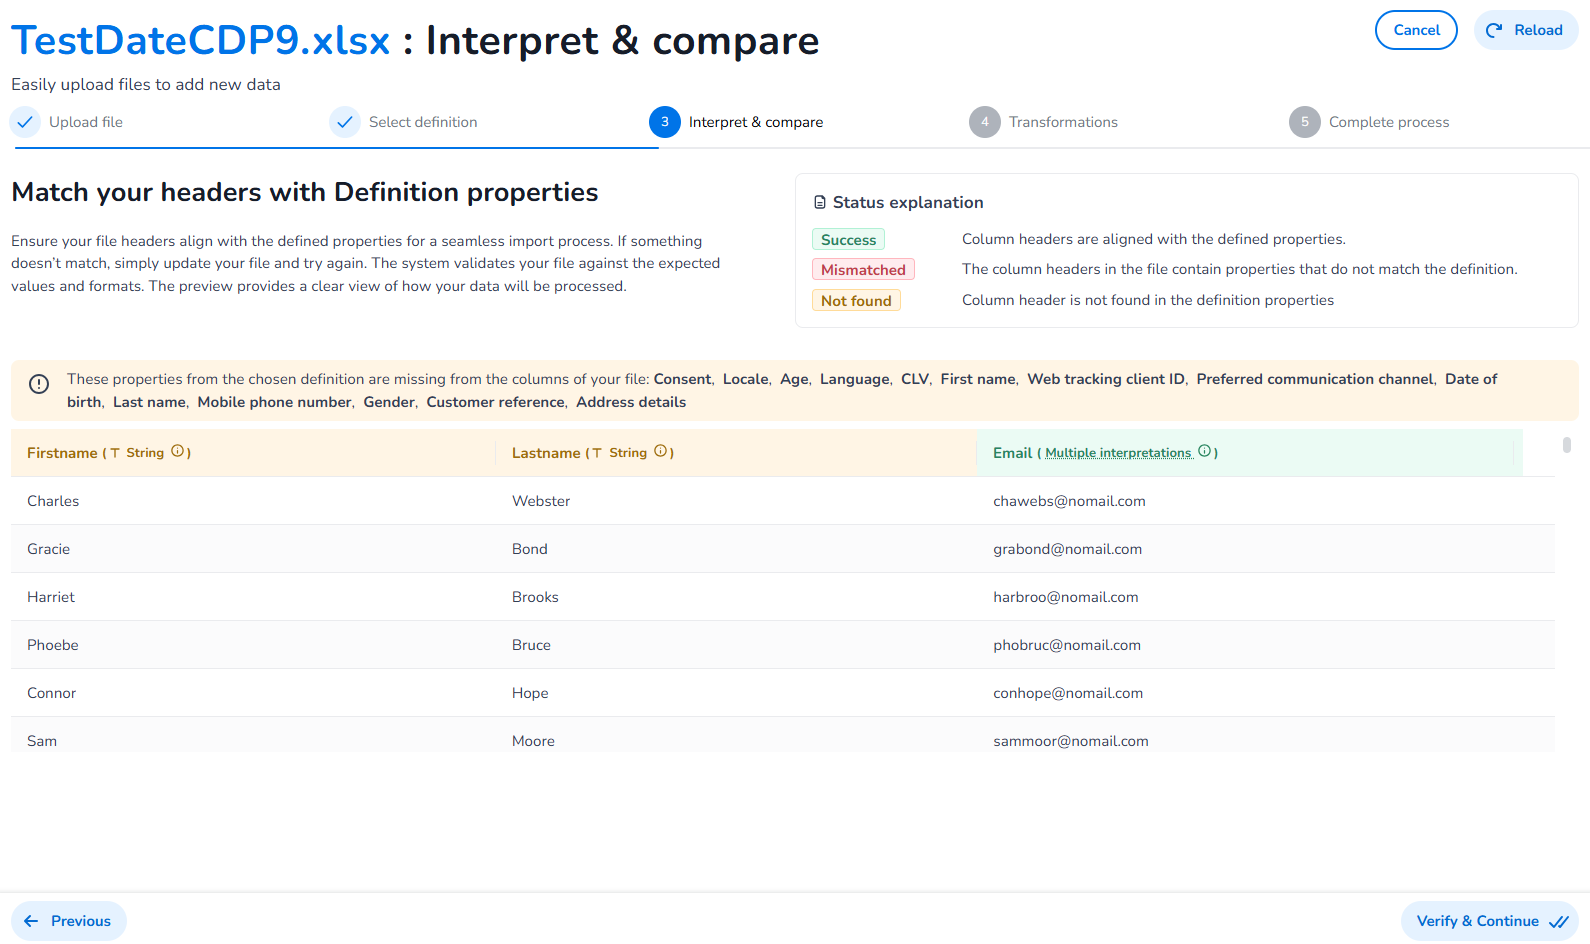
You’ll see a table showing how your file data matches the selected definition.
Info banner: Here we list the properties from the chosen definition that are missing from the columns of your file.
-
Succes : Everything matches perfectly.
-
Mismatched : Some data doesn’t match the expected type (e.g., a number column contains text).
-
not found : A column in your file doesn’t match any property in the definition.
Step 4. Transform
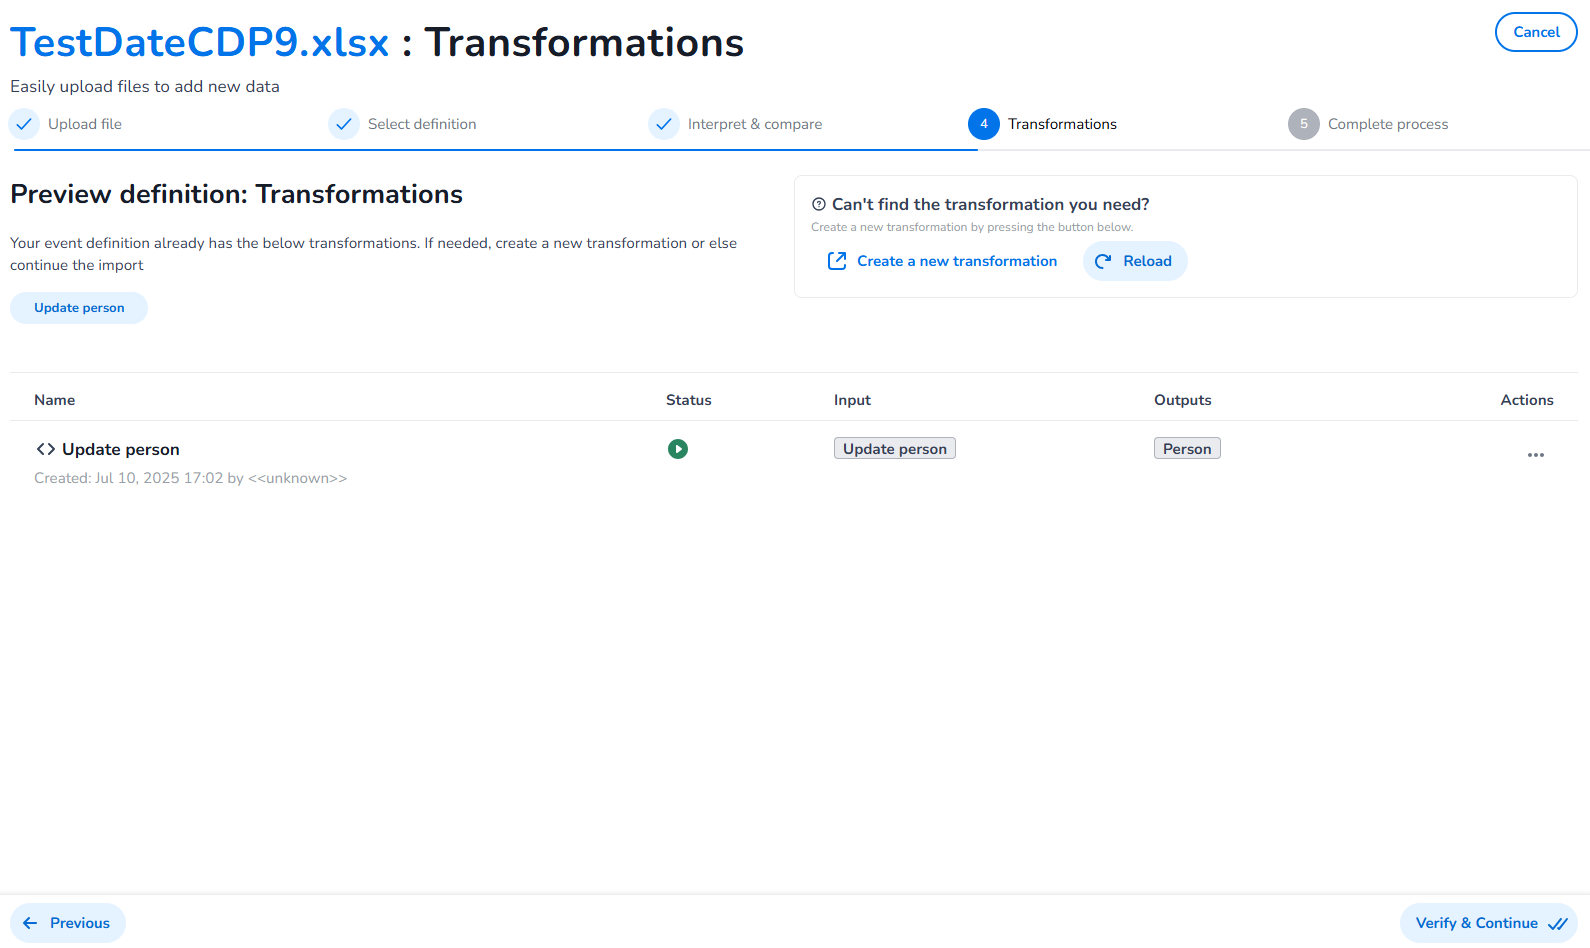
Now it’s time to decide how to use your data.
-
Transform to an Object: Link your data to an object (e.g., a person).
-
Create Events Only: If you don’t transform the data, it will only create events, not link them to objects. For example, uploading purchase details without linking them to a person means the purchase data won’t be tied to any customer.
Using an Existing Definition?
Most of the time, an existing definition already has a transformation set up, so you don’t need to do anything extra.
Creating a New Definition?
If you created a new definition, you’ll need to set up a transformation:
-
Choose an output definition (e.g., "Person").
-
Map the data from your file (input definition) to the output definition using the mapping screen.
*Only basic transformations are supported in this process.
Step 5. Finished
Once the transformation is ready (or if one already exists), click Finish.
Here’s what happens next:
-
The system will create events from your file data.
-
These events will be sent to the Inbox API.
-
The data will then be processed, profiled, and visible in your application.