Status Reasons are configurable templates that unify Non-Voice Availability (such as online, service hours, or away) with Voice Availability (available or unavailable) into a single, reusable preset. These presets are defined at a global level and apply across all departments within your Service Cloud account.
Each Status Reason is assigned a custom name, allowing you to clearly represent the internal meaning behind a specific combination of availability settings.
Availability
Status Reasons are included as part of the Pro tier of Service Cloud and do not incur any additional fees. If you would like this feature enabled, please contact your CSM or Support.
Key Capabilities
-
Unified Availability Settings
Combine voice and non-voice availability into a single selection for streamlined status management. -
Global Configuration
Status Reasons are shared across your entire Service Cloud environment, ensuring consistency across teams. -
Custom Naming
Label each Status Reason to reflect how your organization interprets that availability state. -
Workload Rerouting Prompt
For each custom Status Reason, you can configure whether agents should be prompted to reroute their remaining workload when switching statuses.
Important Considerations
-
Your current setup will remain unchanged until you create and save your first set of Status Reasons.
-
Once saved, the configured Status Reasons will become the only available options for all agents.
-
It’s important to ensure that your configuration covers all necessary availability scenarios before saving.
Setting Up Status Reasons
To configure Status Reasons, navigate to:
Settings → Status Reasons
Here, you can define the reasons behind each presence status to improve clarity on agent availability and support efficient workload management.
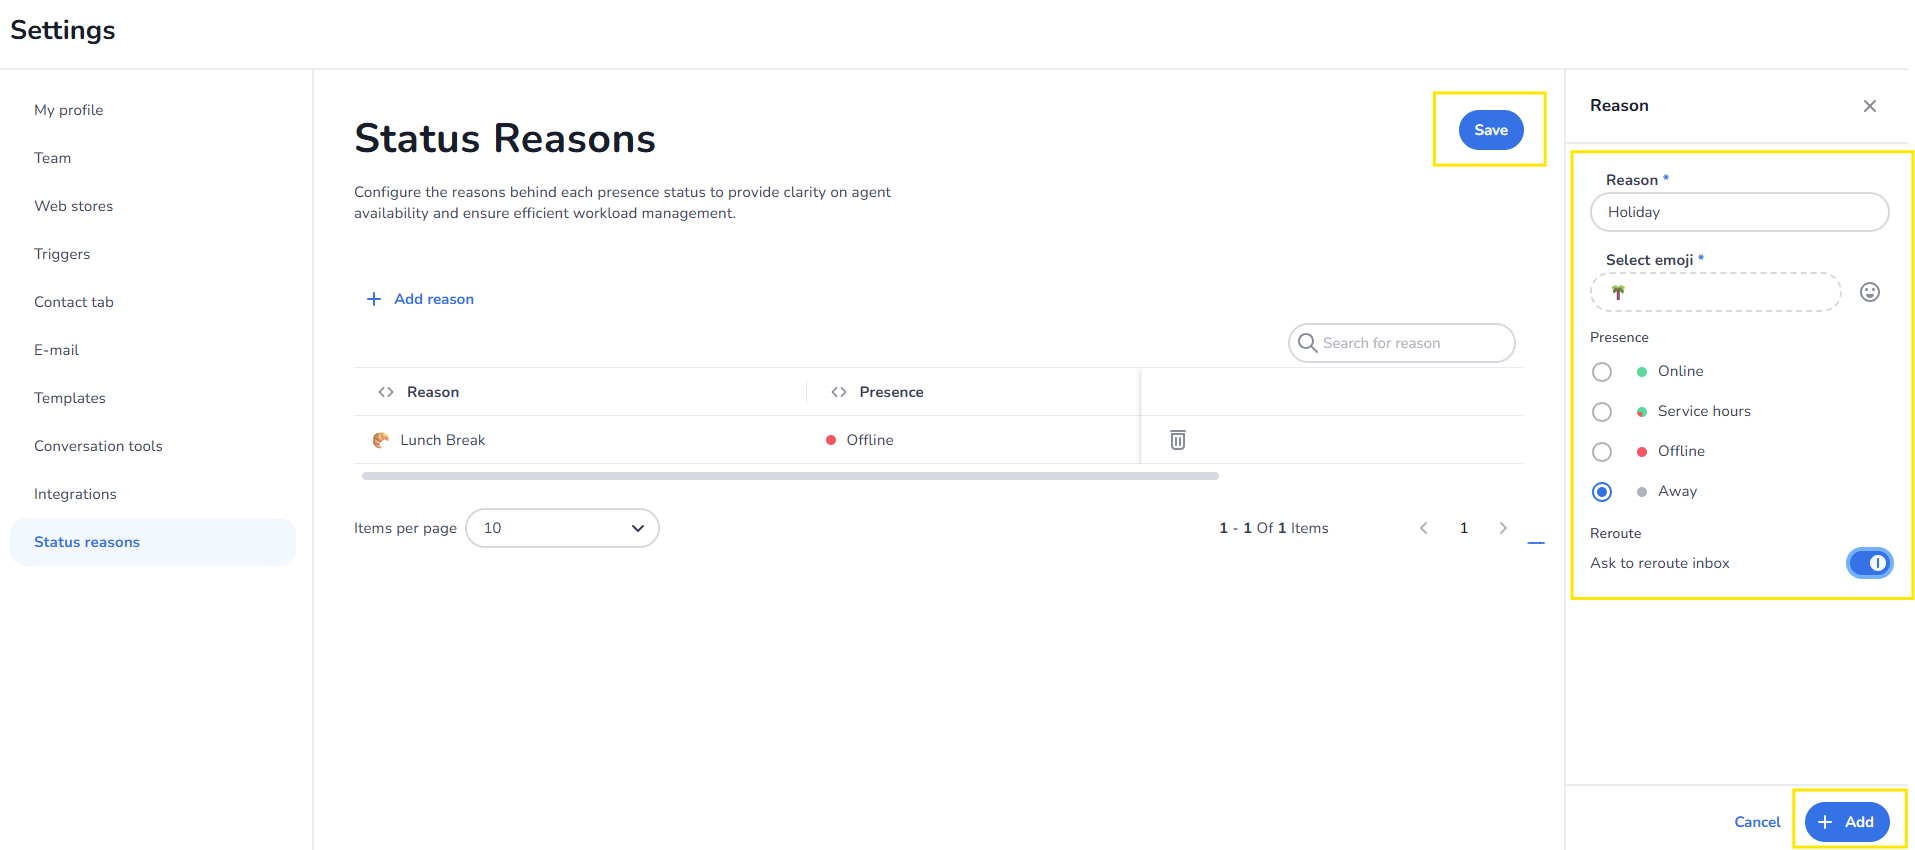
How to create a Status Reason
-
Go to Settings > Status Reasons
-
Click + Add reason
-
Enter a reason name and select a required emoji to represent the status
-
Choose the applicable presence status:
-
Online
-
Service hours
-
Offline
-
Away
-
-
Select whether conversations should be rerouted to the inbox when this status is applied
-
Click Add
-
Click Save to apply your changes
Once saved, the Status Reason will be available for agents to use based on the configuration you’ve defined.
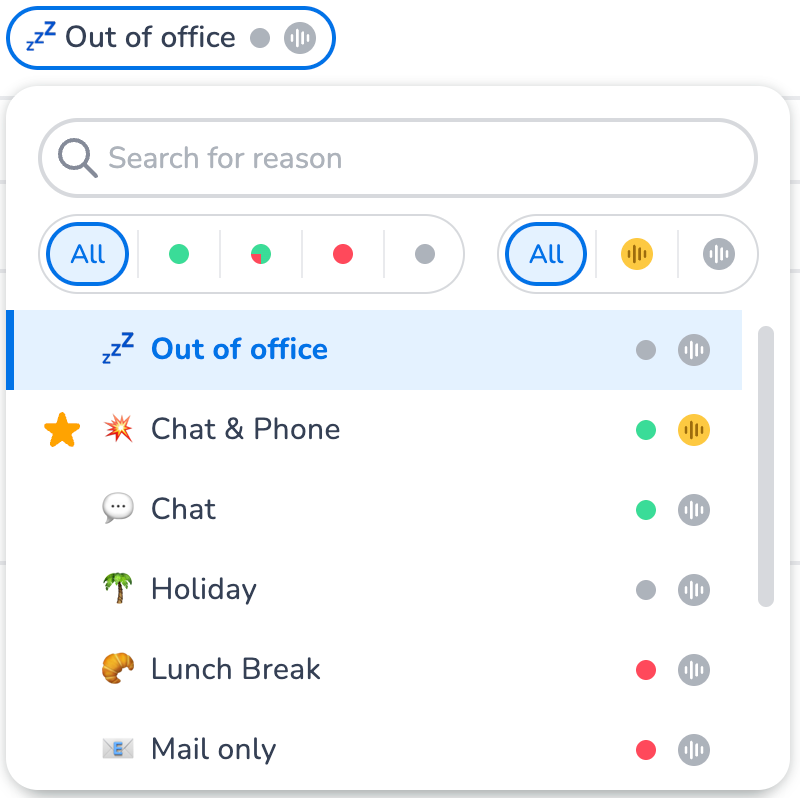
Using Status Reasons
Clicking on each status shows the available status reasons that an agent can choose from to set their status:
Instruction Video:
Below you find a video on using Status Reasons.