Once you have access to the Sign dashboard, you can create dossiers and invite recipients to sign your documents. Follow the steps below.
Step 1: Open the Sign app
Open the Sign app from the App menu, or go directly to cm.com/app/sign.
Step 2: Start a new dossier
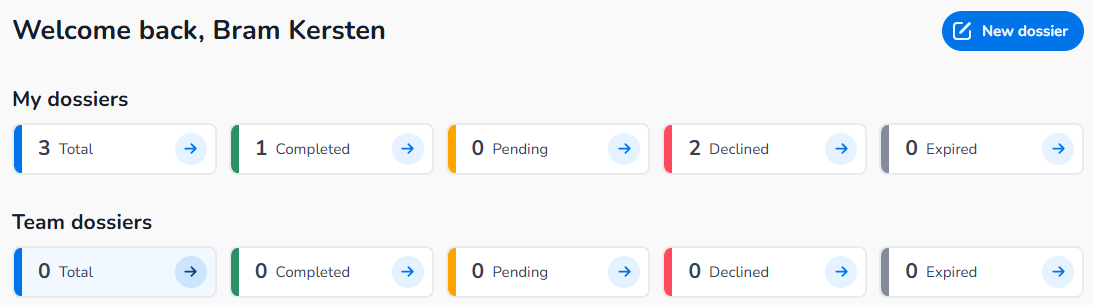
From the Overview page (or My dossiers / Team dossiers), click New Dossier in the upper right corner.
Step 3: Set basic parameters
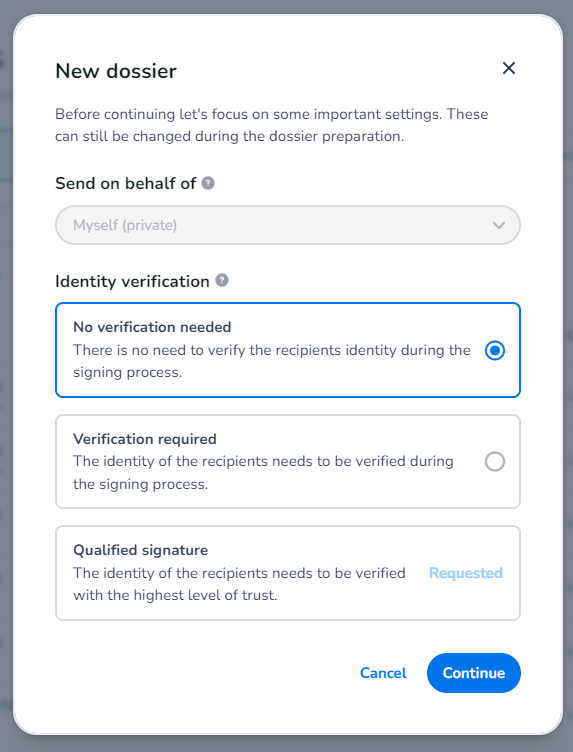
Configure the following before continuing:
-
Send on behalf of: Defaults to Myself (private). To send on behalf of a team, you must first create a team in Settings. This option only appears if you are part of or manage a team.
-
Identity Verification: Select the required verification level if you have one or more methods activated. If not yet activated, click Request to send a request to CM.com.
Click Continue to proceed.
Step 4: Upload documents
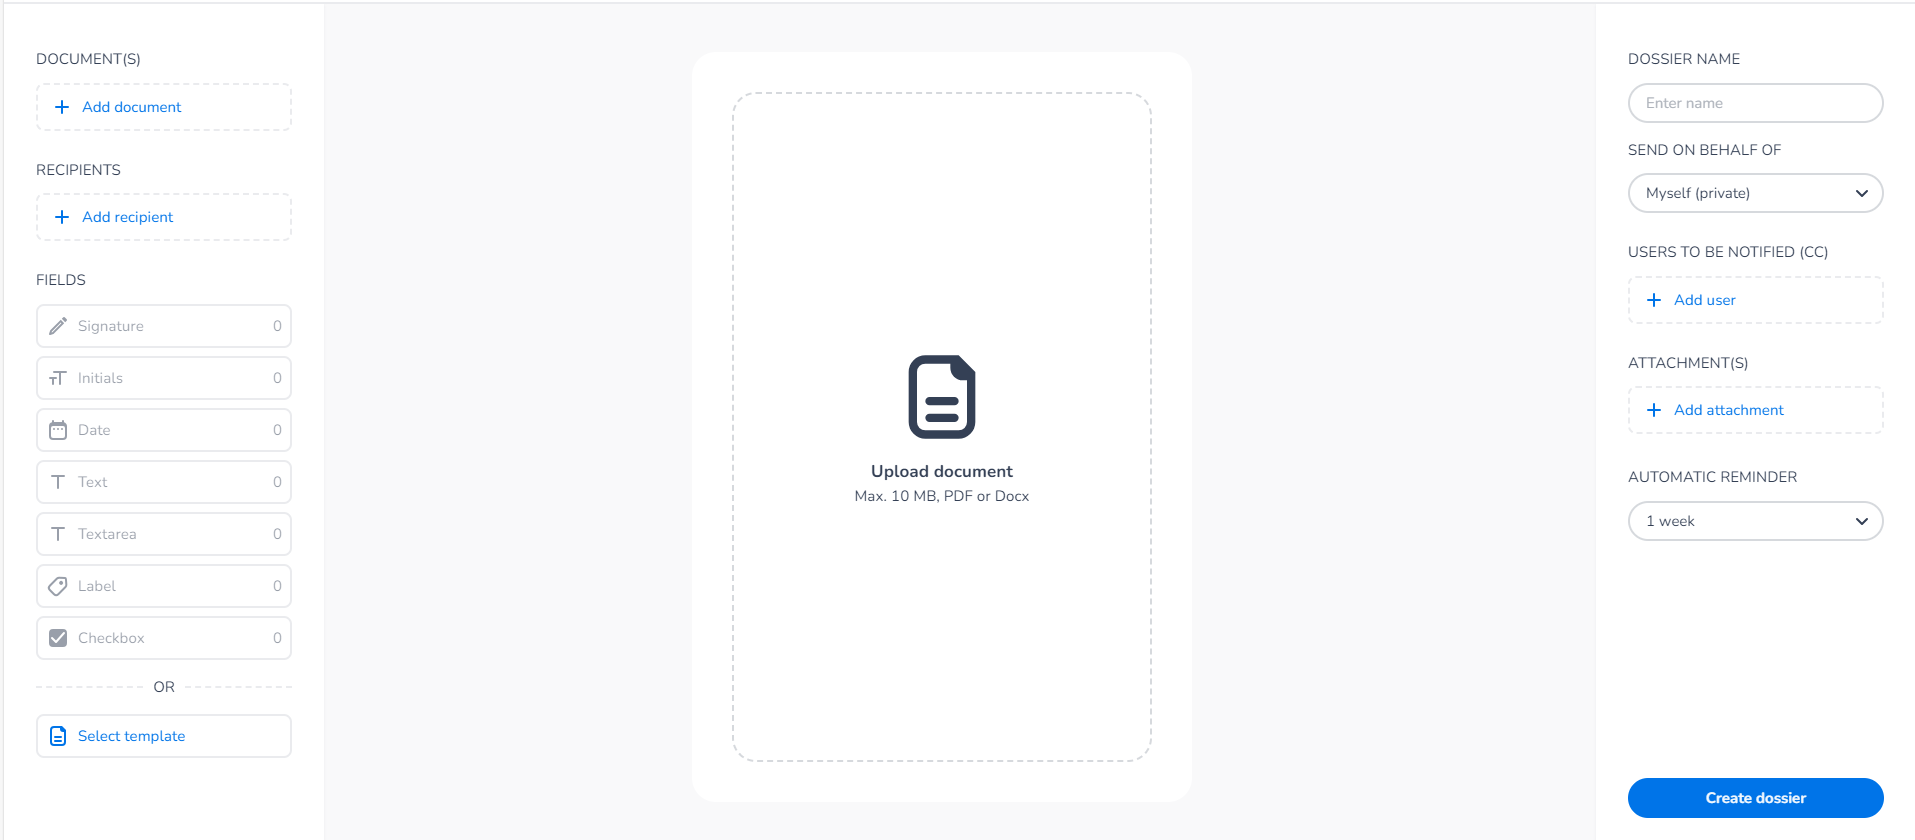
Upload your document using the Upload Document option in the left menu, or drag and drop it onto the screen. Supported files include contracts, quotations, and any other document requiring a signature.
Each individual document must not exceed 10 MB. The total dossier size can be larger.
Step 5: Add recipients
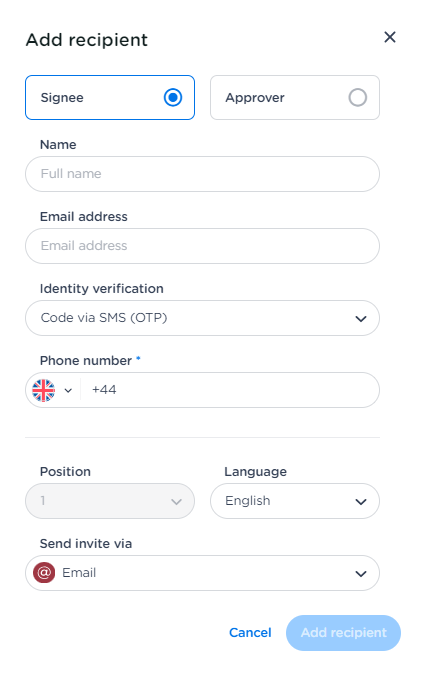
Click Add recipient and fill in the required details for each person who needs to sign or approve the document.
-
Multiple recipients: Add as many recipients as needed.
-
Signing order: Set the order in which recipients sign or approve, if sequence matters.
-
Approver role: Assign a recipient as an approver if they need to review the document without signing it.
Step 6: Add fields
Place signature, initials, date, or open text fields in the document. Use the left menu to select a field type, then drag it to the correct position.
If you use similar documents regularly, click Save as template to store the field positions for future use.
Once everything is correctly placed, click Create dossier.
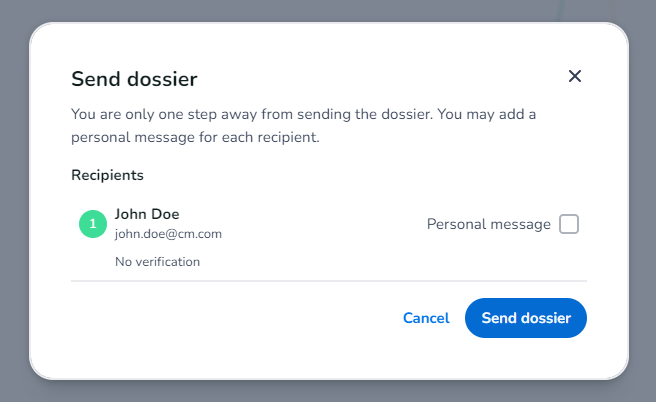
Step 7: Send the dossier
Review all recipient details and optionally add a personal message for each recipient. When ready, click Send dossier.
After sending, the dossier appears on your Overview page under My dossiers. You will receive email notifications when a recipient signs, approves, or declines. You can also check the dossier status at any time from the dashboard.