Product carousels allow you to showcase multiple products in a visually engaging format within your email campaigns. The Product Carousel wizard guides you through the setup process and automatically handles the technical configuration.
Prerequisites
Before creating a product carousel, ensure you have one of the following data sources configured:
Option 1: Product Segment
-
Data source: Product segment
-
Requirements: A segment created in the Product Feed app
-
Setup: Self-service
-
Create your segment in the Product Feed app.
-
It will automatically sync to Email Campaigns.
-
Option 2: Addressbook Property
-
Data source: Addressbook property
-
Requirements: A Products field containing product IDs in your Addressbook
-
Setup:
-
Contact Support to configure this field in your Addressbook.
-
How to Create a Product Carousel
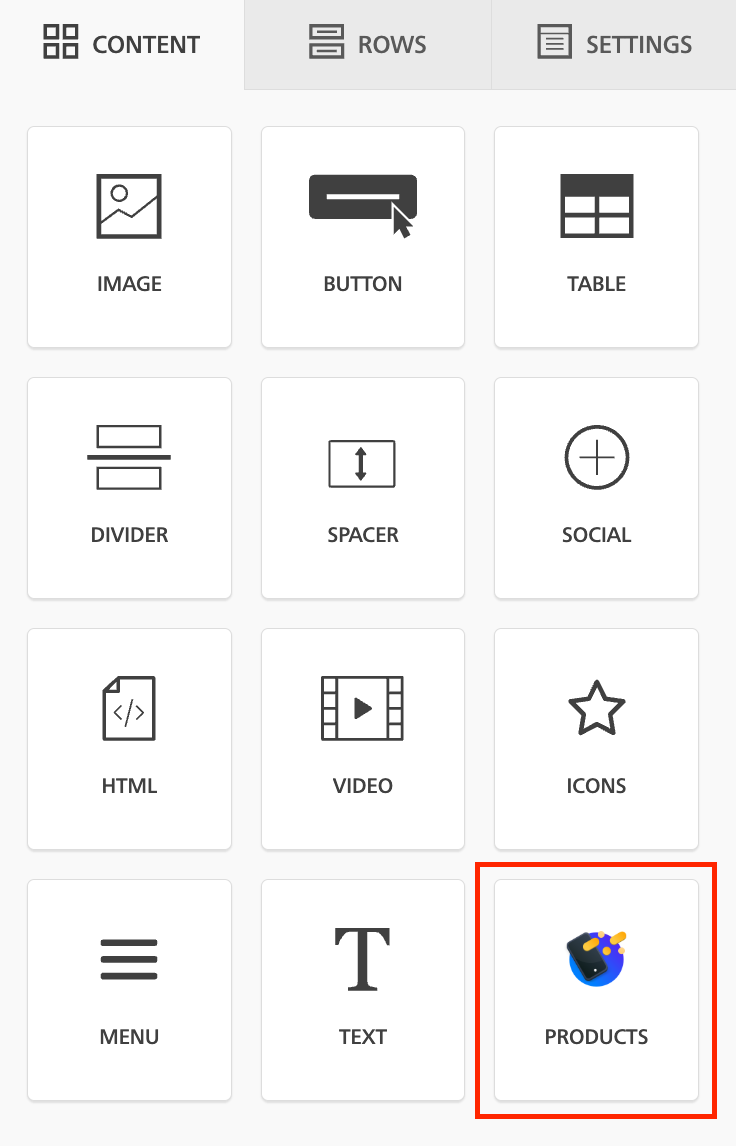
Step 1 – Add the Products Block
-
In the email editor, locate the Products block in the content blocks panel.
-
Drag and drop the Products block into your email template.
Step 2 – Open the Product Carousel Dialog
-
Under Add automated product rows, click the Products button.
-
The Product Carousel dialog will appear.
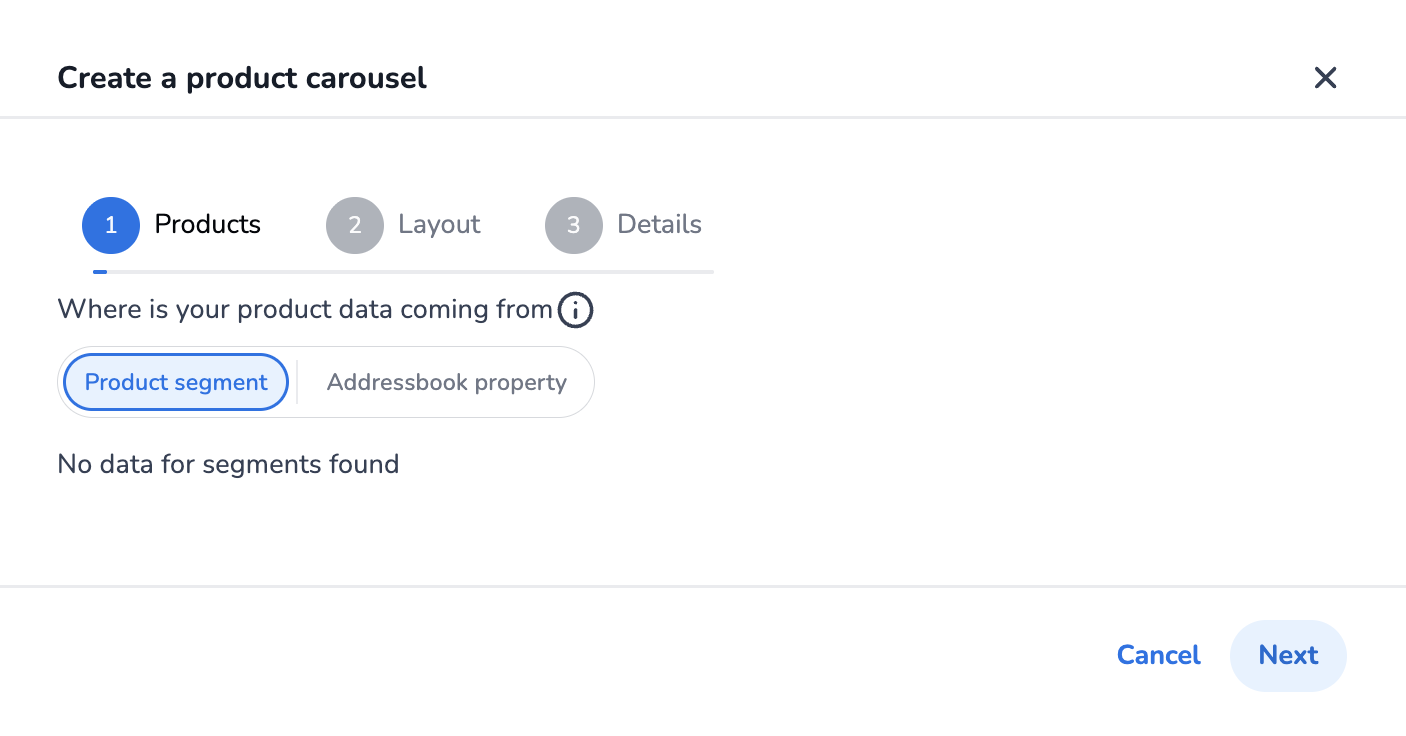
Step 3 – Select Your Data Source
In the Products step, choose where your product data will come from:
Product Segment
-
Select the Product segment tab.
-
Choose a segment from the dropdown.
-
Segments created in the Product Feed app will appear here automatically.
Addressbook Property
-
Select the Addressbook property tab.
-
Choose the relevant addressbook property from the dropdown.
-
This option displays products based on contact-specific data.
Step 4 – Configure the Layout
-
Click Next to proceed to the Layout step.
-
Select how you want your products displayed.
-
Customize the appearance to match your email design (e.g. number of products per row, spacing, image sizes).
Step 5 – Add Details
-
Click Next to proceed to the Details step.
-
Configure any additional settings (e.g. titles, CTAs, tracking).
-
Click Save to add the carousel to your email.
Send a Test Email
After creating your product carousel:
-
In the email editor, click the three dots menu.
-
Select the Send test email option.
-
Verify that:
-
The correct products are shown.
-
Links, images and pricing display as expected.
-