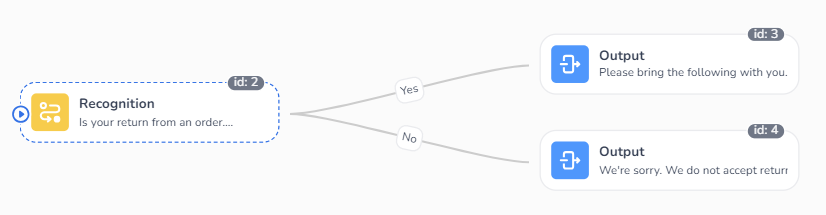
This guide will walk you through creating a dialog that presents the customer with two options.
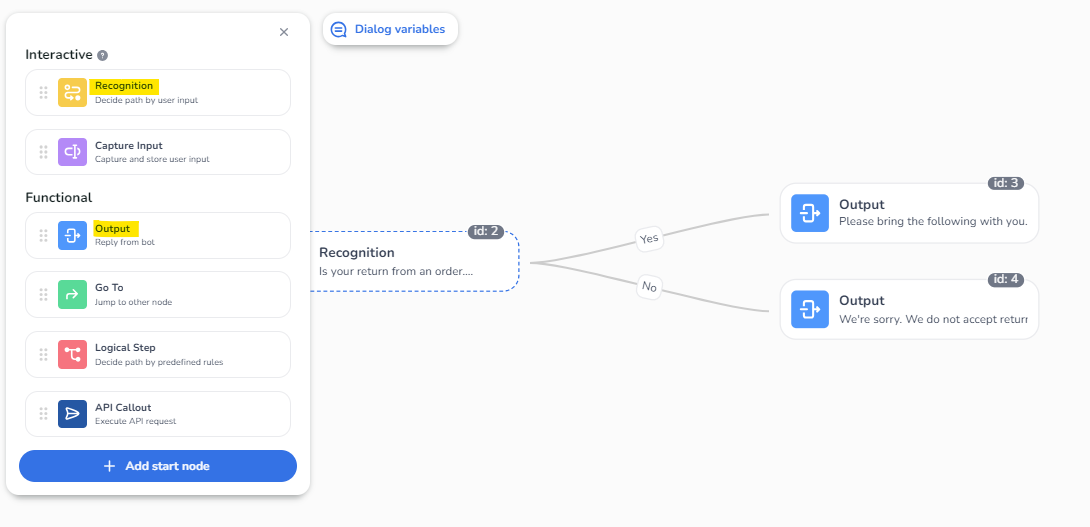
As stated in the “introduction to dialogs” page a dialog is a collection of dialog nodes connected to provide an end-to-end conversational experience. In this guide we’ll be using the following dialog node types to realize our use case:
-
Navigate to https://cms.digitalcx.com
-
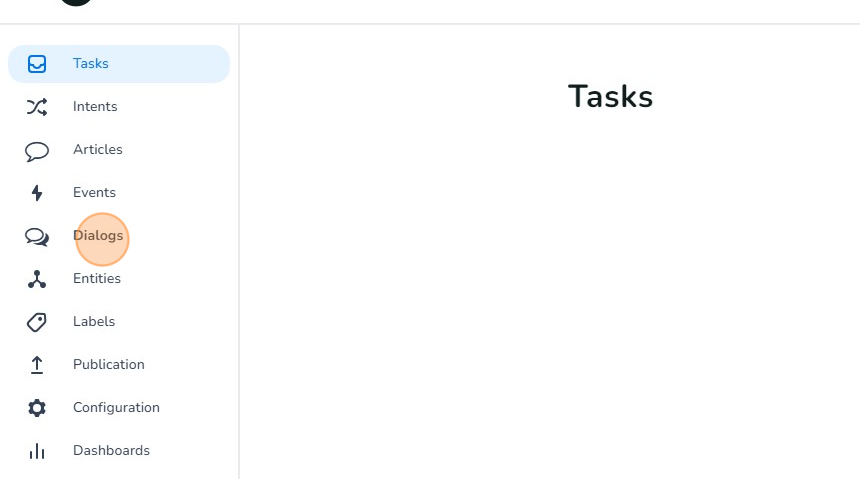
Click "Dialogs"
-
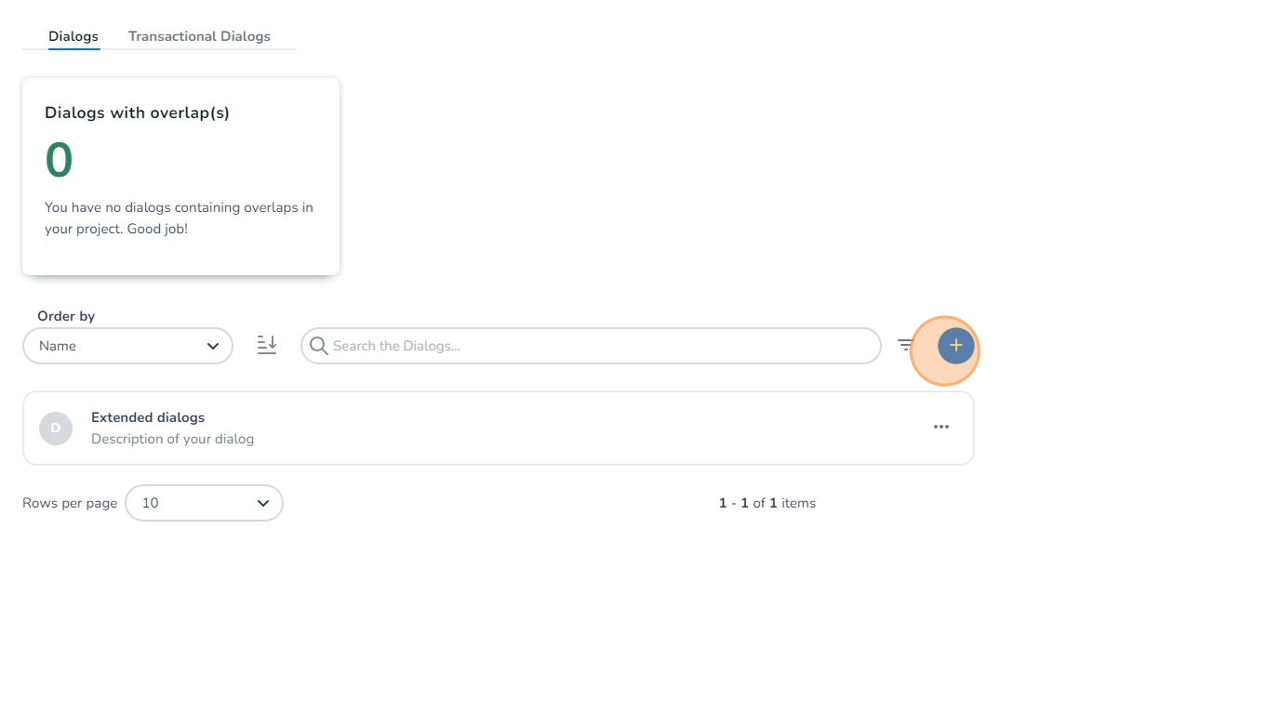
Click the '+' button to create a new dialog.
-
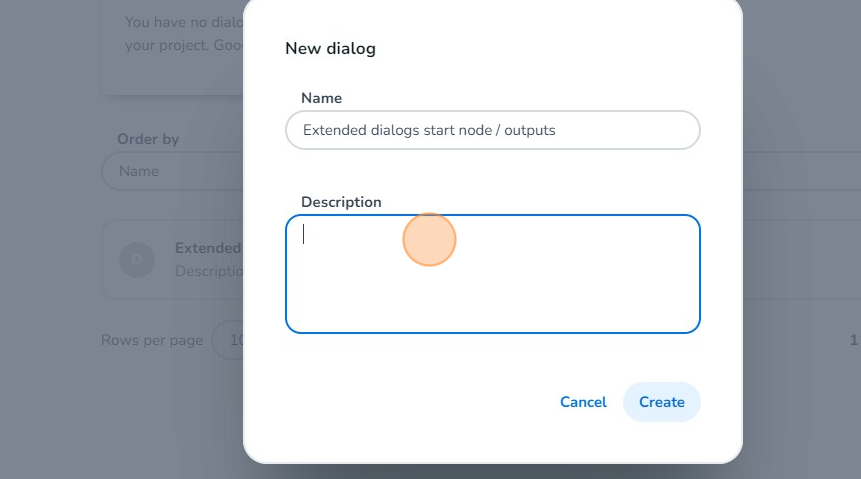
Click this field and assign an appropriate name to your new dialog.

-
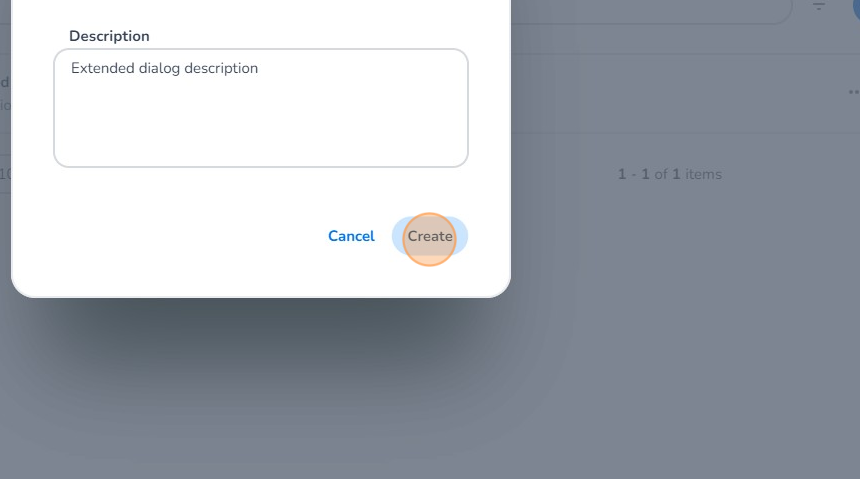
Click this field and give your new dialog a corresponding description.
-
Click "Create"
-
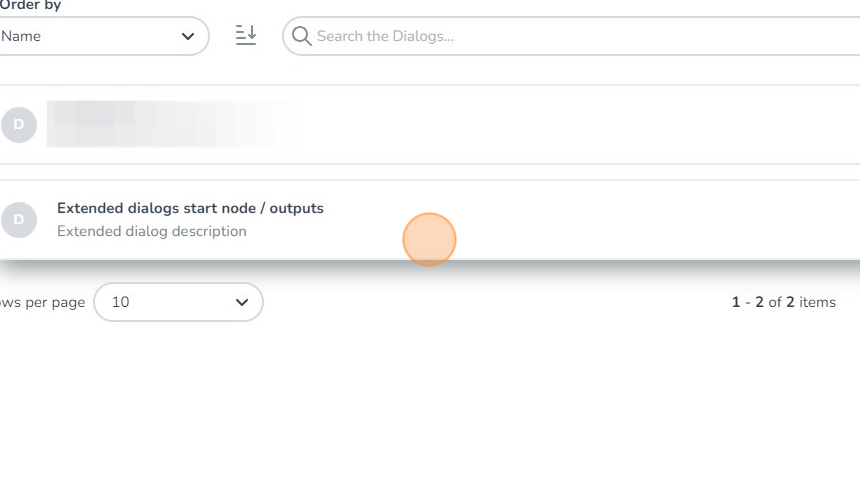
Click on the dialog that you've just created to open the editor.
-
We'll start off by creating a simple start node. To create this, Click on the "+ Add node" button and select the type: 'Recognition'.
-
Click "Edit Output" to edit the output of your start node.
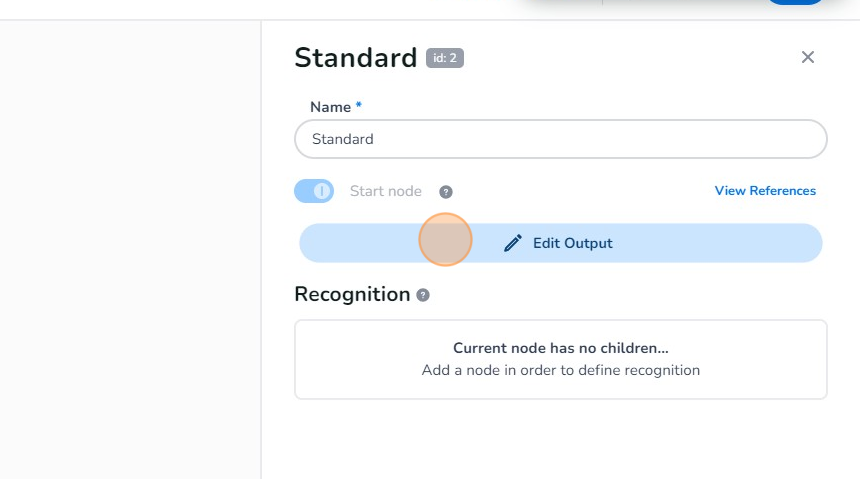
-
Click here to start typing.
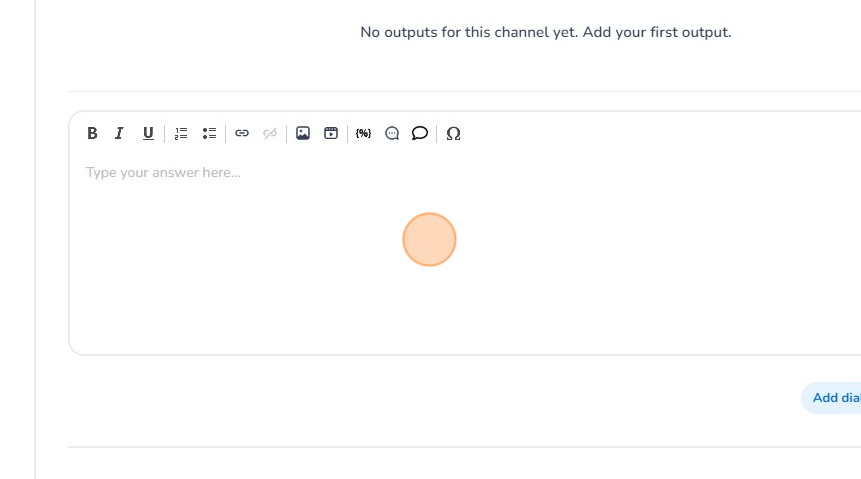
-
Select "Add answer" once you have finished inputting your text.
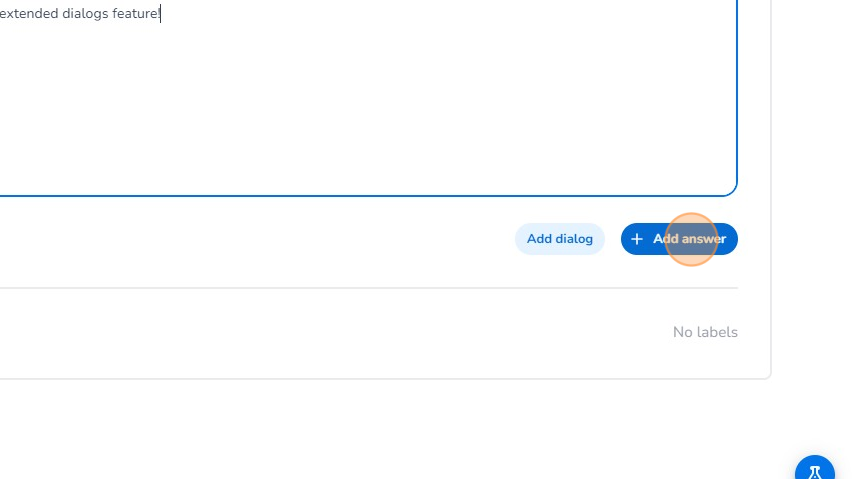
-
Click here or the "X" button to exit to the dialog overview.

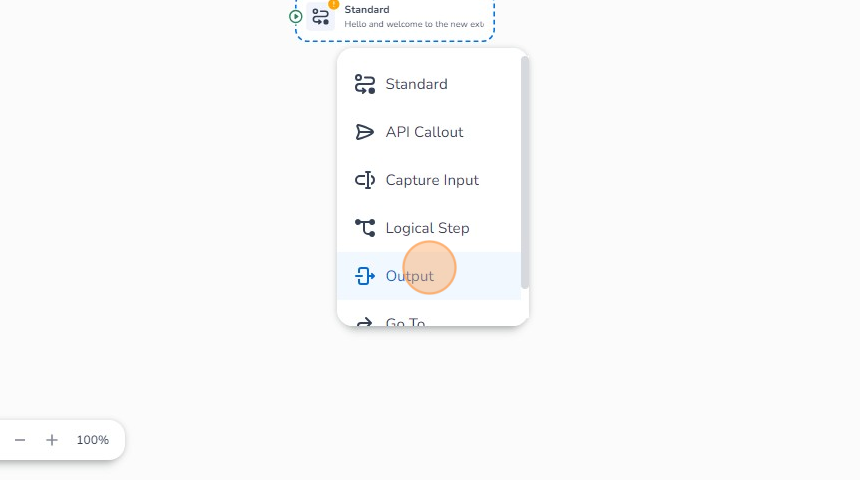
-
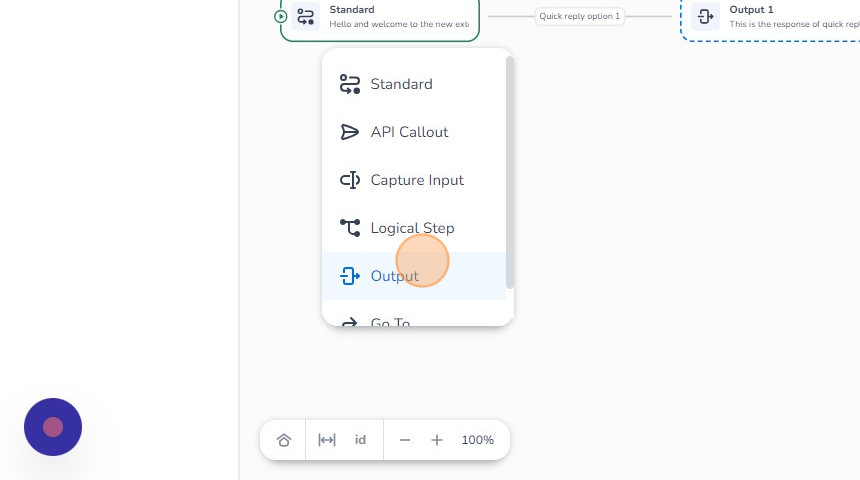
Next, we'll incorporate a basic output. Select "Output" to proceed.
-
Click the "Add recognition..." field to add a dialog option/recognition.
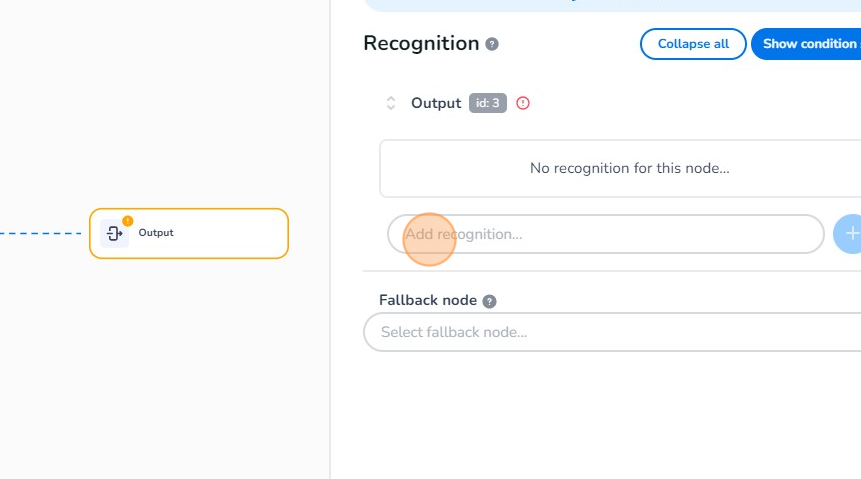
-
Give your recognition/dialog option a name.
-
Click here to add your quick reply.
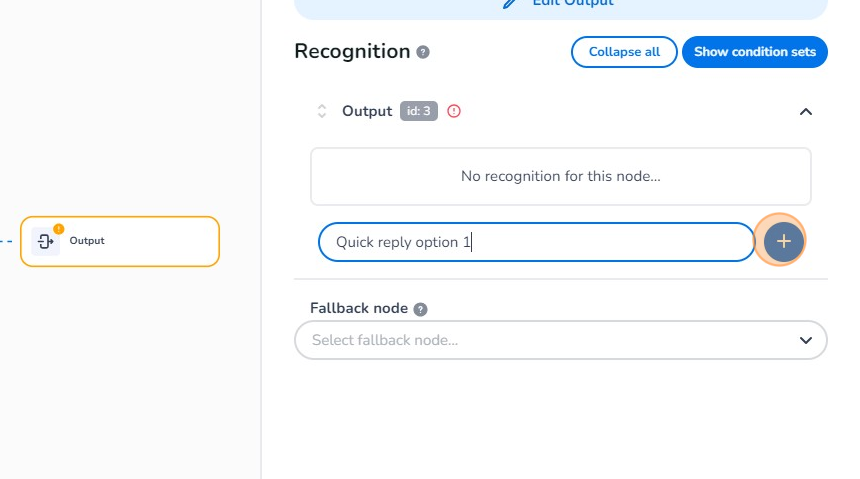
-
Click here to activate your dialog option/recognition.
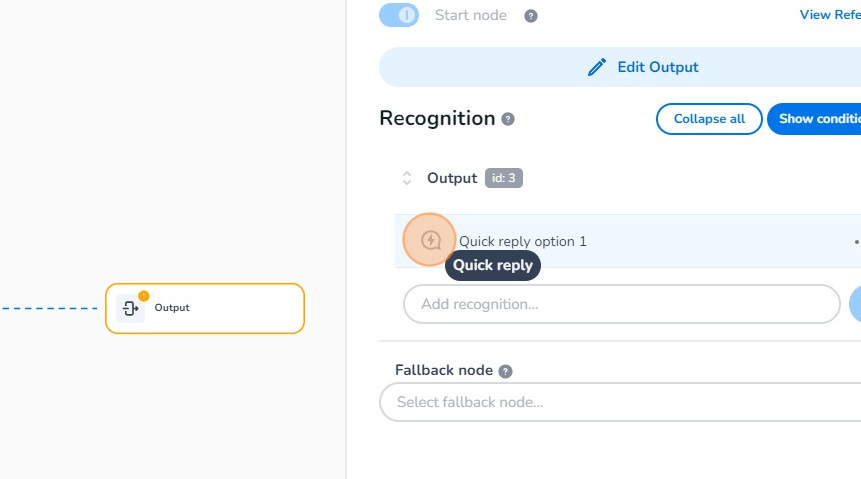

-
After adding your dialog option/recognition you can edit your output. Click on "Edit Output".
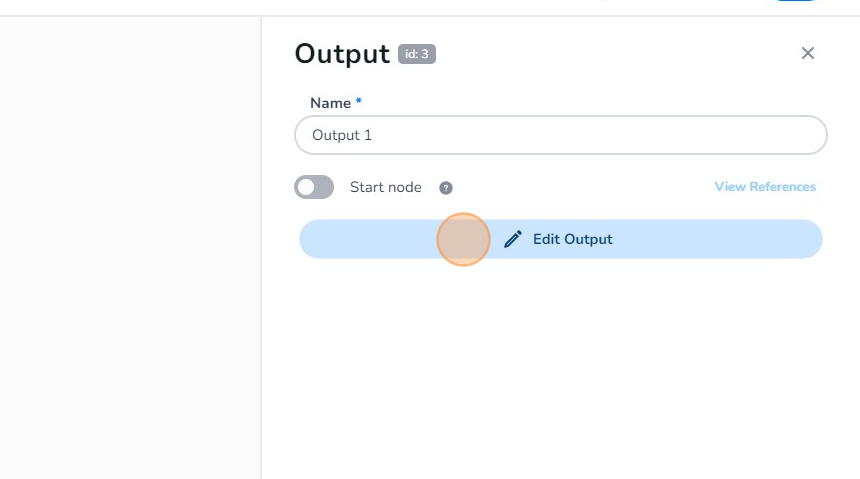
-
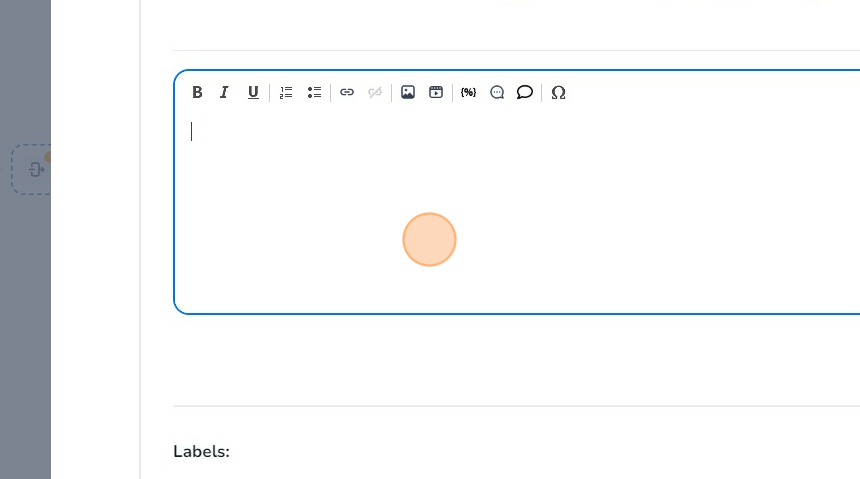
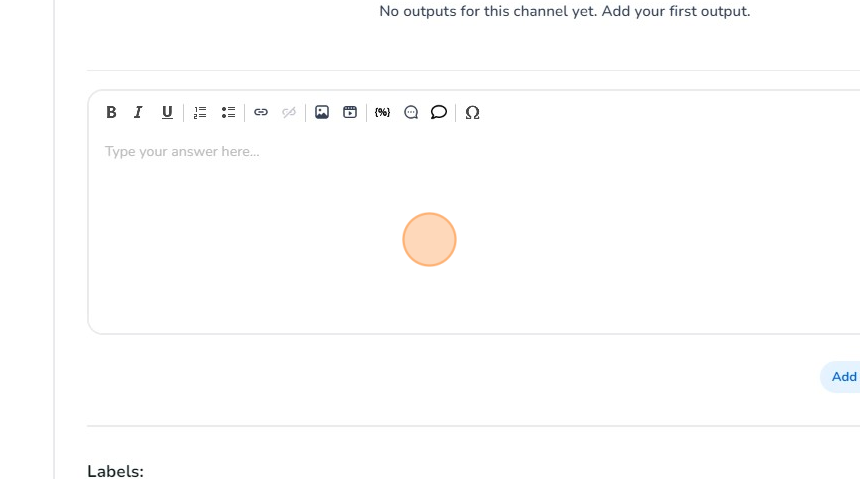
Begin typing by clicking here. Whatever you enter will be displayed when the designated recognition or selected dialog option is triggered.
-
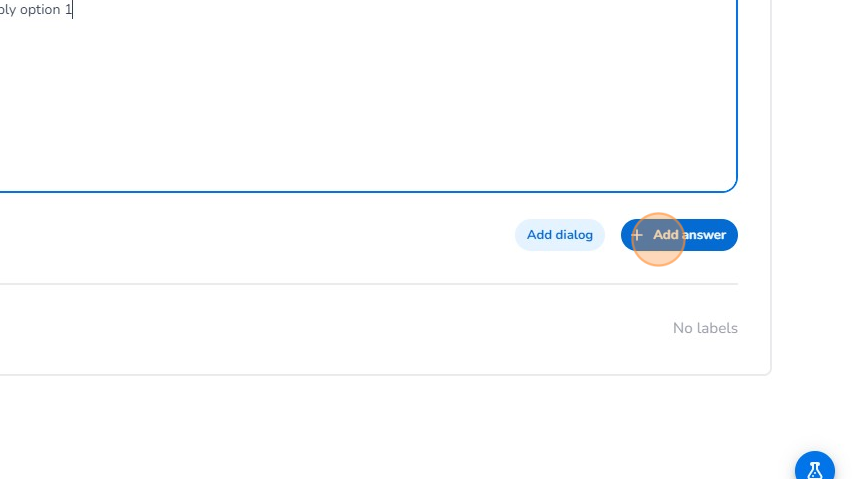
Click here to add your answer to the output node.
-
Click here or the "X" button to exit to the dialog overview.
-
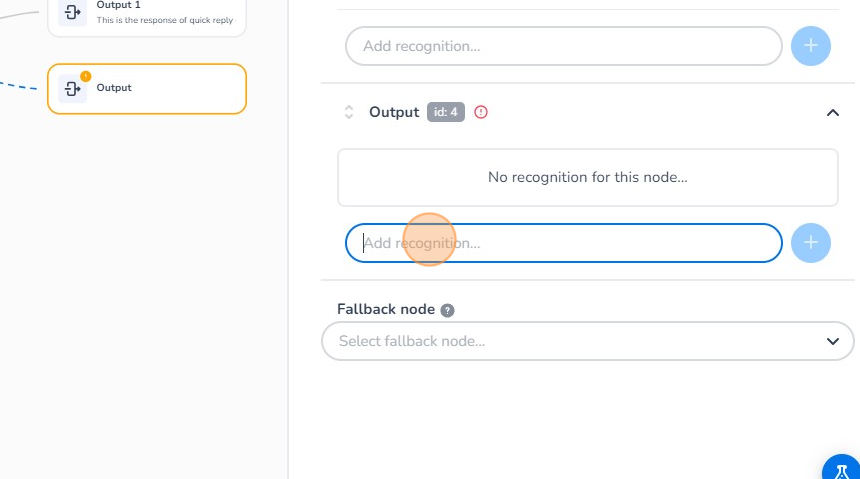
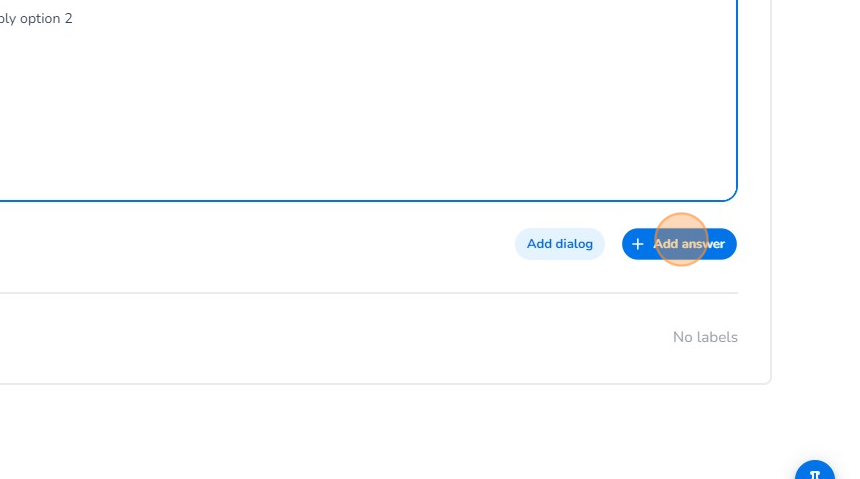
Now we are going to add a second output node. Click "Output"
-
Click the "Add recognition..." field to add a dialog option/recognition for your second output.
-
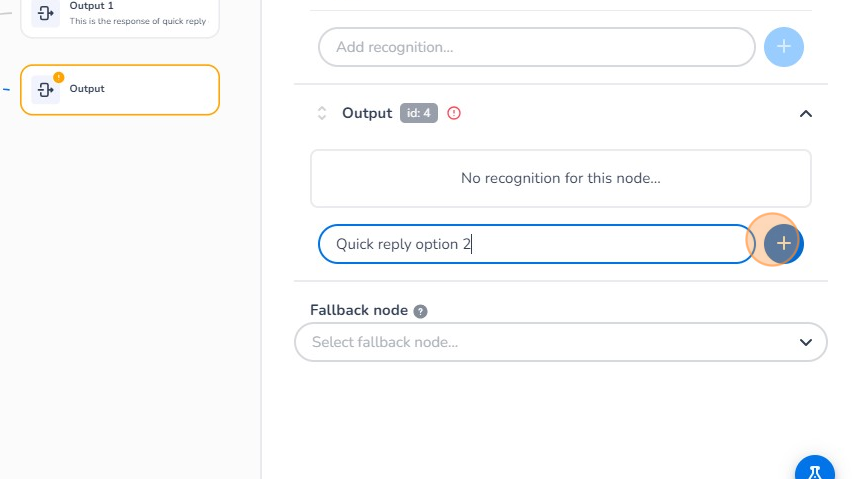
Click here to add your quick reply.
-
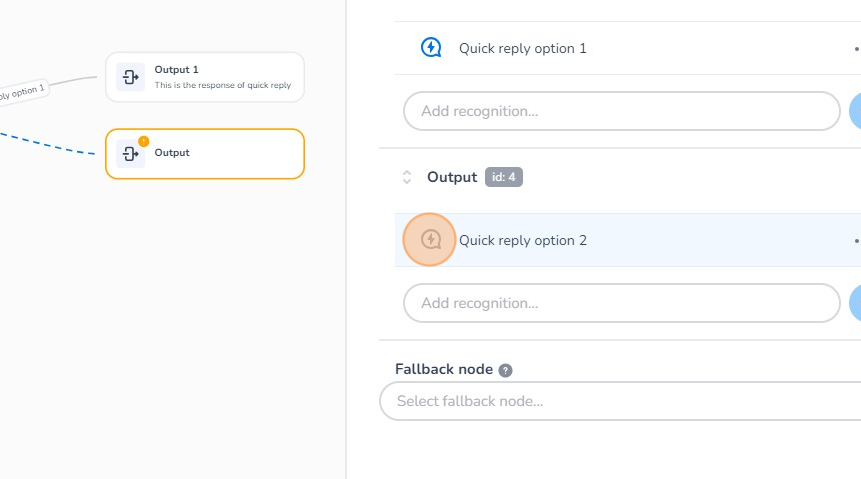
Click here to activate your dialog option/recognition.

-
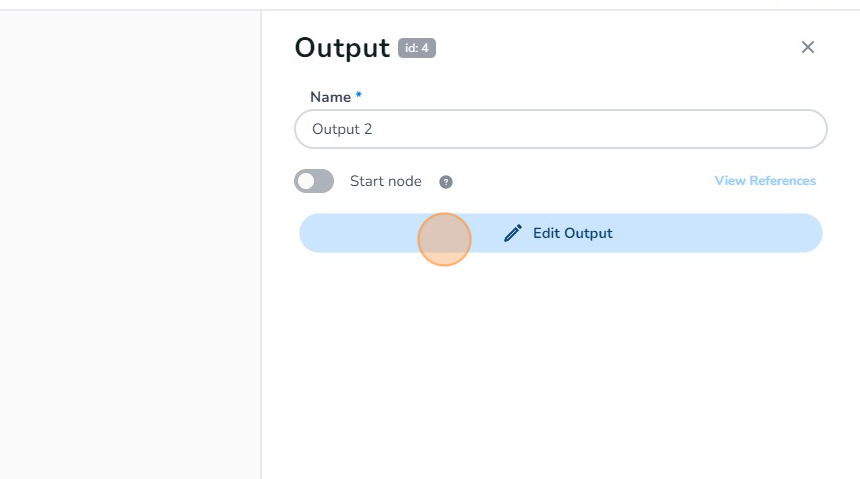
After adding your dialog option/recognition you can edit your output. Click on "Edit Output".
-
Begin typing by clicking here. Whatever you enter will be displayed when the designated recognition or selected dialog option is triggered.
-
Click here to add your answer to the output node.
-
Click here or the "X" button to exit to the dialog overview.
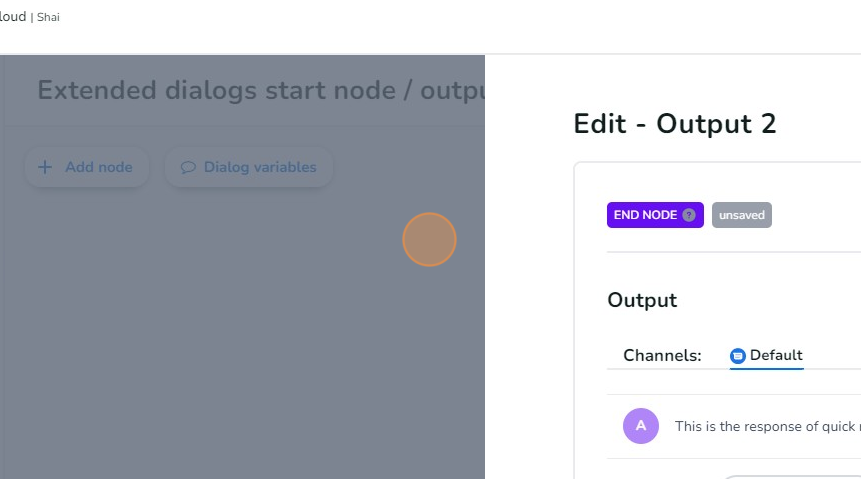
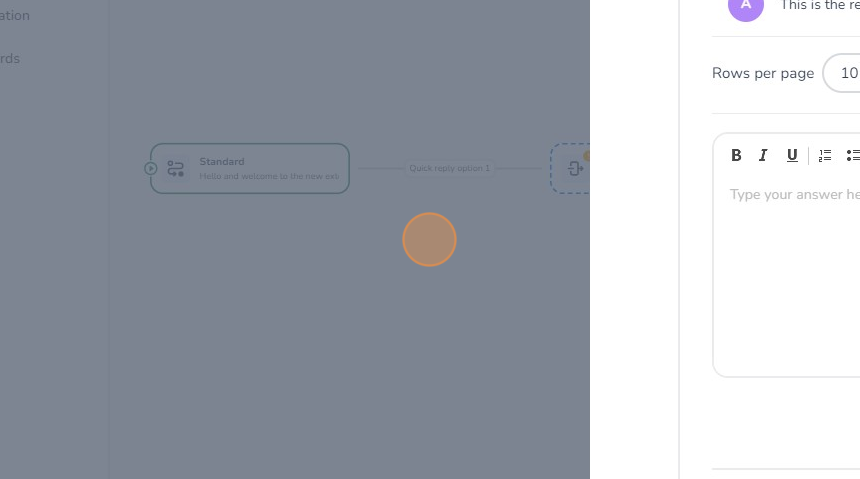
That's all. This is the process of creating a basic start node with various dialog outputs. After following the steps mentioned above your dialog should look like this:
E-learning Video
For further guidance, watch our e-learning video about creating Dialogs.