This guide explains what you, as the customer, need to provide to enable the integration between your Zendesk Ticketing CRM and our platform.
1. Prerequisites
Before proceeding, ensure you have the following:
-
A valid email address to create a Zendesk Ticketing account.
-
Admin permissions to enable API access.
2. Create a Zendesk Ticketing Account
To enable the integration, you need to create a Zendesk Ticketing account. Follow these steps:
Steps to Create a Zendesk Ticketing Account
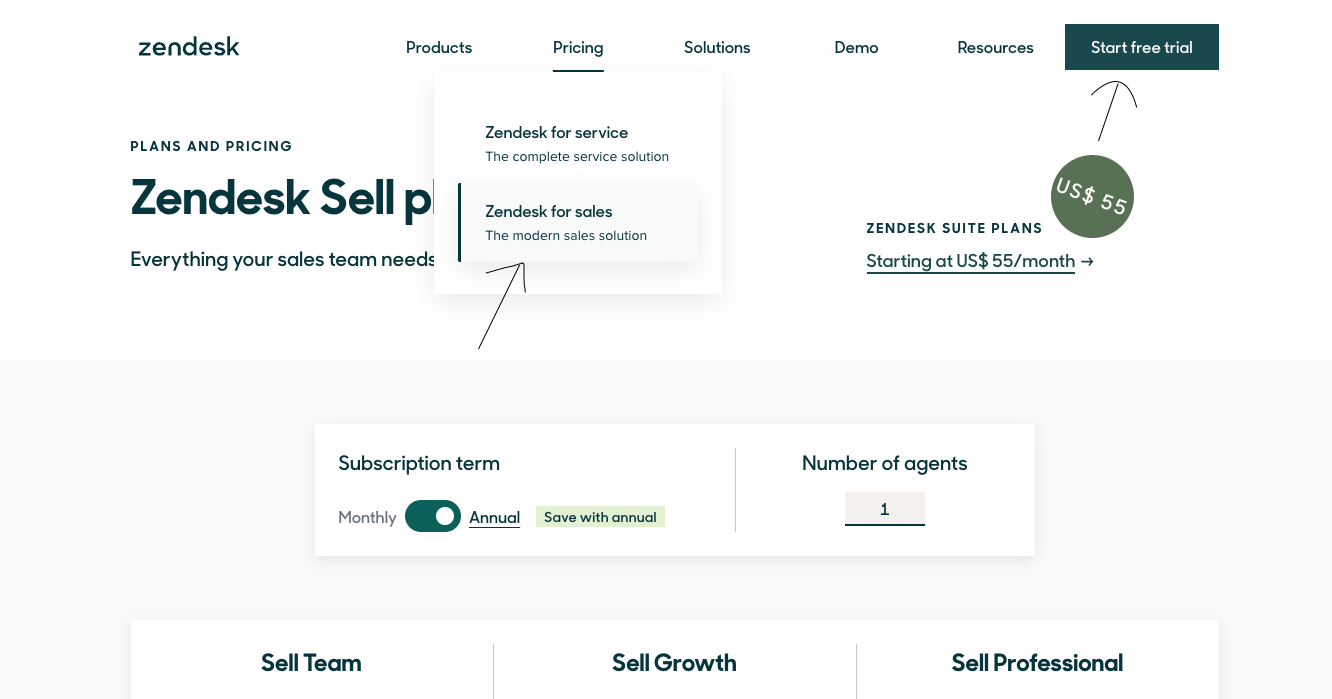
-
Click on Free Trial.
-
Enter your working email address and click Next.

-
Fill out the required details (e.g., name, company name, etc.) and click Complete Trial Signup.
-
Check your email inbox for a verification email. Open the email and click on Verify Your Account.
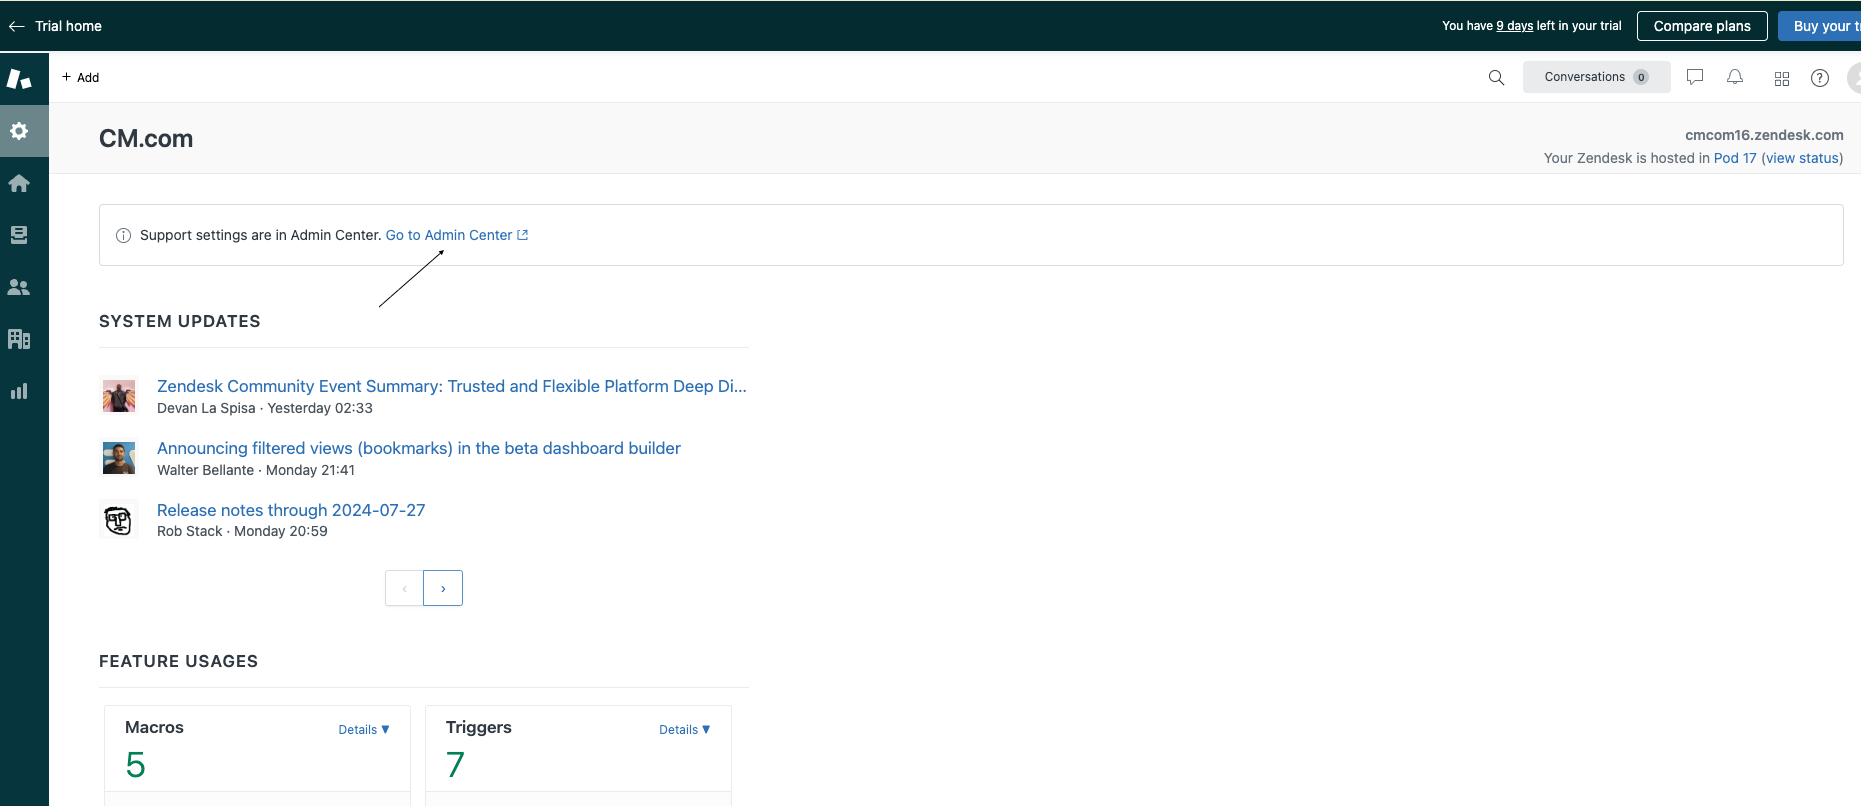
3. Access the Zendesk Dashboard
Steps to Access the Dashboard
-
After verifying your account, log in to Zendesk Ticketing.
-
You will be redirected to the Zendesk Dashboard.
4. Enable Password Access for Zendesk Ticketing API
To enable API access, you need to configure the Zendesk Ticketing API settings. Follow these steps:
Steps to Enable Password Access
-
In the Zendesk Dashboard, click on the Settings icon from the left panel.
-
Click on Go to Admin Center.
-
Navigate to Apps and Integration > APIs > Zendesk API.

-
Go to the Settings tab.
-
Enable Password Access from the settings menu.

5. Retrieve Base URL
Steps to Retrieve Base URL
-
Go back to the Home Dashboard.
-
Copy the Base URL from the Admin Dashboard.
-
Example:
<https://yourcompany.zendesk.com>
-
6. Share Details with the Delivery Team
Once you have completed the setup, share the following details with the delivery team:
-
Base URL
-
Username (your Zendesk login email)
-
Password (your Zendesk account password)